The Best Homemade Creamed Corn Recipe: Velvety, Rich & Easy Side Dish
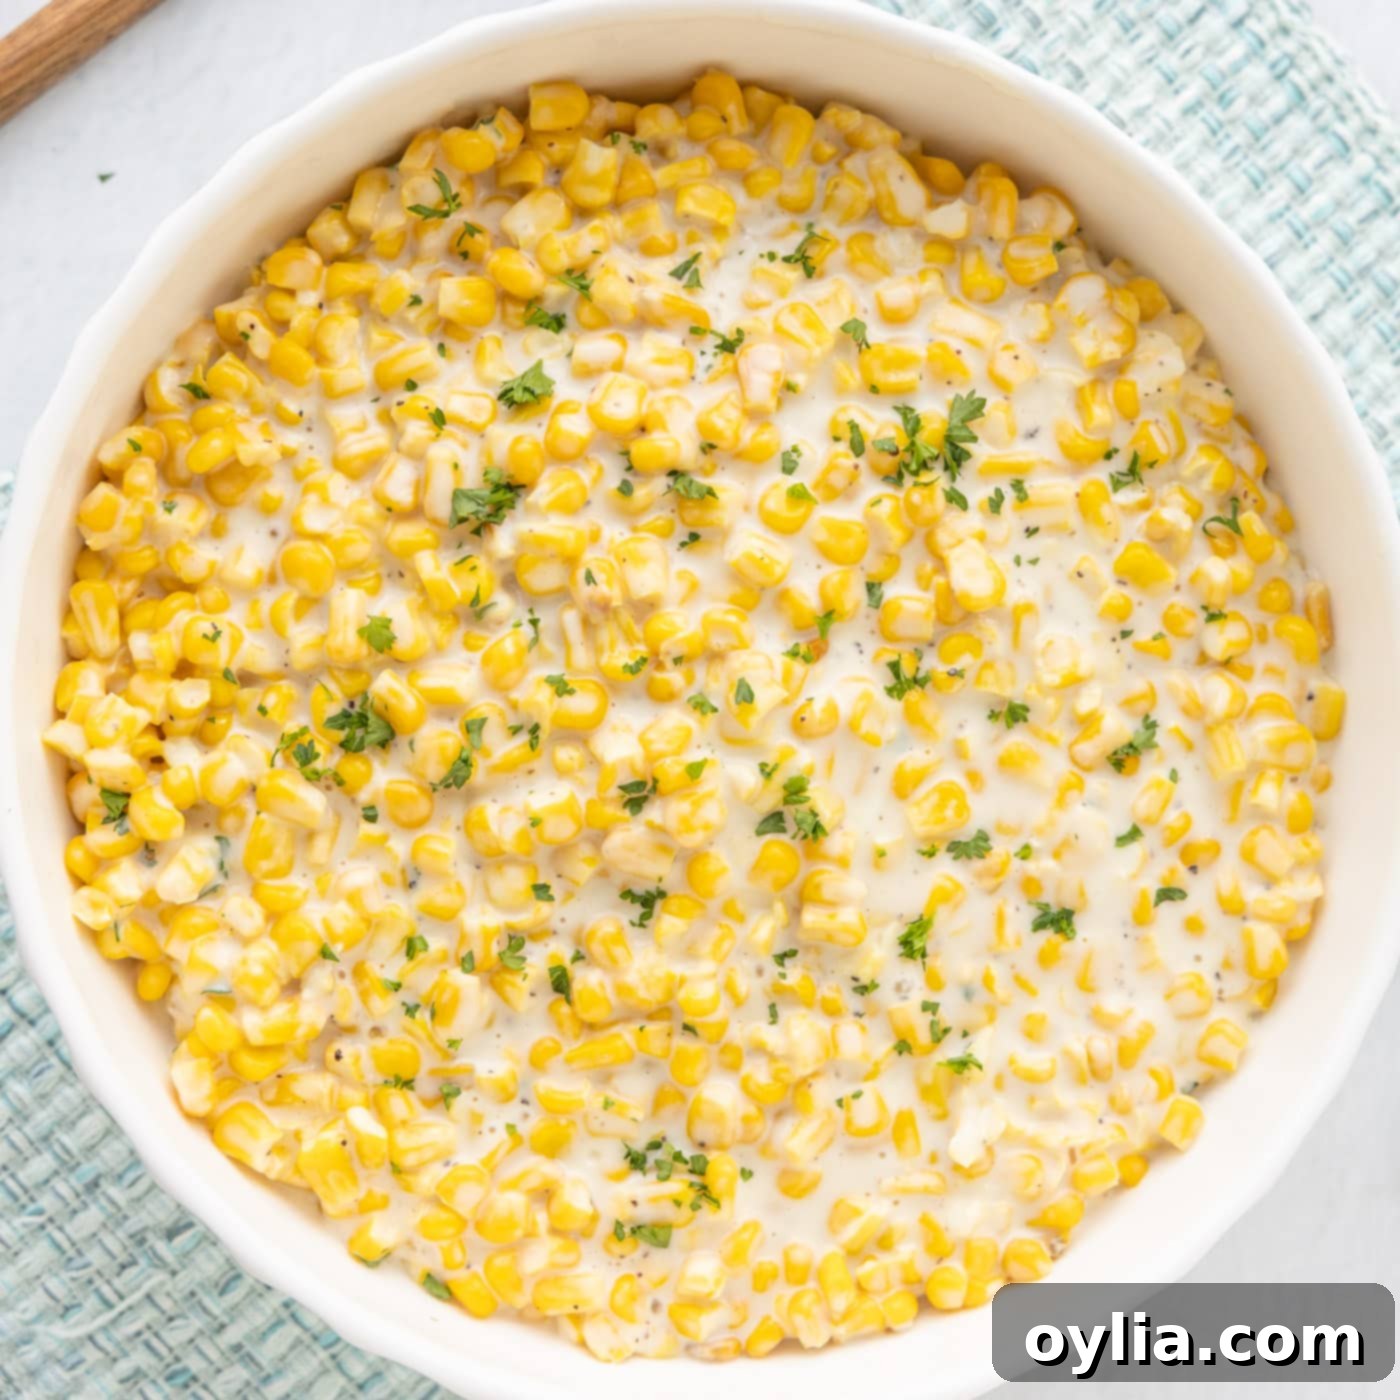
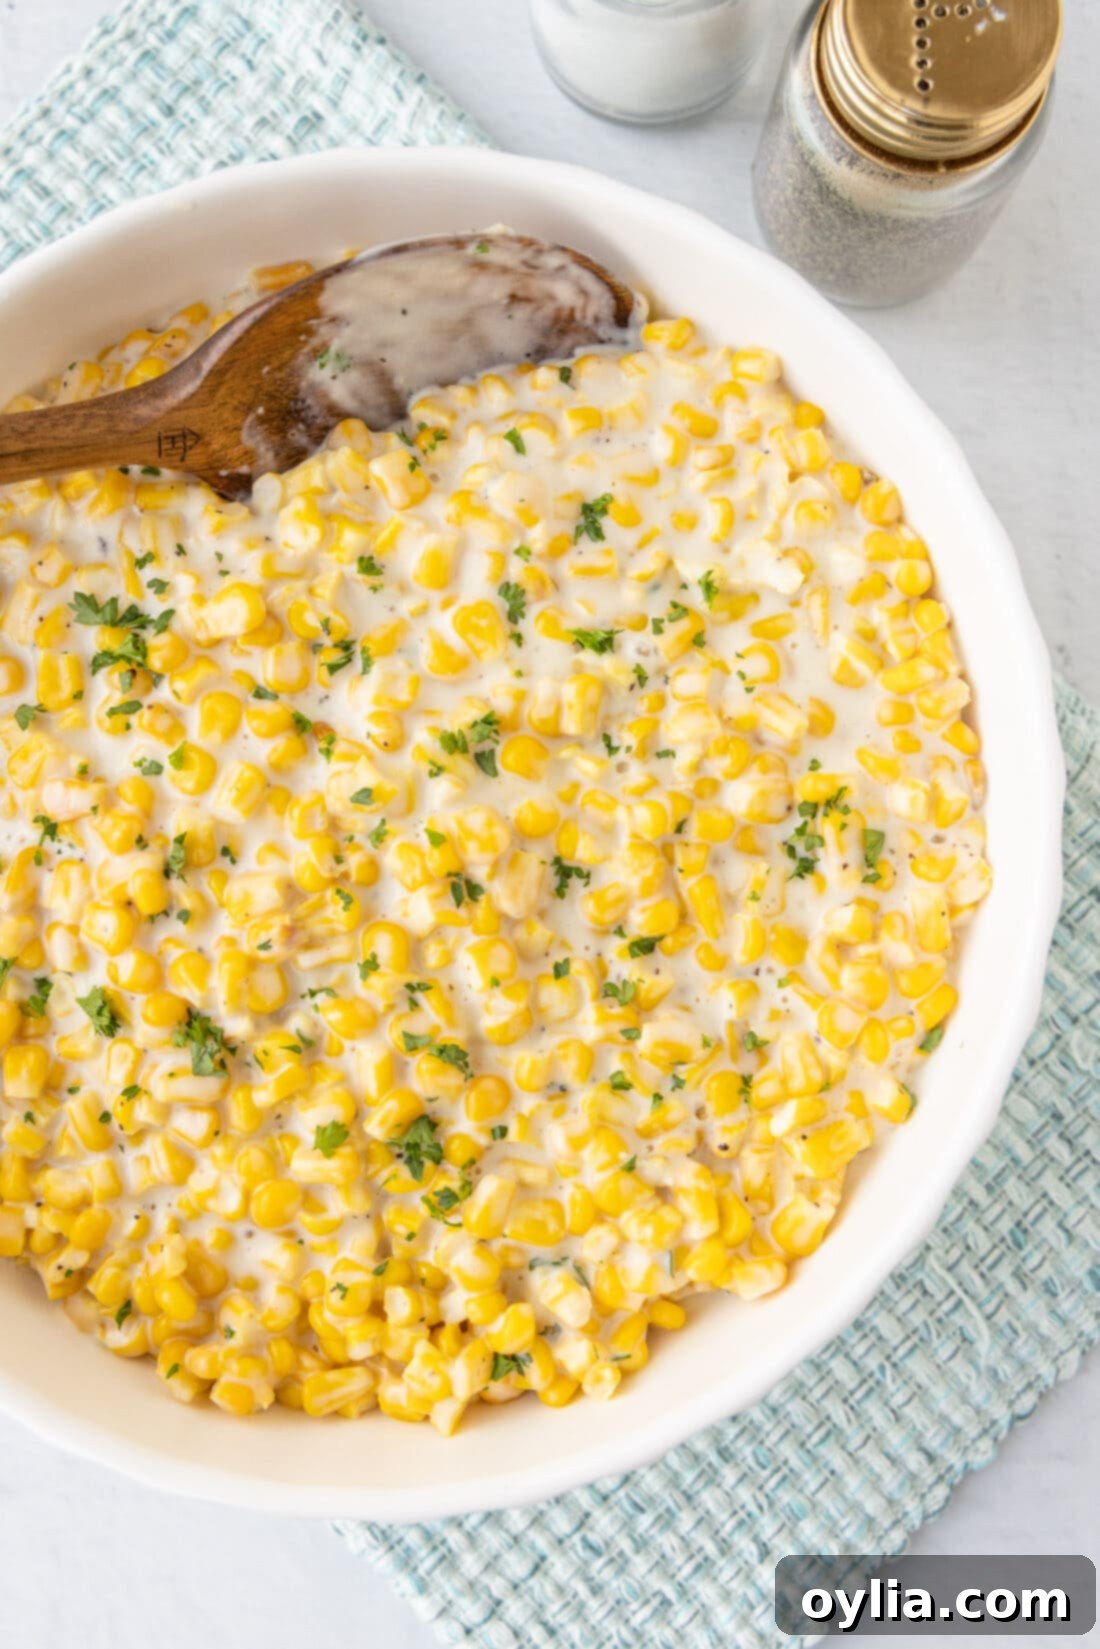
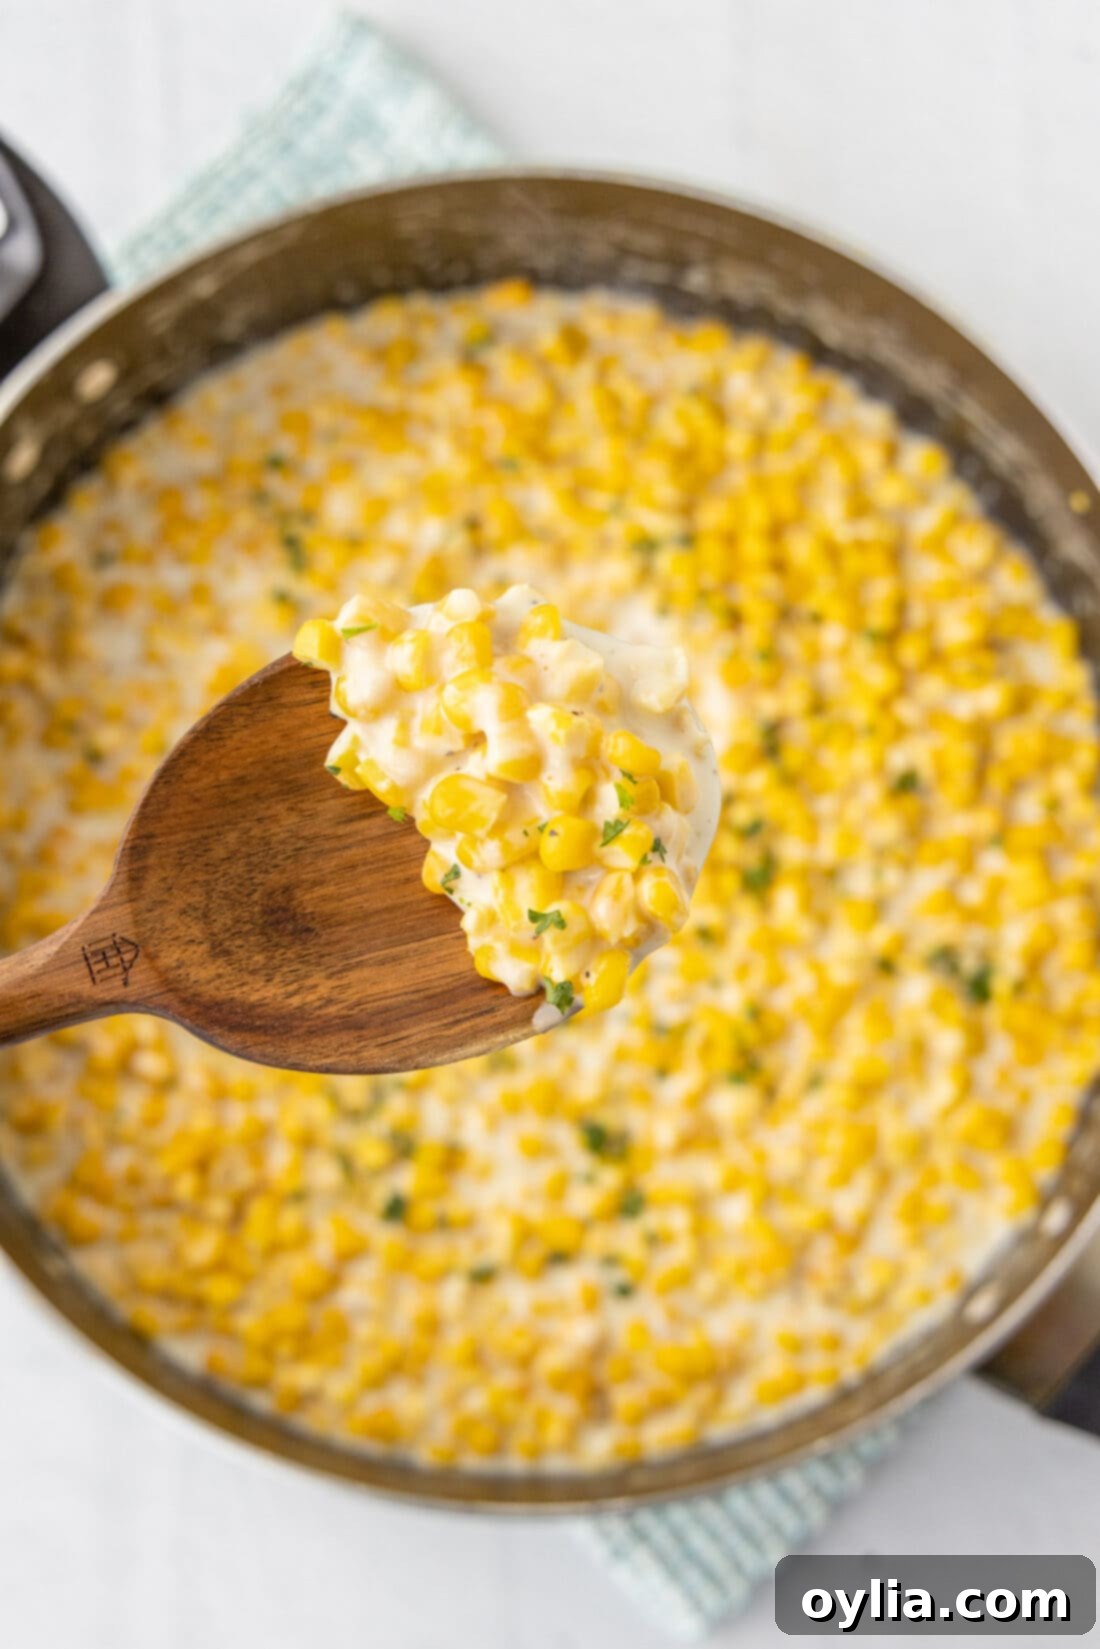
Homemade creamed corn is a truly unforgettable side dish, boasting a smooth, velvety texture and an incredibly rich flavor profile. Crafted with simple, wholesome ingredients like heavy cream, whole milk, and butter, this recipe transforms ordinary corn into something extraordinary. Whether you’re looking for a comforting addition to a winter holiday feast or a versatile side for a summer barbecue, this luscious creamed corn is sure to become a year-round favorite. Forget the bland, watery canned versions; once you experience the depth of flavor and creamy consistency of this scratch-made recipe, you’ll never go back.
Why This Homemade Creamed Corn Recipe Reigns Supreme
This easy homemade creamed corn recipe isn’t just good; it effortlessly outshines any canned alternative you’ve ever tasted. Canned creamed corn typically lacks real cream, relying instead on a watery puree of corn kernels that often tastes artificial and overly sweet. Our recipe, however, is a revelation. It builds a deeply rich and luxuriously creamy base using quality ingredients like fresh or frozen corn, real butter, whole milk, and decadent heavy cream. A touch of sugar enhances the corn’s natural sweetness, while a hint of flour creates that perfect, comforting thickness without being gummy. It’s incredibly simple to whip together in just about 30 minutes, making it an accessible gourmet experience for any home cook.
Beyond its superior taste and texture, this creamed corn is a versatile side dish that knows no season. It’s a fantastic crowd-pleaser for lively summer potlucks and backyard cookouts, adding a touch of comfort to your warm-weather spreads. When the temperatures drop, it transforms into an indispensable part of holiday feasts, much like a beloved corn casserole. Imagine it gracing your Thanksgiving or Christmas dinner table, offering a warm, sweet, and savory counterpoint to roasted meats and other classic sides. Dedicate a mere half-hour to crafting this creamed corn from scratch, and you’ll discover a culinary delight so superior, you’ll wonder why you ever considered a can.
Essential Ingredients for Your Creamy Corn Masterpiece
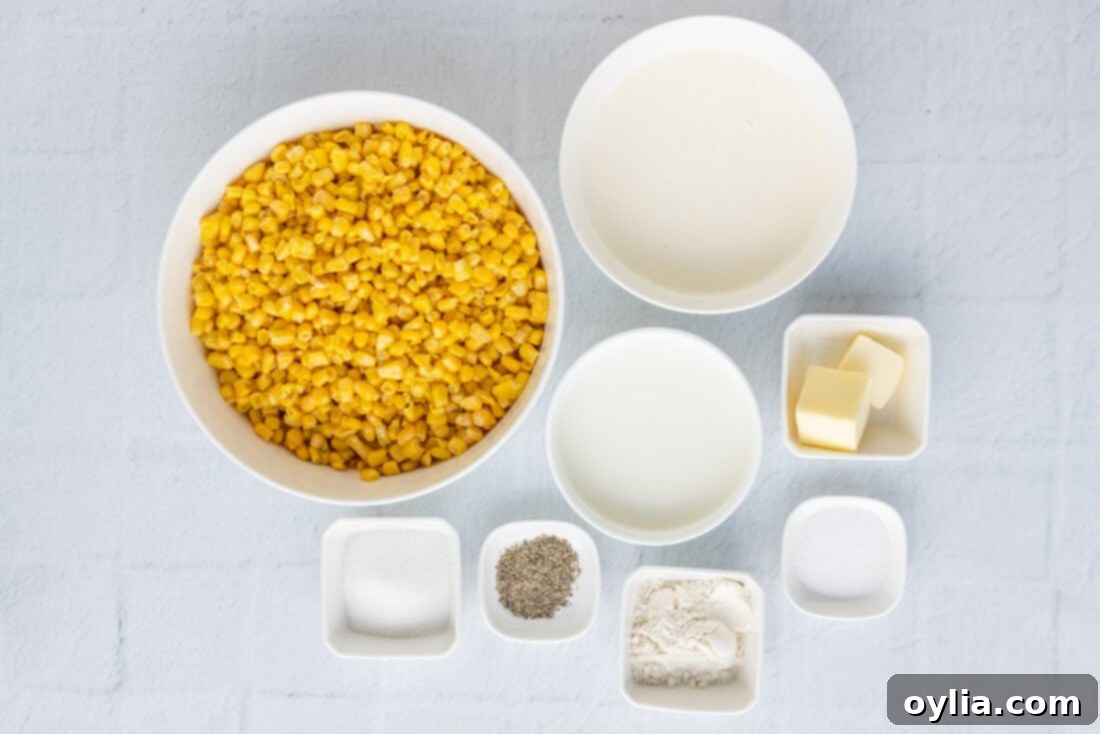
Crafting the perfect homemade creamed corn starts with selecting the right ingredients. Each component plays a vital role in achieving that signature smooth, rich, and flavorful profile. Below, we’ll dive into the specifics, including helpful tips and substitution suggestions. You can find all precise measurements, ingredients, and detailed instructions in the printable recipe card towards the end of this post.
Ingredient Info and Substitution Suggestions
CORN: For this recipe, we typically opt for frozen corn kernels due to their consistent quality and year-round availability. It’s crucial to let them thaw completely before you begin cooking. This prevents them from releasing too much water into your dish and becoming mushy or watering down your creamy sauce. To expedite the thawing process, spread the frozen corn in a single layer on a baking sheet; this allows for faster, more even defrosting compared to a piled mound in a bowl. During the peak summer months, don’t hesitate to use fresh corn. Simply scrape the sweet kernels directly from the cob for an even brighter, fresher flavor that truly highlights the season.
THE CREAMY BASE: The foundation of our rich and luxurious creamed corn is built upon a trio of dairy goodness: heavy cream, unsalted butter, and whole milk. Heavy cream is non-negotiable for achieving that signature velvety texture and unparalleled richness. Unsalted butter adds a layer of depth and savory flavor, while whole milk contributes to the overall body and creaminess of the sauce. While whole milk is recommended for the best results, you can substitute it with 2% milk if preferred. Be aware that using lower-fat milk might result in a slightly less rich and thinner consistency, so adjust accordingly if you choose this option. For an even richer, slightly tangier flavor, a tablespoon or two of cream cheese or mascarpone can be stirred in at the end.
SWEETENER & THICKENER: A couple of tablespoons of granulated sugar help to balance the savory notes and enhance the natural sweetness of the corn, creating a harmonious flavor profile. You can adjust this to your taste, adding a little more or less depending on the sweetness of your corn and personal preference. All-purpose flour is used as a thickener, creating a smooth roux-like base when combined with milk, which then thickens the entire dish into that luscious, spoonable consistency. For a gluten-free alternative, you can use an equal amount of cornstarch mixed with a small amount of cold milk or water to create a slurry, adding it gradually to the simmering mixture until desired thickness is achieved.
SEASONING: Simple salt and black pepper are all you truly need to season this dish, allowing the natural flavors of the corn and cream to shine. However, don’t hesitate to personalize it! A pinch of garlic powder or onion powder can add subtle aromatic notes, while a dash of paprika could introduce a hint of warmth and color. Always taste and adjust seasonings to your liking before serving.
How to Make Creamed Corn: A Simple Step-by-Step Guide
These step-by-step photos and detailed instructions are here to help you visualize how to make this delightful recipe. For a convenient printable version, complete with all measurements and instructions, you can Jump to Recipe at the bottom of this page.
-
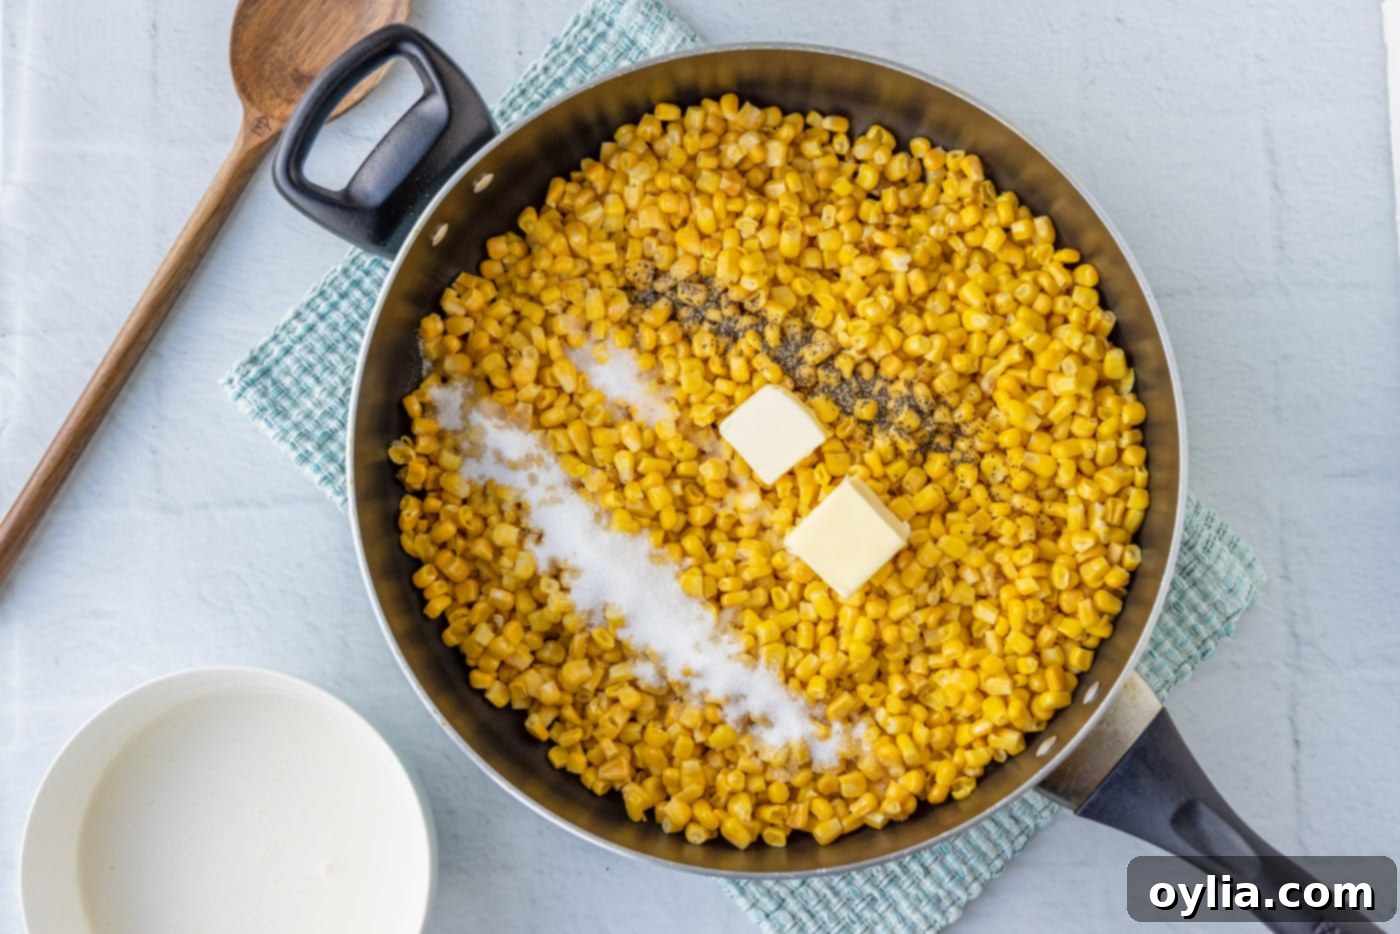
Sauté the Corn: In a large, heavy-bottomed skillet (which ensures even heating and prevents sticking), combine your thoroughly thawed corn, unsalted butter, salt, black pepper, and granulated sugar. Cook this mixture over medium heat for about 5 minutes, stirring occasionally. This step allows the corn to warm through and the butter to infuse its flavor, beginning to meld all the primary ingredients together beautifully. The sugar will also start to dissolve and caramelize slightly, enhancing the corn’s natural sweetness.

-
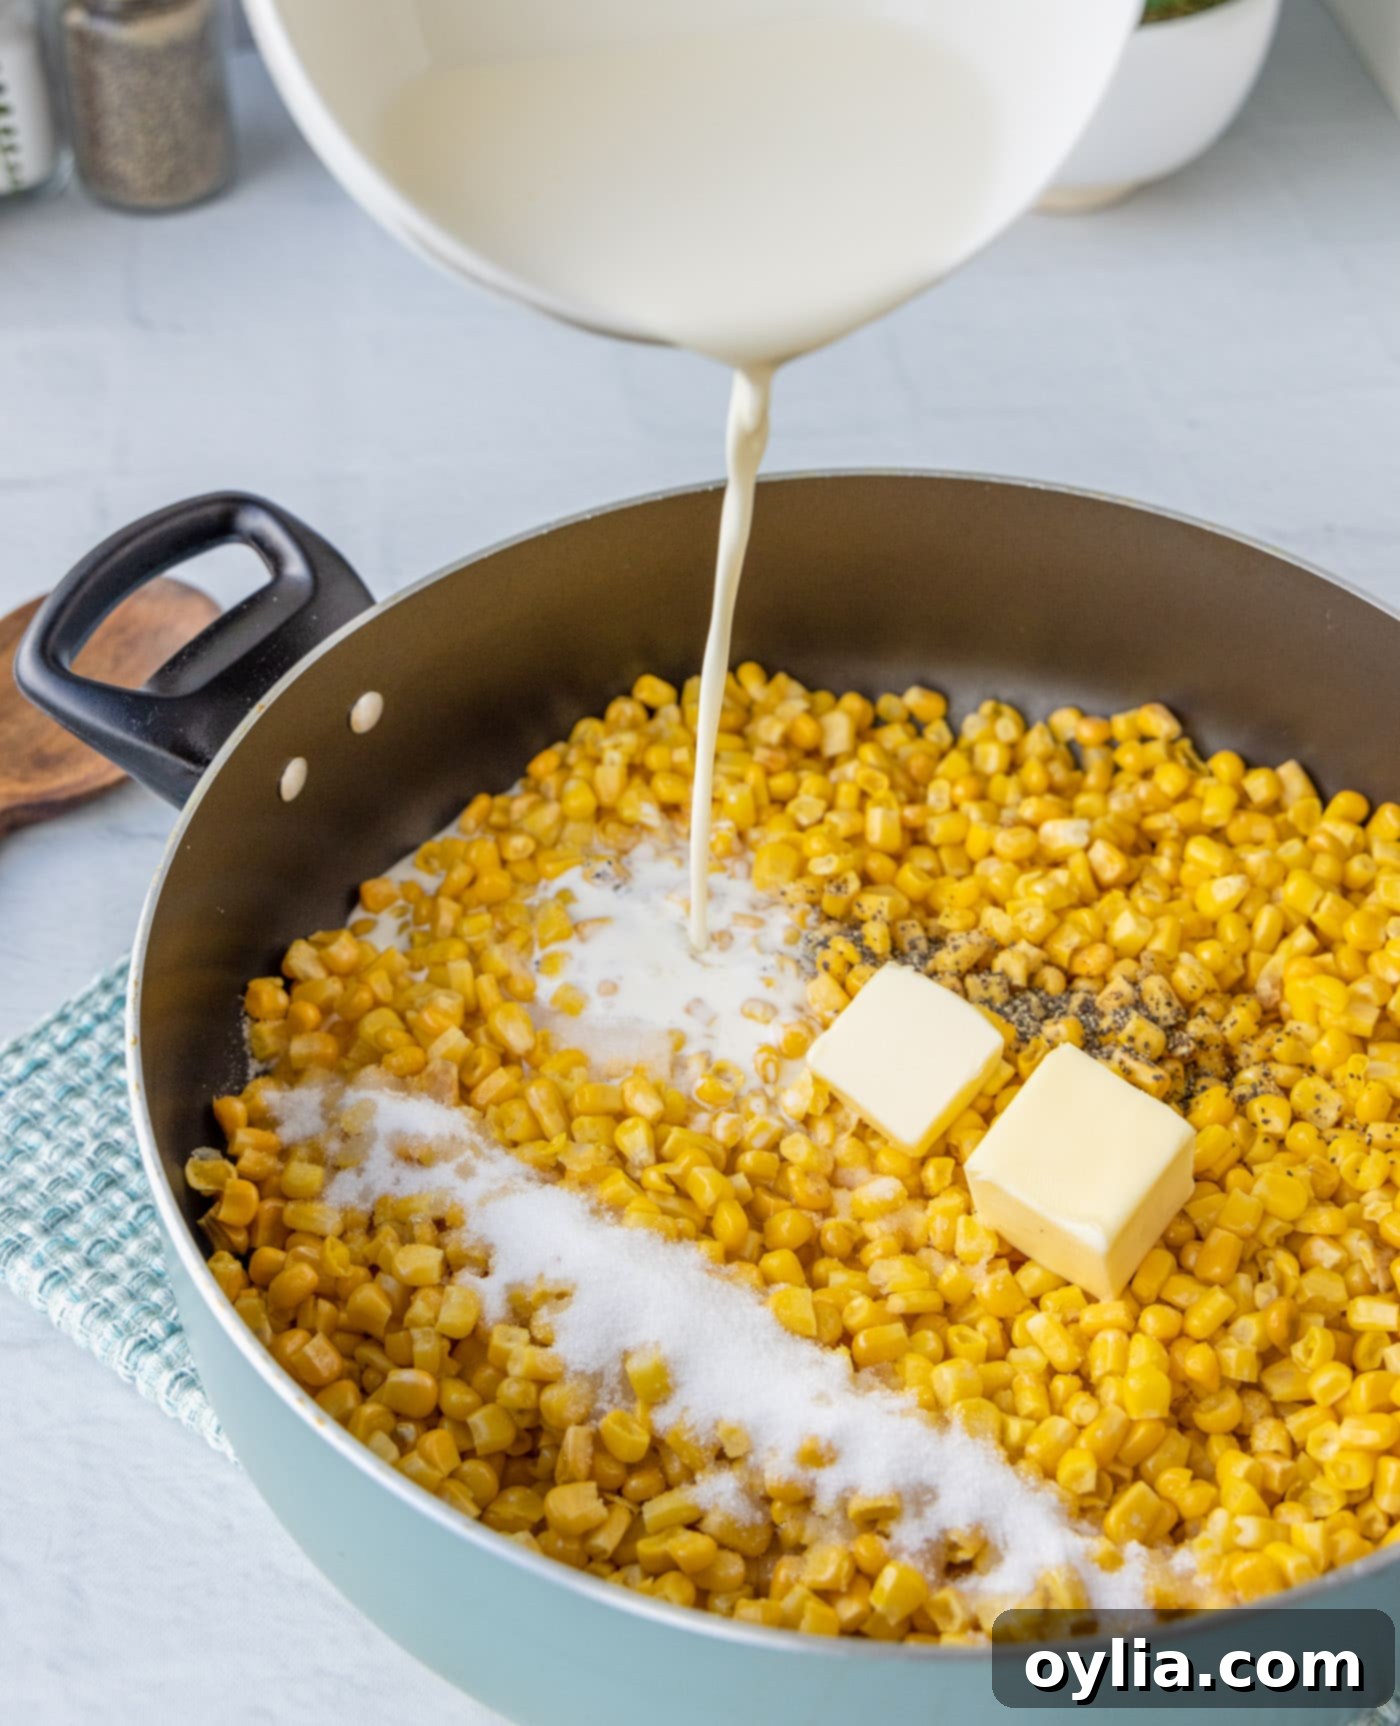
Add Heavy Cream: Pour in the heavy cream. Increase the heat to medium-high and bring the mixture to a gentle boil, stirring continuously. As it heats, the cream will begin to warm, creating a luscious liquid base for your corn. Keep a close eye on it to prevent scorching, and ensure it comes to a visible boil before moving to the next step.


-
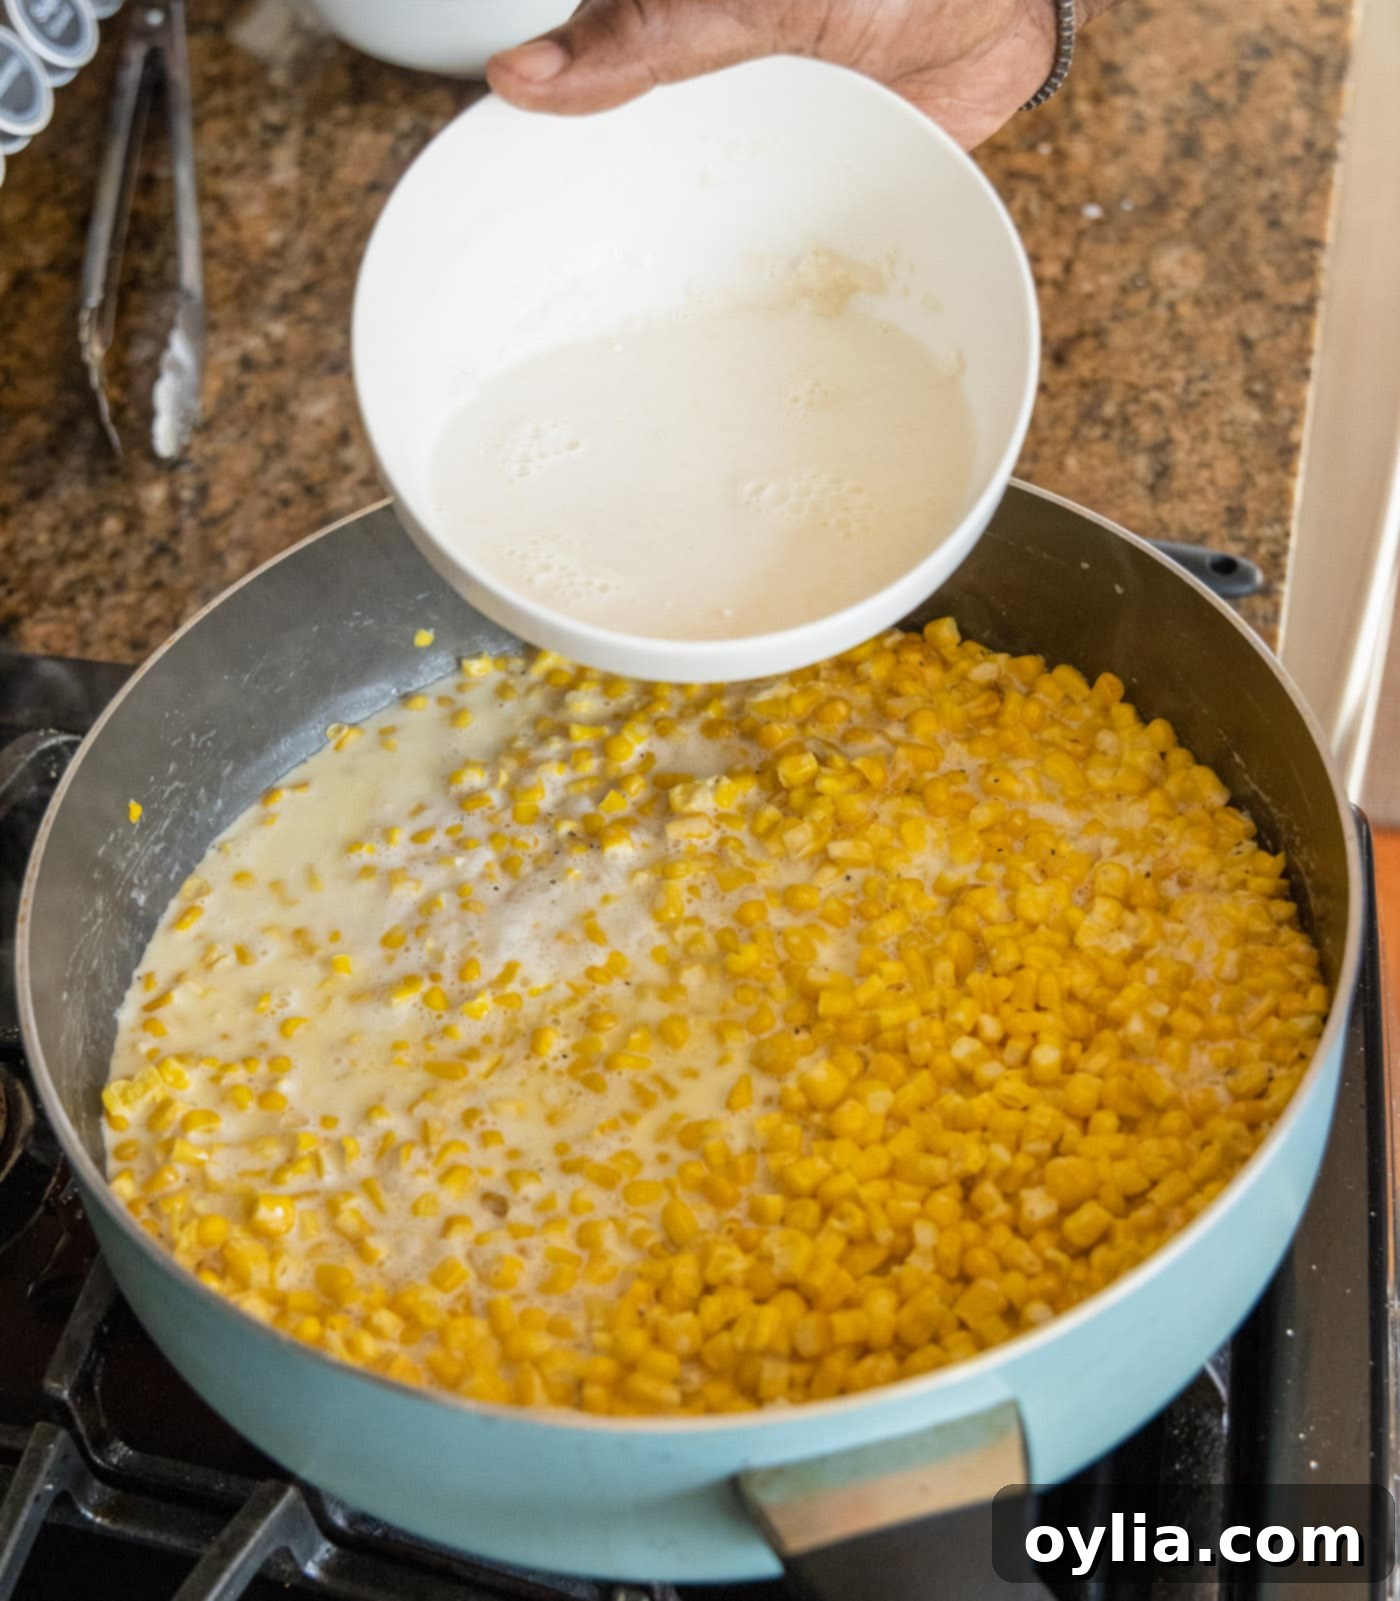
Prepare and Add Thickener: In a separate medium bowl, whisk together the whole milk and all-purpose flour until absolutely no lumps remain. This is crucial for a smooth, lump-free sauce. The cold milk helps the flour disperse evenly. Once smooth, slowly pour this mixture into the simmering corn in the skillet. Stir constantly as you add it to ensure the flour is fully incorporated and begins to thicken the creamed corn evenly.


-
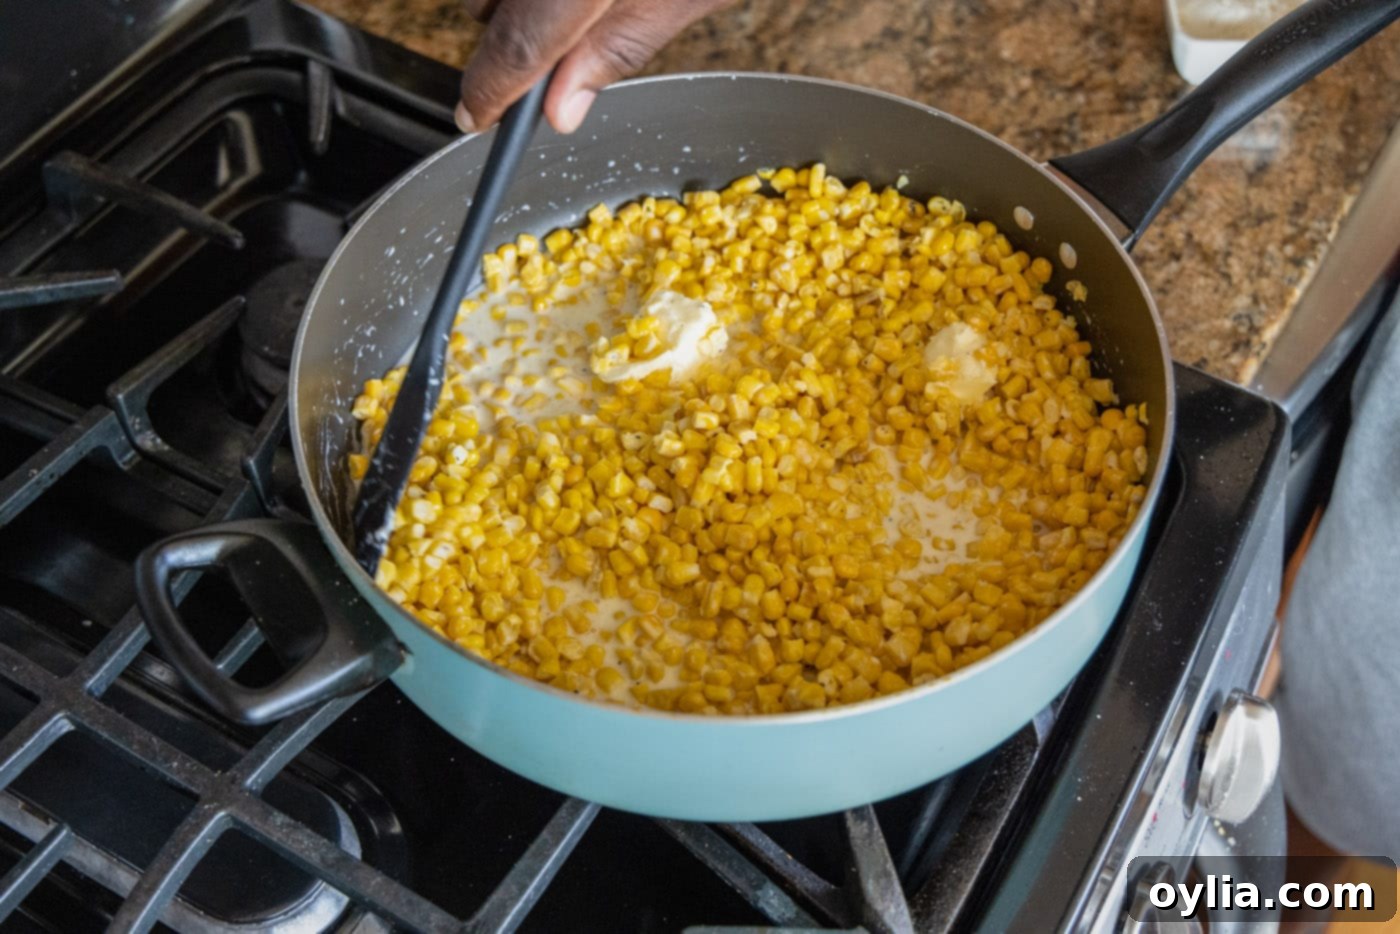
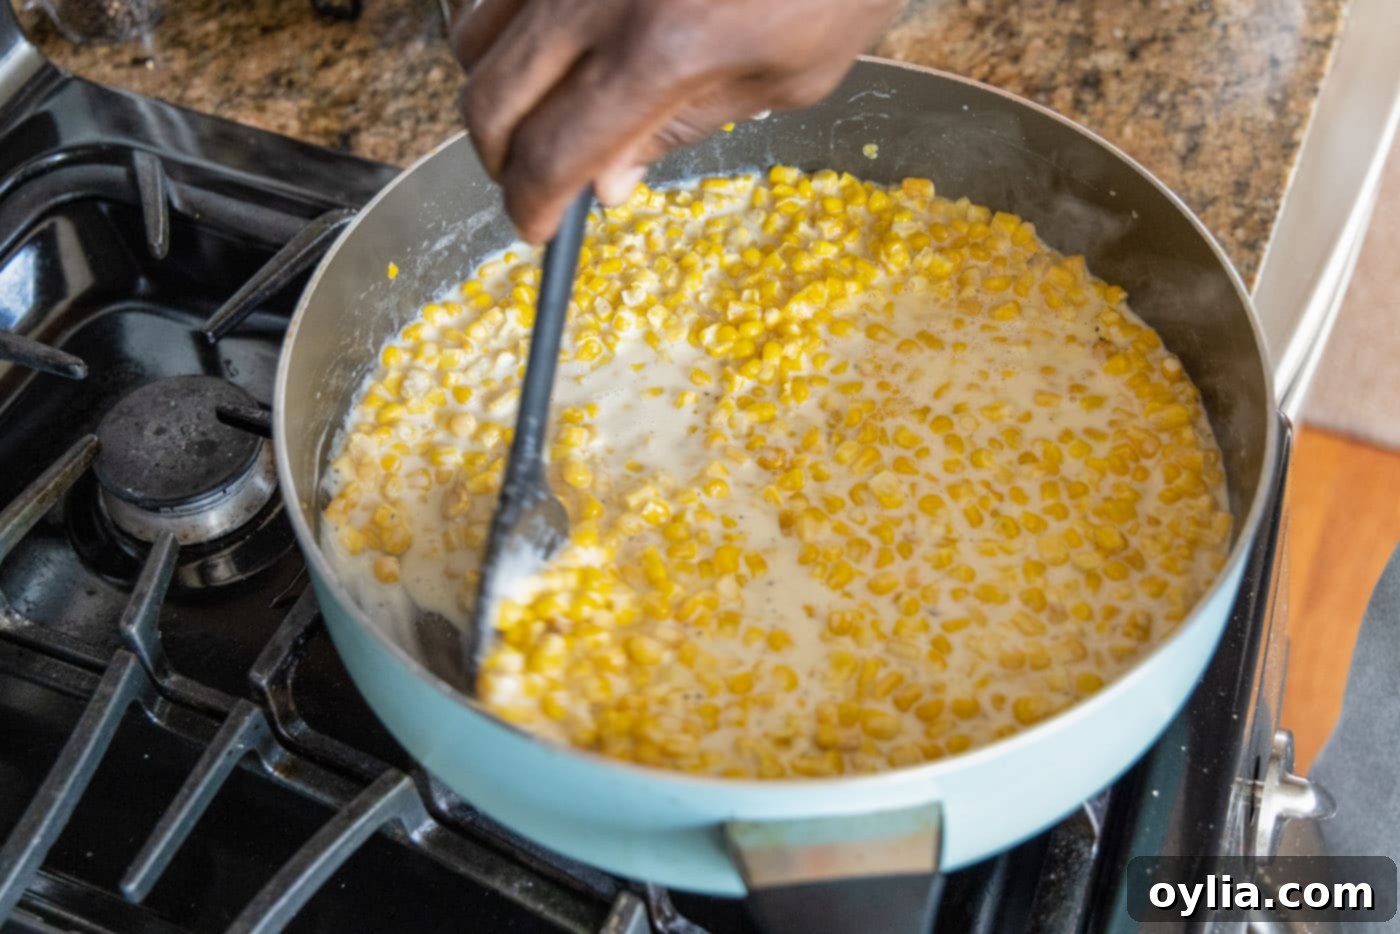
Simmer to Perfection: Bring the entire mixture back to a boil, then immediately reduce the heat to low. Let it gently simmer for approximately 10 minutes, stirring occasionally to prevent sticking. During this simmering time, the sauce will continue to thicken, and the flavors will meld beautifully, creating that irresistible creamy corn consistency we’re after. The corn will become tender, and the sauce will coat the back of a spoon. Taste and adjust seasonings one final time before serving hot.
Expert Tips for the Perfect Creamed Corn
- Thaw Corn Completely: Whether using fresh or frozen, ensure your corn is at room temperature before adding it to the skillet. For frozen corn, spreading it out on a baking sheet is an excellent method for quicker and more even thawing, preventing excess moisture that could thin your creamy sauce.
- Prevent Lumps: The key to a smooth, lump-free creamed corn is how you incorporate the flour. Always whisk the flour with cold milk in a separate bowl until it’s completely smooth before adding it to the hot mixture. Adding flour directly to hot liquid can cause immediate clumping.
- Achieve Ultra-Smoothness: If you desire a silkier, more uniform texture, a great trick is to carefully blend about half of your cooked creamed corn mixture in a food processor or blender until smooth. Then, stir this blended portion back into the remaining mixture in the skillet. This creates a luxurious, restaurant-quality consistency.
- Taste and Adjust: Always taste your creamed corn before serving. You might find you want a little more salt, pepper, or even a touch more sugar to perfectly balance the flavors, especially if using naturally less sweet corn.
- Low and Slow Simmer: After adding the milk and flour mixture, bring it to a boil briefly, then reduce the heat to a gentle simmer. This allows the flour to fully cook and thicken the sauce without scorching the bottom or breaking the cream.
Creamed Corn Variations & Flavor Boosters
While classic creamed corn is delicious on its own, it also serves as a fantastic canvas for various flavor additions. Get creative and customize your dish to suit your palate!
- Spicy Kick: For those who love a bit of heat, finely diced fresh or pickled jalapeños can be stirred in during the last few minutes of simmering. For a more subtle warmth, a pinch of cayenne pepper or a dash of hot sauce works wonders.
- Cheesy Goodness: Creamed corn and cheese are a match made in heaven! Stir in half a cup of shredded cheddar cheese, Monterey Jack, or even some Parmesan cheese at the very end, allowing it to melt into the hot mixture for an extra layer of savory flavor and richness. A tablespoon or two of cream cheese can also be added for an even more decadent, tangy creaminess.
- Savory Enhancements: Crispy cooked and crumbled bacon bits are a classic and utterly delicious addition. Sautéed diced onions, bell peppers (especially red for sweetness), or even roasted garlic can be added with the corn in the initial sautéing step to build deeper savory notes.
- Herbaceous Touches: Fresh herbs can brighten the dish significantly. Stir in chopped fresh chives or parsley just before serving. A sprig of fresh thyme or a bay leaf added during the simmer can also infuse a lovely, aromatic complexity, which you can remove before serving.
- Smoky Flavor: A small amount of smoked paprika can add a beautiful smoky depth without overpowering the corn’s natural sweetness.
Frequently Asked Questions & Expert Tips
The options are truly endless! For savory notes, consider adding diced cooked bacon, finely chopped onions or bell peppers (sautéed first), or a touch of garlic powder. For a cheesy twist, stir in grated Parmesan, cheddar, or cream cheese. If you enjoy a bit of spice, diced jalapeños or a pinch of cayenne pepper can elevate the dish. Fresh herbs like chives or parsley also add a bright finish.
For a luxuriously smooth texture, simply blitz about half of your cooked creamed corn through a food processor or blender until it reaches your desired consistency. Then, return this blended portion to the remaining mixture in the skillet and stir well. This technique breaks down some of the corn kernels, creating a velvety consistency while still retaining some texture from the unblended corn.
Allow any leftover creamed corn to cool completely to room temperature. Once cooled, transfer it to an airtight container and store it in the refrigerator. It will stay fresh and delicious for up to 3 days. Properly sealed, it maintains its flavor and texture much better.
Absolutely! Creamed corn is an excellent make-ahead dish. You can prepare and cook the entire recipe a day or two in advance. Once cooked, let it cool thoroughly before transferring it to an airtight container. Store it in the refrigerator. When you’re ready to serve, gently reheat it on the stovetop over low heat, stirring frequently. You might need to add a splash of milk or heavy cream to loosen it up and restore its creamy consistency.
While fresh or frozen corn is highly recommended for the best flavor and texture, you *can* use canned corn in a pinch. If using canned corn, be sure to drain and rinse it thoroughly to remove excess sodium and any canning liquid flavor. Note that the texture might be slightly softer, and you may need to adjust the sugar content as canned corn can sometimes be sweeter.
The creaminess comes from the combination of heavy cream, whole milk, and butter, thickened with all-purpose flour. To prevent it from being too thin, ensure your flour-milk mixture is whisked completely smooth before adding and that you bring the final mixture to a gentle boil before simmering. If it’s too thick, simply stir in a tablespoon or two of additional milk or cream until it reaches your desired consistency.
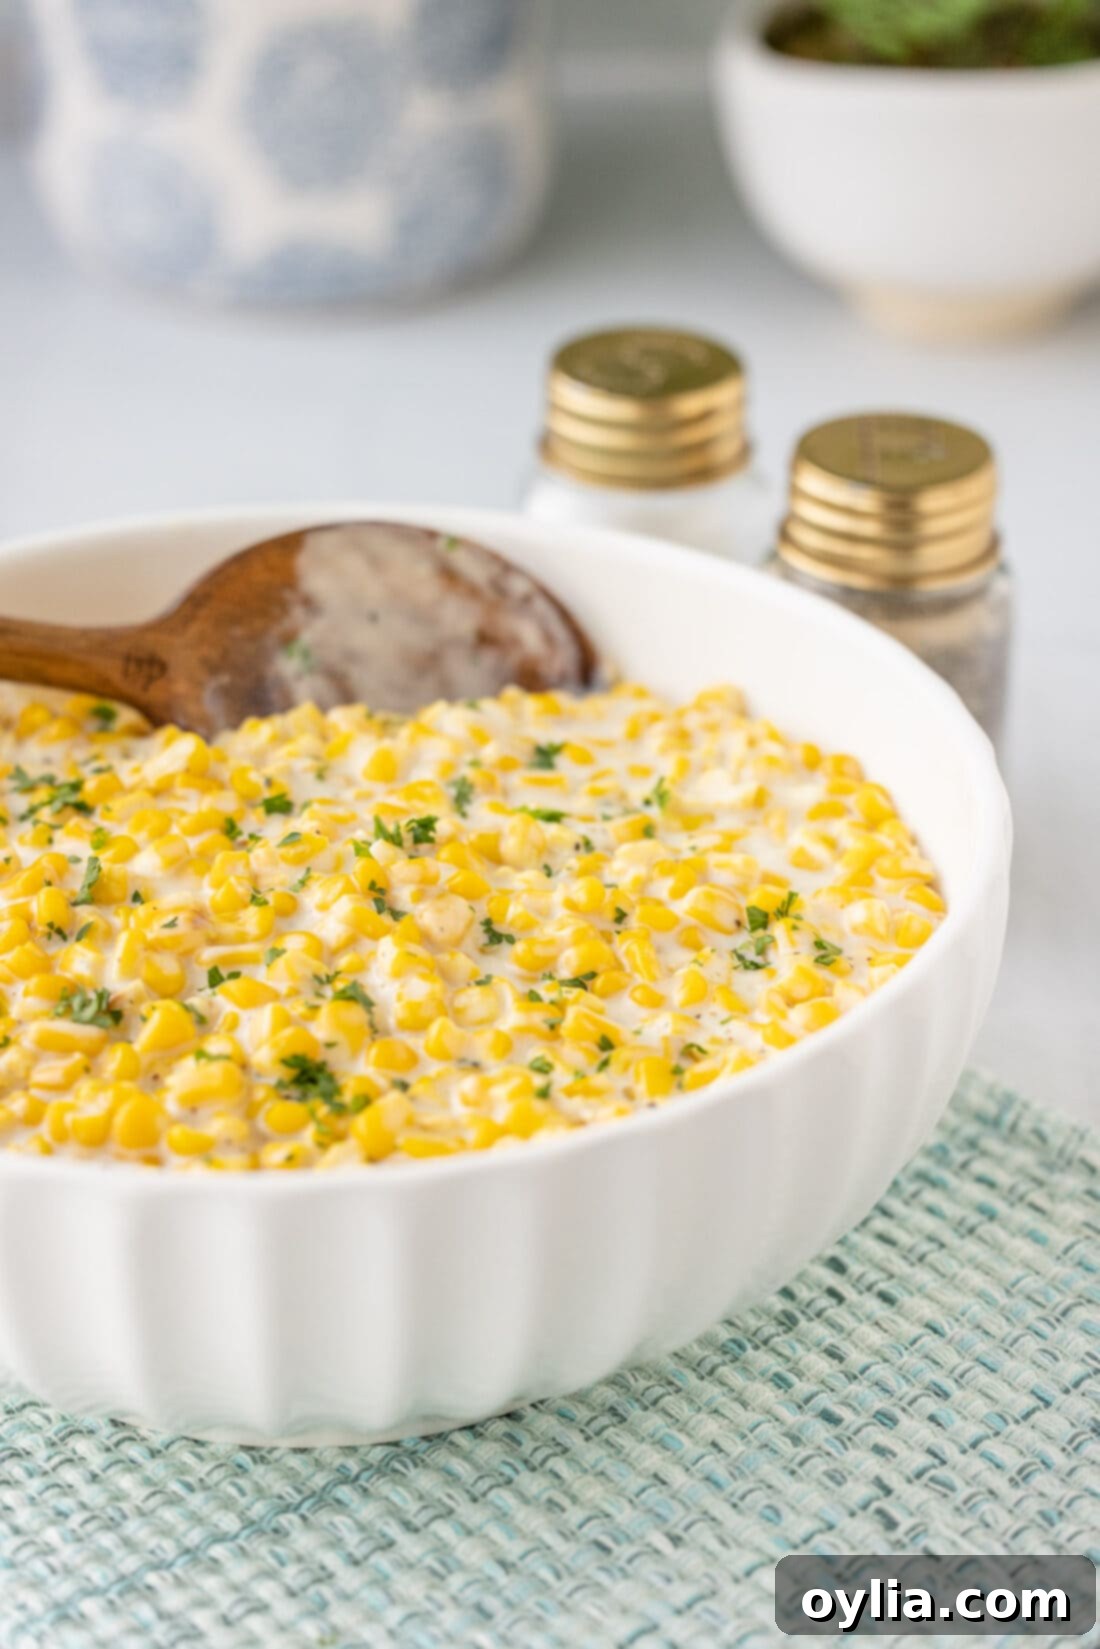
Delicious Serving Suggestions for Creamed Corn
This homemade creamed corn is incredibly versatile and pairs wonderfully with a wide array of main courses. Its rich, sweet, and savory profile makes it the ideal accompaniment for almost any meal.
- Holiday Feasts: Creamed corn is a staple for festive gatherings. Serve it alongside your succulent roasted turkey or ham for Thanksgiving and Christmas dinner. Its comforting texture and flavor perfectly complement other traditional holiday sides.
- Southern Comfort: Pair it with classic Southern dishes like fried chicken, pulled pork, or slow-cooked ribs for a truly satisfying meal.
- Grilled Meats: During the summer months, it’s a fantastic side for anything coming off the grill. Think grilled steak, pork chops, or even smoky barbecue chicken.
- Weeknight Dinners: Elevate a simple weeknight meal by serving creamed corn with roast chicken, baked salmon, or meatloaf. It adds a touch of gourmet without extra effort.
- Potlucks & Picnics: This dish travels well and is always a hit at potlucks, family gatherings, and community events. Just keep it warm in a slow cooker if serving for a crowd!
More Delicious Side Dish Recipes You’ll Love
- Corn Salad
- Glazed Carrots
- Baked Mac and Cheese
- Slow Cooker Pinto Beans
- Loaded Mashed Potato Casserole
- Scalloped Corn
I love to bake and cook and share my kitchen experience with all of you! Remembering to come back each day can be tough, that’s why I offer a convenient newsletter every time a new recipe posts. Simply subscribe and start receiving your free daily recipes!
Creamed Corn
IMPORTANT – There are often Frequently Asked Questions within the blog post that you may find helpful. Simply scroll back up to read them!
Print It
Pin It
Rate It
Ingredients
- 16 ounces frozen corn thawed
- 2 Tablespoons unsalted butter
- 1 cup whole milk
- 1 ½ cups heavy whipping cream
- 2 Tablespoons granulated sugar
- 1 teaspoon black pepper
- ½ teaspoon salt
- 2 ½ Tablespoons all purpose flour
Things You’ll Need
-
Large heavy bottomed skillet
Before You Begin
- To help the corn thaw faster, spread it out on a baking sheet. This will create a single layer of corn rather than a mound in a bowl.
- For a smoother consistency, blitz half of the creamed corn in a blender or food processor and add it back to the remaining mixture.
- You can prepare and cook the creamed corn a day or two in advance and store it, once cooled, in an air-tight container kept in the refrigerator.
- Store leftover creamed corn in an air-tight container kept in the refrigerator for up to 3 days.
Instructions
-
In large heavy bottomed skillet combine thawed corn, butter, salt, pepper, and sugar.
-
Add heavy cream and bring to a boil over medium-high heat.
-
In a medium bowl, whisk together milk and flour. Add mixture to the skillet.
-
Bring to a boil then reduce heat to low and simmer for 10 minutes.
Nutrition
Calories: 362cal |
Carbohydrates: 28g |
Protein: 6g |
Fat: 27g |
Saturated Fat: 17g |
Polyunsaturated Fat: 1g |
Monounsaturated Fat: 7g |
Trans Fat: 0.2g |
Cholesterol: 82mg |
Sodium: 230mg |
Potassium: 349mg |
Fiber: 2g |
Sugar: 8g |
Vitamin A: 1062IU |
Vitamin C: 6mg |
Calcium: 96mg |
Iron: 1mg
Tried this Recipe? Pin it for Later!Follow on Pinterest @AmandasCookin or tag #AmandasCookin!
The recipes on this blog are tested with a conventional gas oven and gas stovetop. It’s important to note that some ovens, especially as they age, can cook and bake inconsistently. Using an inexpensive oven thermometer can assure you that your oven is truly heating to the proper temperature. If you use a toaster oven or countertop oven, please keep in mind that they may not distribute heat the same as a conventional full sized oven and you may need to adjust your cooking/baking times. In the case of recipes made with a pressure cooker, air fryer, slow cooker, or other appliance, a link to the appliances we use is listed within each respective recipe. For baking recipes where measurements are given by weight, please note that results may not be the same if cups are used instead, and we can’t guarantee success with that method.
