The Ultimate Chantilly Cake Recipe: A Decadent Berry & Cream Masterpiece
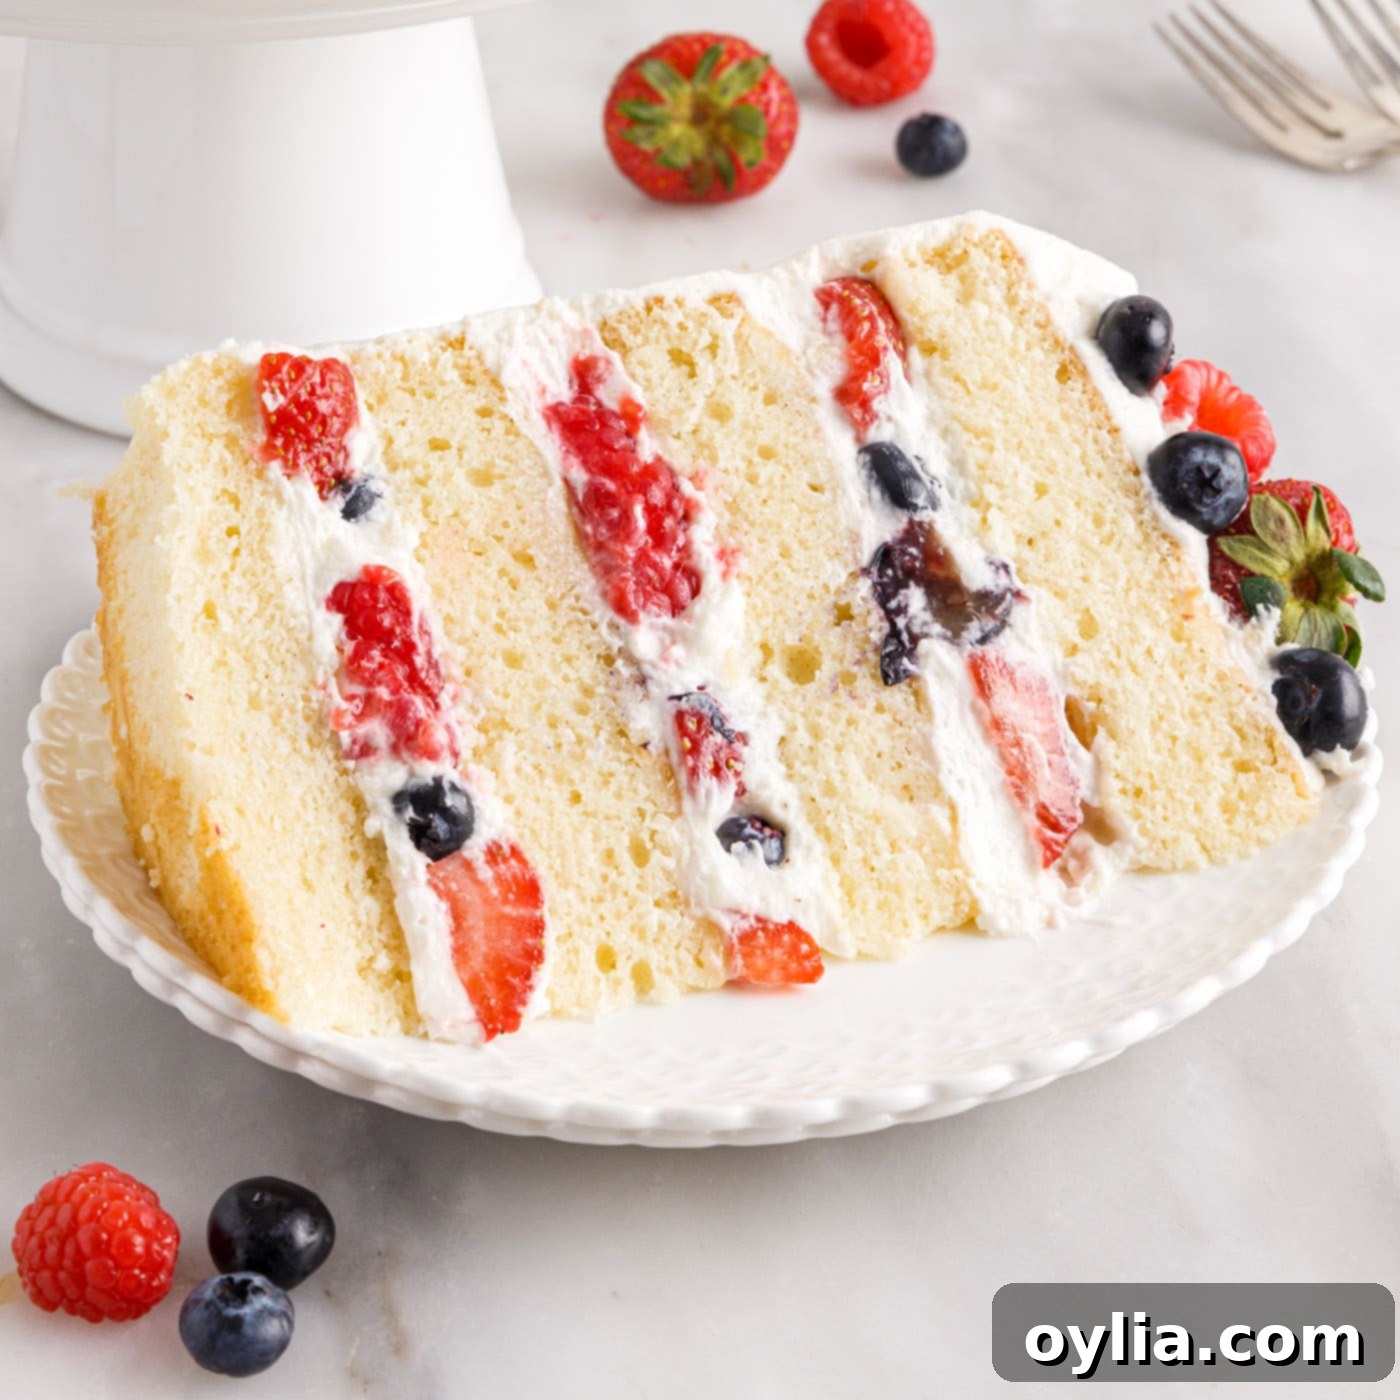
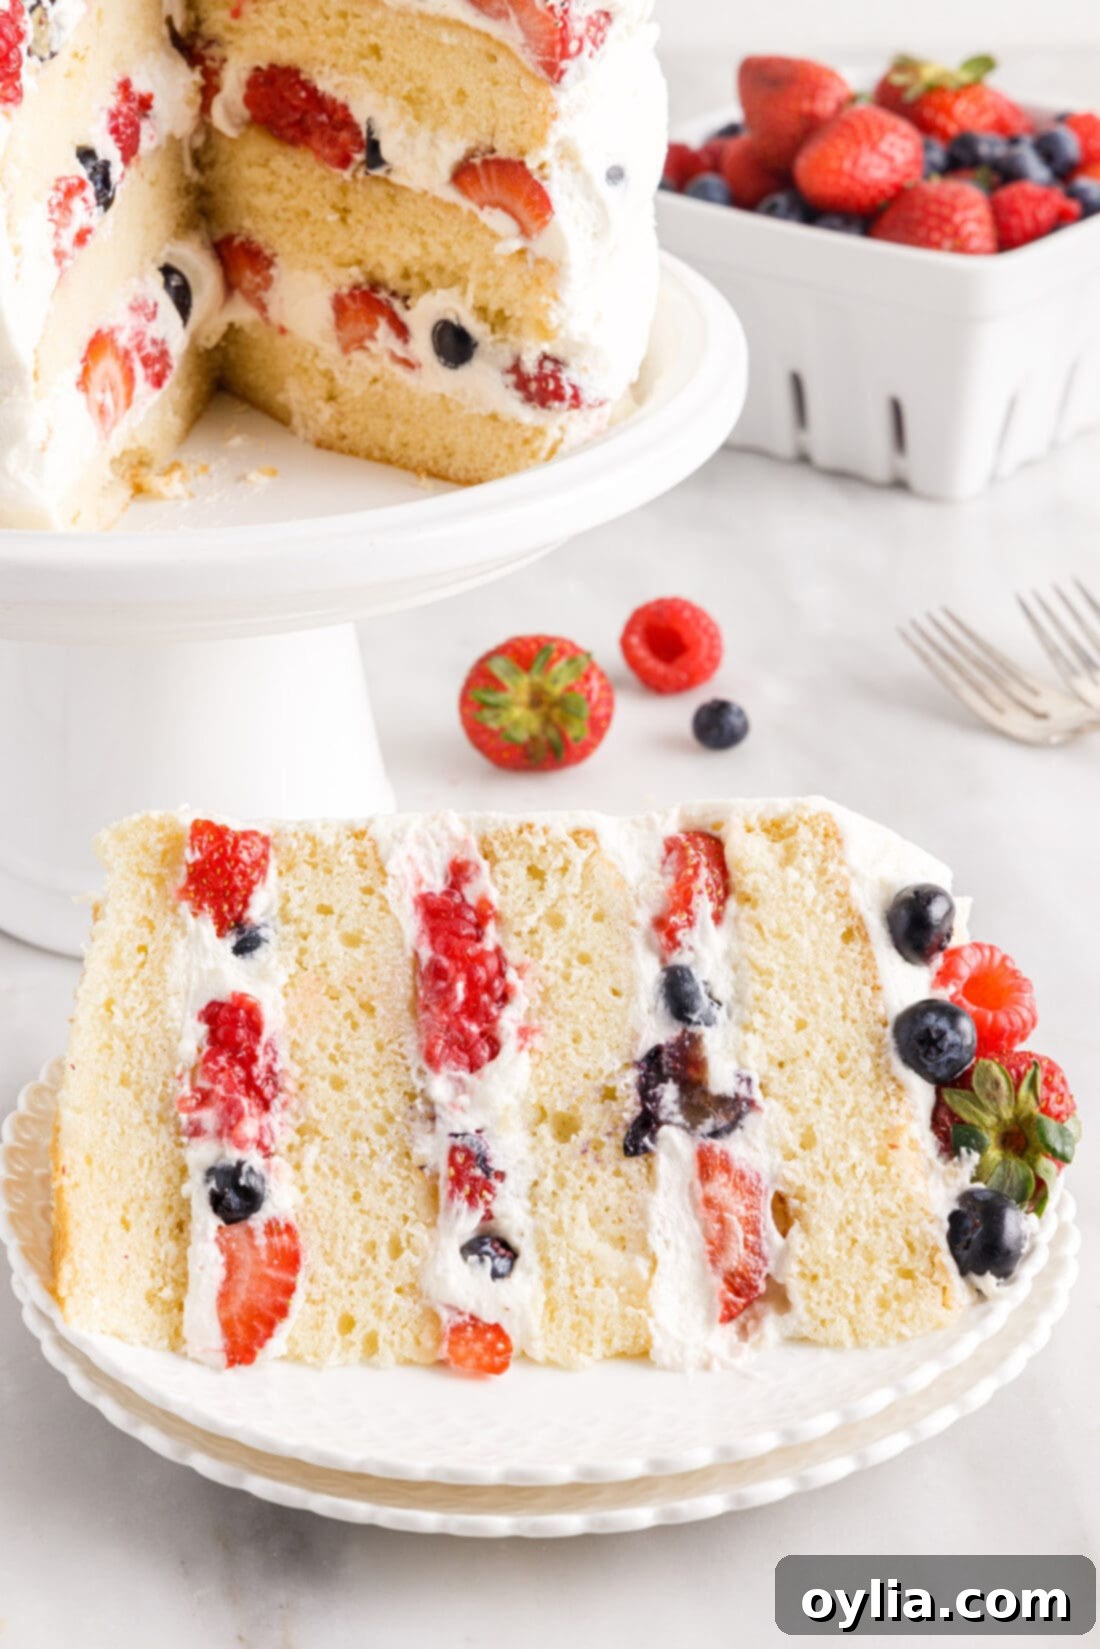
Prepare to be enchanted by the exquisite Chantilly Cake, a dessert that effortlessly combines elegance with incredible flavor. This recipe features remarkably light and airy vanilla cake layers, generously filled with a vibrant medley of fresh berries, and crowned with a luscious, fluffy Chantilly frosting that truly elevates every bite. More than just a cake, it’s a celebration in itself, perfect for birthdays, holidays, or any special gathering where you want to impress your guests with a stunning, homemade creation. While the delicate vanilla cake and juicy berries provide a delightful foundation, it’s the signature creamy Chantilly frosting – a divine blend of cream cheese, mascarpone, and whipped cream – that takes this cake from simply delicious to absolutely unforgettable. Get ready to bake a dessert that tastes as heavenly as it looks!
Why This Chantilly Cake Recipe is a Must-Try
In the world of fresh fruit cakes, the Chantilly cake undeniably stands in a league of its own. It’s not just a cake; it’s an experience, a harmonious symphony of textures and flavors that captivates from the first glance to the last bite. Imagine: a tender, moist vanilla cake that practically melts in your mouth, perfectly balanced by the vibrant tartness of fresh, ripe berries. Then, enveloping these layers is our unique Chantilly frosting—a dream-like cloud of creamy sweetness that’s both rich and remarkably light. This isn’t your average buttercream; it’s a sophisticated fusion that truly sets this cake apart, making it the epitome of a show-stopping dessert.
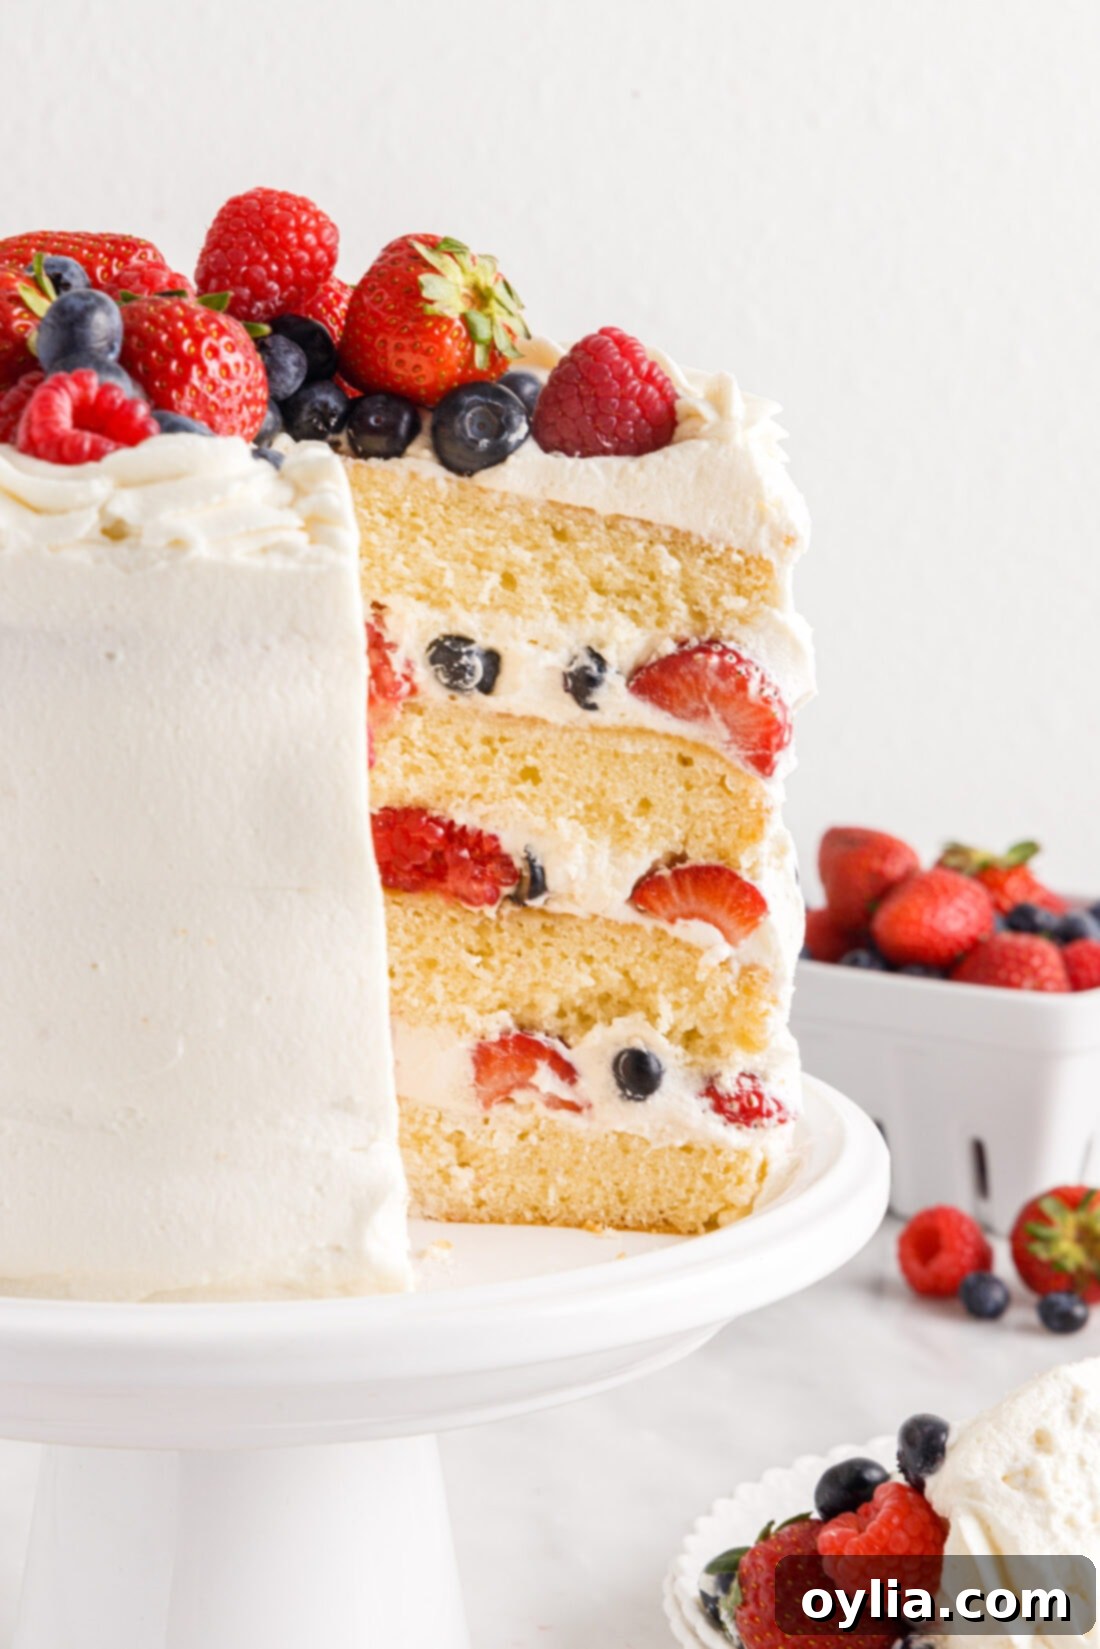
Many might look at this grand, layered dessert and assume it’s incredibly challenging to create. However, we’re here to demystify the process and show you just how achievable this impressive cake is for any home baker. Our recipe is broken down into manageable steps: you’ll start by baking two simple round vanilla cakes, then expertly slicing them to create four distinct layers. These layers are then generously piled high with sweet Chantilly frosting and an abundance of juicy berries, building a magnificent tower of deliciousness. The assembly is straightforward, and the essential chill time allows all the flavors to meld beautifully, ensuring every slice is a burst of balanced perfection. In fact, the most difficult part of preparing this show-stopping dessert is patiently waiting for it to be ready to slice and serve!
Ingredients You Will Need for a Perfect Chantilly Cake
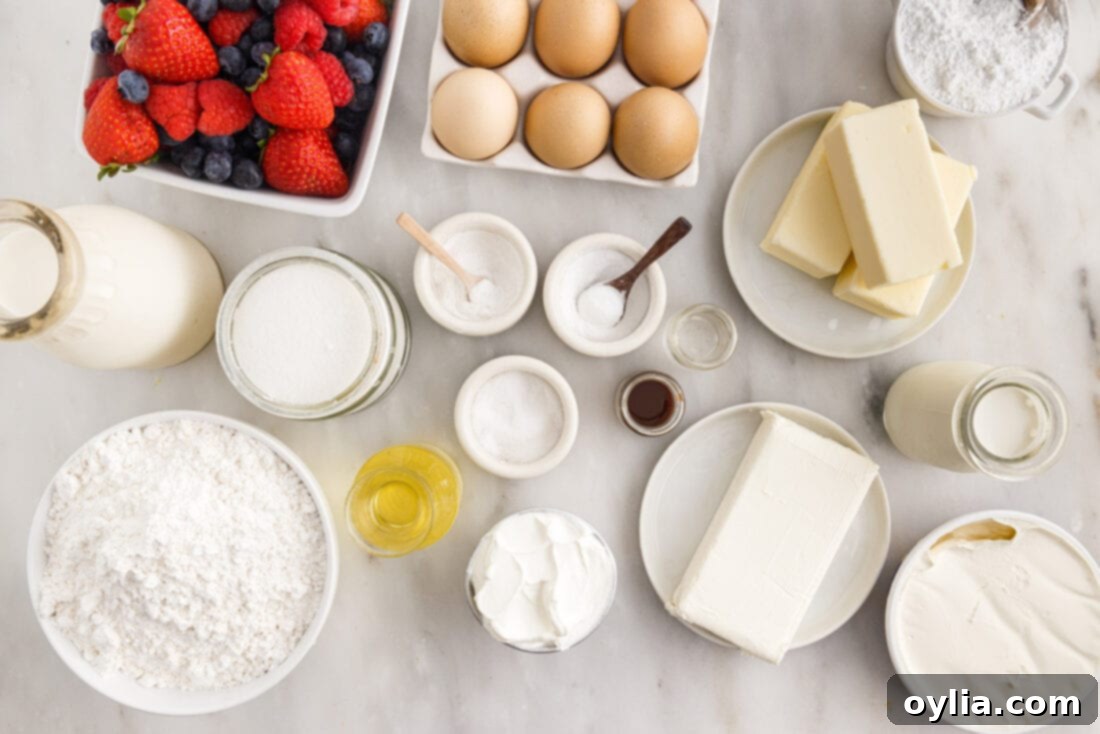
To embark on your Chantilly cake journey, you’ll need a selection of quality ingredients. Every component plays a vital role in achieving the cake’s signature taste and texture. All precise measurements, a full list of ingredients, and detailed instructions can be found in the printable recipe card located at the end of this comprehensive guide. Gathering all your ingredients and having them at the correct temperature before you begin will ensure a smooth and enjoyable baking process, leading to the best possible results.
Ingredient Information and Substitution Suggestions
CAKE – The foundation of an exceptional Chantilly cake lies in its delicate vanilla layers. For this, **cake flour** is highly recommended. It boasts a lower protein content and a finer grain compared to all-purpose flour, which results in an incredibly tender, soft, and airy crumb that’s characteristic of a truly premium cake. You’ll notice a remarkable difference in the texture. While you can use all-purpose flour as a substitute, be aware that your cake will likely have a denser, more substantial texture. If using all-purpose, you can attempt to mimic cake flour by removing two tablespoons of all-purpose flour per cup and replacing it with two tablespoons of cornstarch, then sifting them together thoroughly. This DIY method can help achieve a slightly lighter texture. Freezing the cakes once they are completely cooled makes cutting them in half, stacking, and frosting MUCH easier. The frozen cake layers are much firmer and less prone to crumbling. Don’t worry about serving a frozen cake; by the time you’ve finished the assembly and the cake has had its essential chill time, the layers will have perfectly defrosted, ensuring a delightful texture right from the first slice. You can freeze cooled cake layers for at least 2 hours or up to 1 week in advance.
BERRIES – Our go-to choice for this classic Chantilly cake includes a luscious combination of **fresh strawberries, blueberries, and raspberries**. This trio offers a beautiful balance of sweetness and a hint of tartness, along with stunning color, making each bite exciting. However, feel free to customize your berry selection based on your preference or seasonal availability. Blackberries also make a wonderful addition. We strongly advise using **fresh berries** over frozen. Fresh berries maintain their firm texture and vibrant flavor, which is paramount for the cake’s delicate structure and overall appeal. If circumstances require you to use frozen berries, ensure they are completely thawed and, most importantly, thoroughly patted dry before incorporating them into the cake. Excess moisture from thawing berries can make your cake soggy and compromise the frosting’s consistency.
FROSTING – The Chantilly frosting is undoubtedly the crown jewel of this cake, a truly unique and luxurious topping. It’s a sophisticated hybrid, marrying the richness of cream cheese frosting with the delicate airiness of whipped cream. The secret to its unparalleled creamy, smooth, yet incredibly light and fluffy texture lies in the precise combination of **cream cheese, mascarpone cheese, and freshly whipped heavy cream**. Mascarpone, an Italian cream cheese, adds an extra layer of richness and a silky mouthfeel that distinguishes it from standard cream cheese frosting. The **almond extract** contributes a subtle, elegant depth of flavor that complements the berries beautifully. If you prefer, you can omit the almond extract entirely or substitute it with an additional teaspoon of vanilla extract for a purely vanilla profile. When whipping the heavy cream, aim for stiff peaks to ensure your frosting holds its shape and maintains its impressive height and airiness throughout the cake.
How to Make a Classic Chantilly Cake: Step-by-Step Instructions
Creating this magnificent Chantilly cake is a rewarding process, and with these detailed steps and expert tips, you’ll achieve a bakery-worthy masterpiece. Remember to read through the entire recipe before you begin, and gather all your ingredients to ensure a smooth baking experience. Below, you’ll find step-by-step photos to guide you visually through each stage. For a convenient printable version with exact measurements and instructions, scroll down to the full recipe card.
- Preheat your oven to 350°F (175°C). Properly prepare two – 8” round cake pans by coating them generously with nonstick cooking spray. For easy release and to prevent sticking, line the bottom of each pan with a round of parchment paper. This ensures your beautiful cake layers come out perfectly intact.
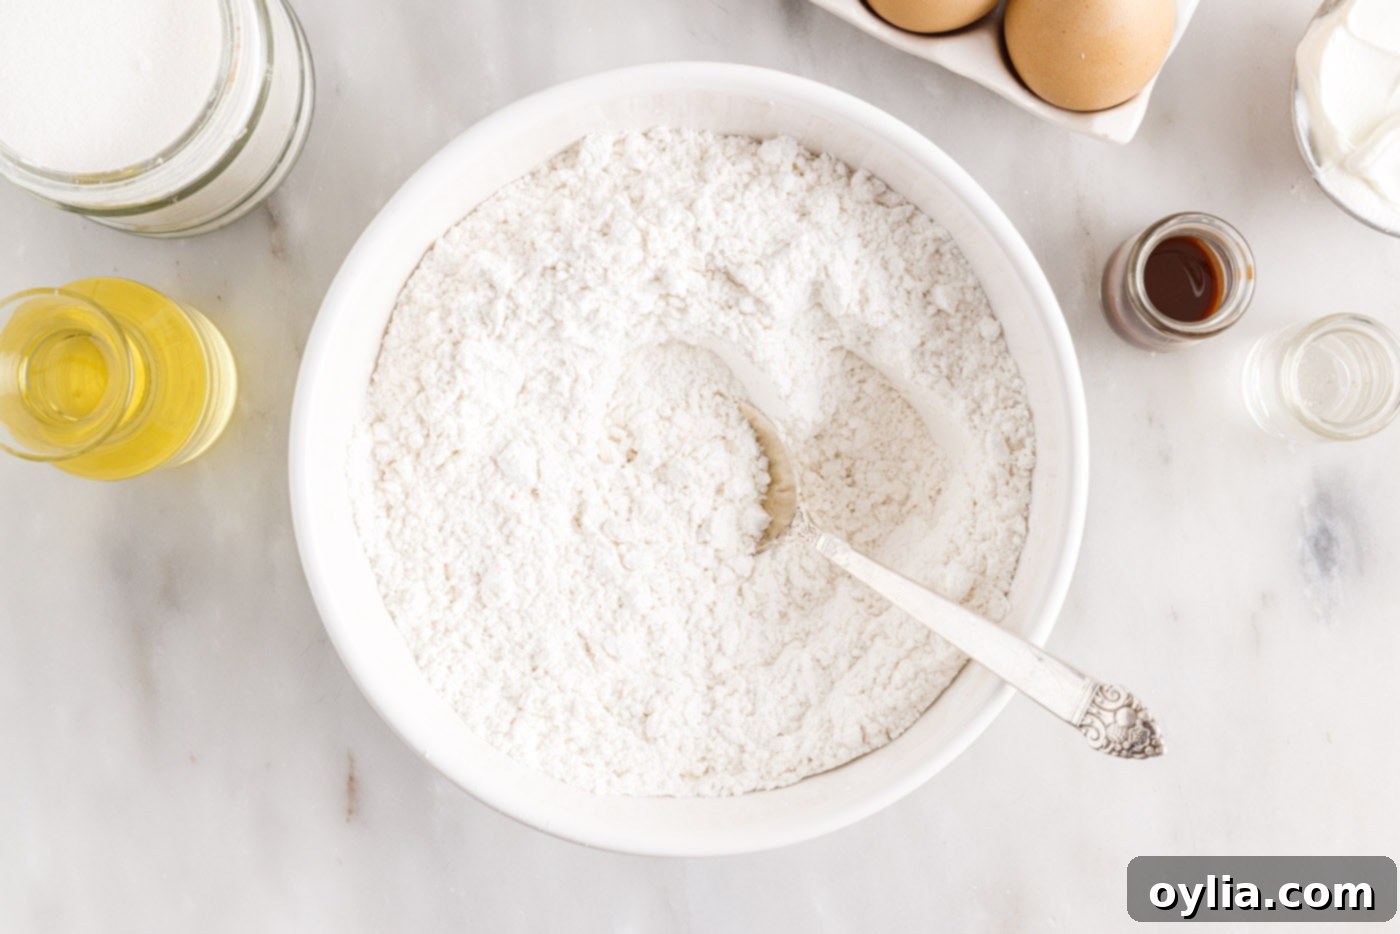
- Accurate flour measurement is the single most critical step for achieving a light, tender, and airy cake crumb, rather than a dense one. Do NOT scoop the flour directly from the bag. Instead, gently aerate or ‘fluff’ the cake flour with a spoon directly in its container. Then, delicately spoon the fluffed flour into your dry measuring cup until it overflows slightly. Use the straight edge of a knife or an offset spatula to level off the top, sweeping away any excess without compacting the flour. This method, often called the ‘spoon and level’ method, prevents over-packing the flour, which would lead to a heavier cake. Add this perfectly measured cake flour to a large mixing bowl.
EXPERT TIP – Measuring the flour correctly is the most important step to making a light and airy cake that is not dense. You never want to pack flour into a measuring cup; you want it to be aerated and light going into the cup, ensuring a delicate crumb.

- To the measured flour, add the sea salt, baking powder, and baking soda. Whisk these dry ingredients together thoroughly for about 30 seconds to ensure they are well combined and evenly distributed. This ensures consistent leavening throughout your cake.
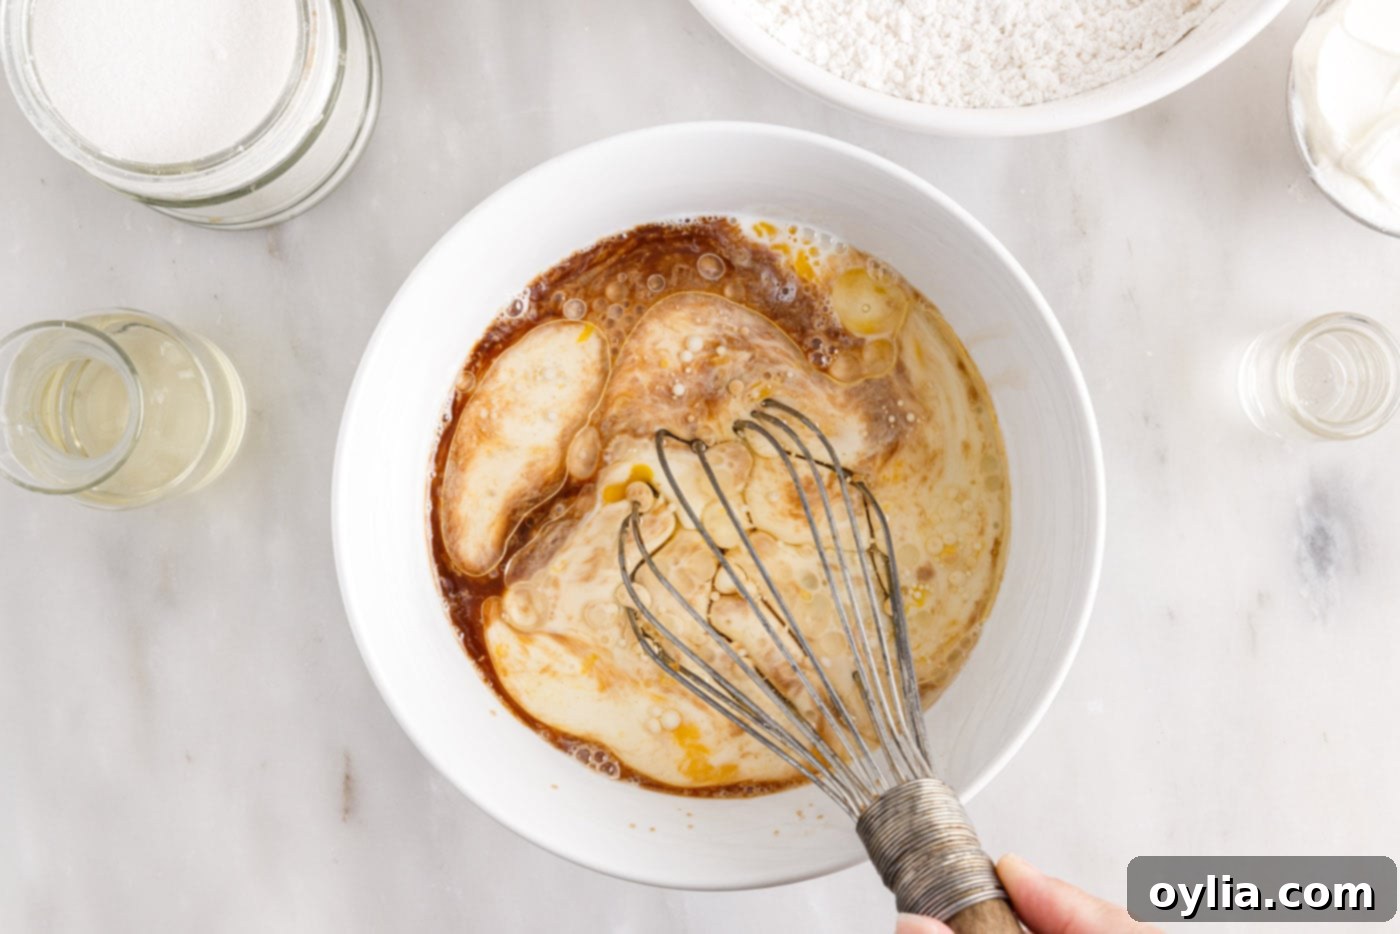
- In a separate, medium-sized bowl, combine the wet ingredients: eggs (ensure they are at room temperature for better emulsification), whole milk, vegetable oil, sour cream, and vanilla extract. Whisk them together until completely smooth and well integrated. The sour cream adds an incredible moistness and a slight tang to the cake.

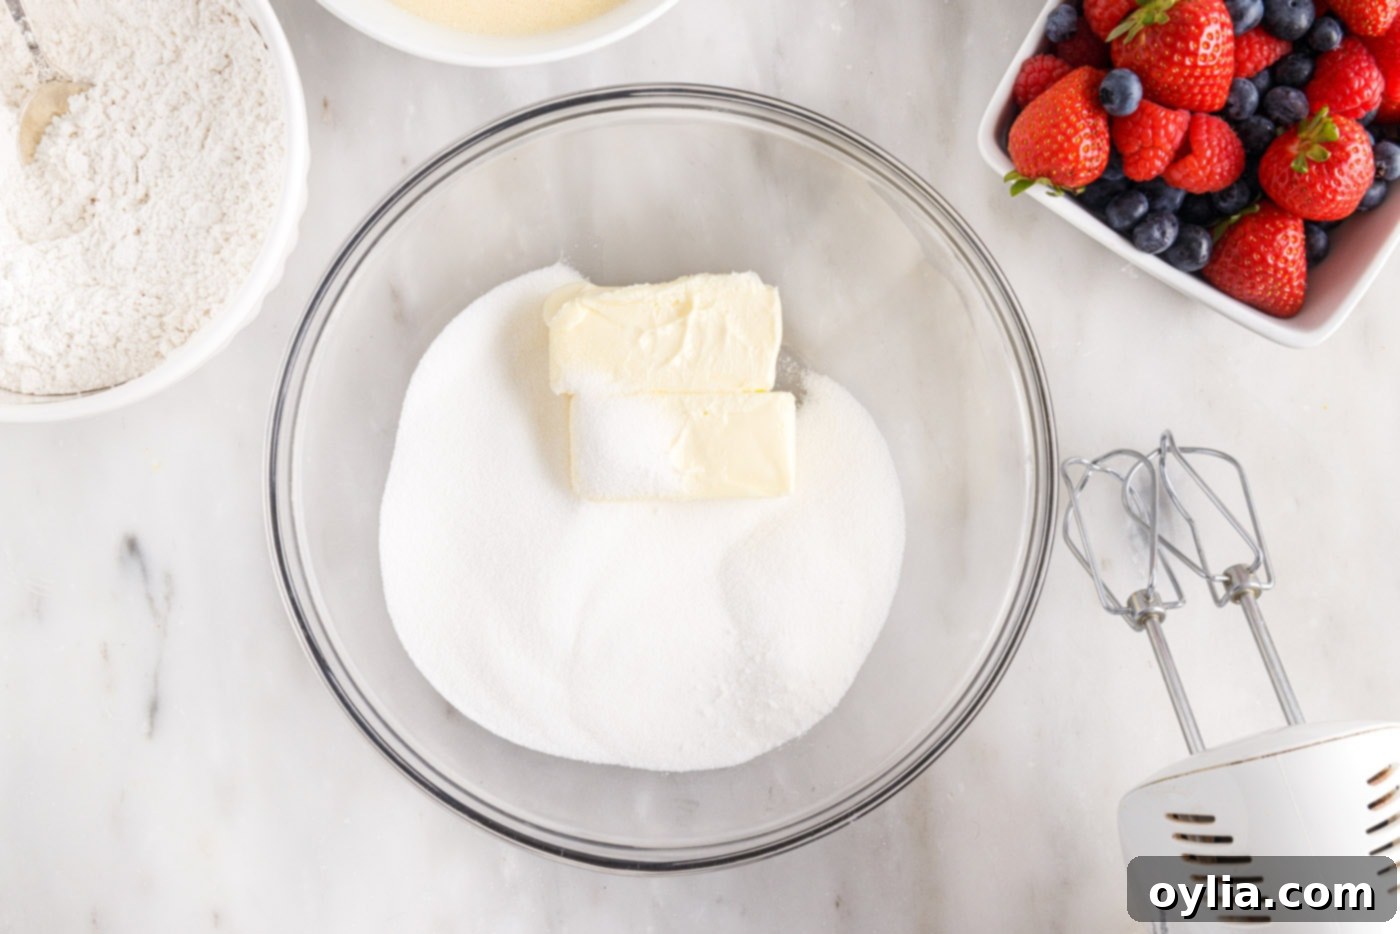
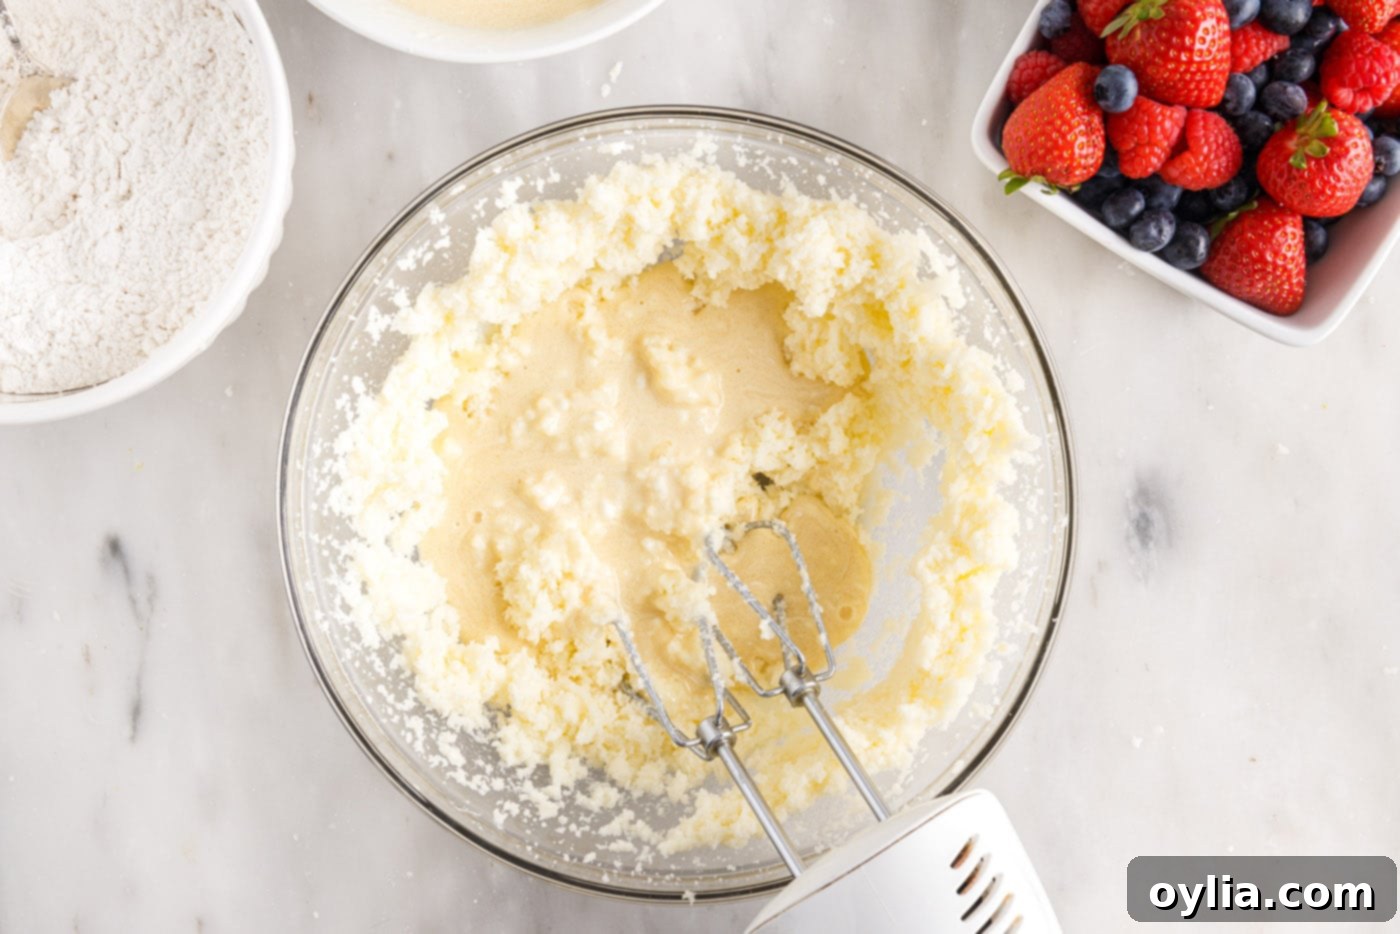
- In a third, larger mixing bowl, using an electric mixer (either a stand mixer with a paddle attachment or a handheld mixer), cream together the softened unsalted butter and granulated sugar. Beat on high speed for 2-3 minutes, or until the mixture becomes visibly light in color and incredibly fluffy. Make sure to stop and scrape down the sides and bottom of the bowl frequently with a rubber spatula to ensure everything is evenly incorporated.

- Now, it’s time to gradually combine your wet and dry mixtures with the creamed butter and sugar. This process should be done in alternating additions, beginning and ending with the wet ingredients to ensure proper emulsification. Add approximately one-third of the milk mixture to the butter mixture, and mix on low speed until just combined. Next, add half of the flour mixture, mixing until barely incorporated. Follow with another third of the milk mixture, then the remaining flour mixture, and finally, the remaining milk mixture. Be very careful not to overmix the batter at this stage; overmixing develops gluten, leading to a tough, dry cake. Mix only until the ingredients are just combined and no streaks of dry flour remain.


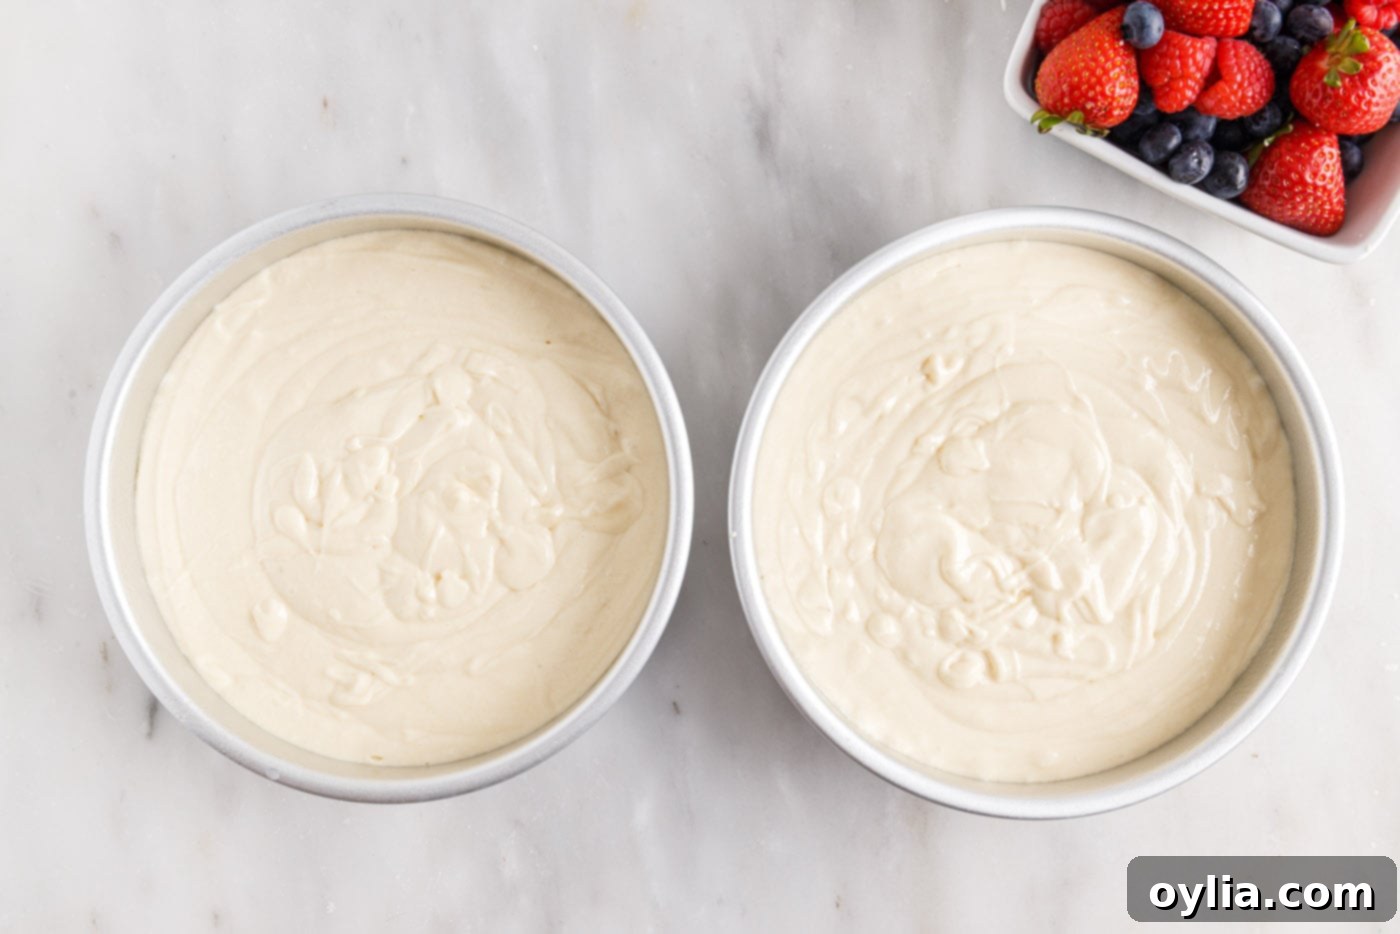
- Divide the prepared cake batter evenly between your two parchment-lined 8-inch round cake pans. Gently tap the pans on the counter a couple of times to release any large air bubbles and level the batter for even baking.

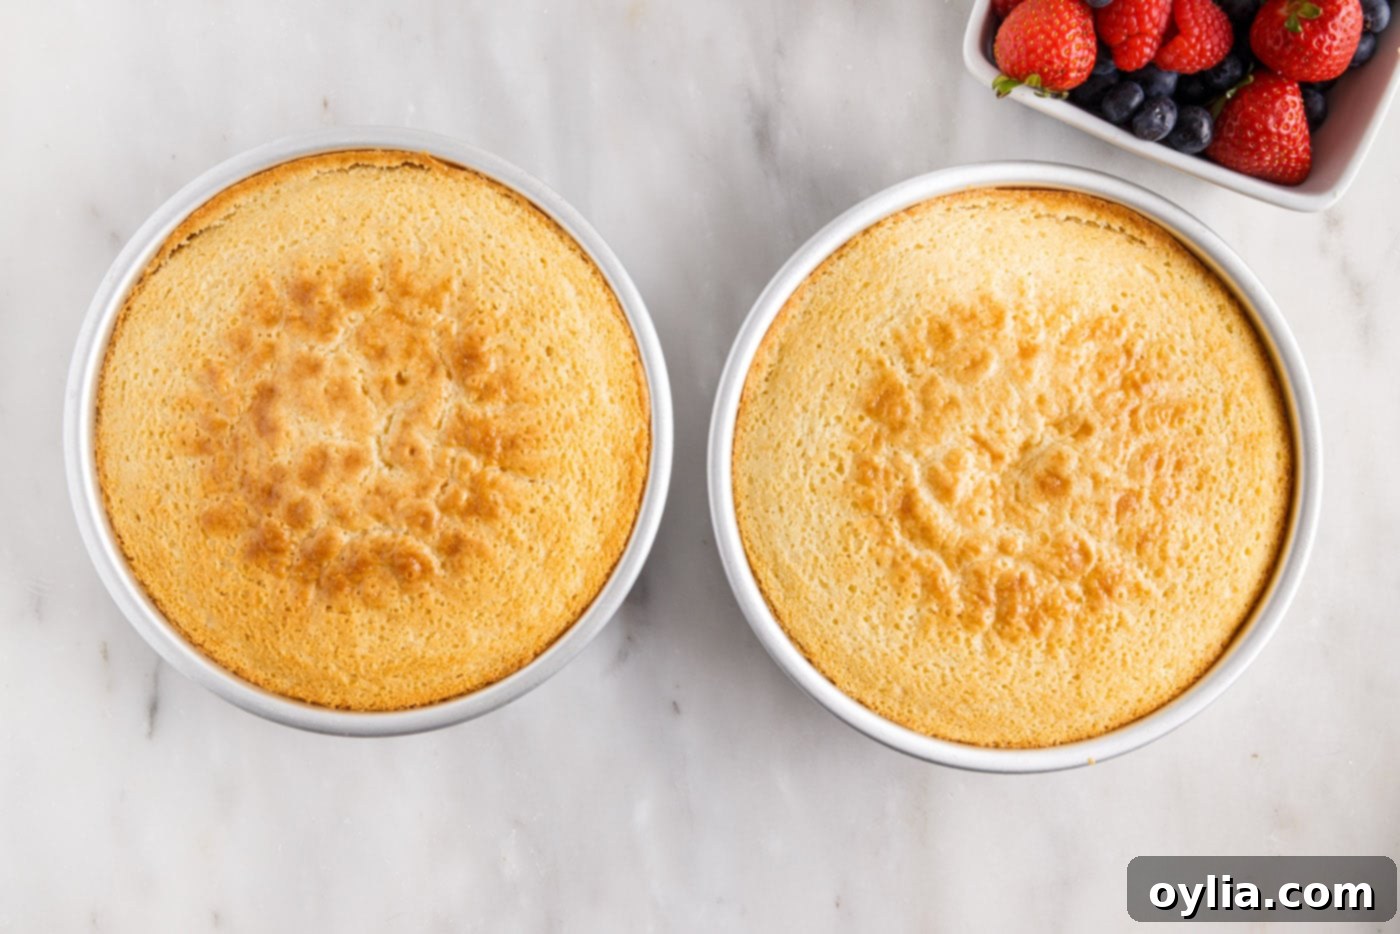
- Bake the cakes in your preheated oven for 40-45 minutes. The cakes are done when a wooden toothpick or cake tester inserted into the center comes out clean or with only a few moist crumbs attached. The tops should be golden brown and spring back lightly when gently pressed. Avoid opening the oven door too frequently during baking.

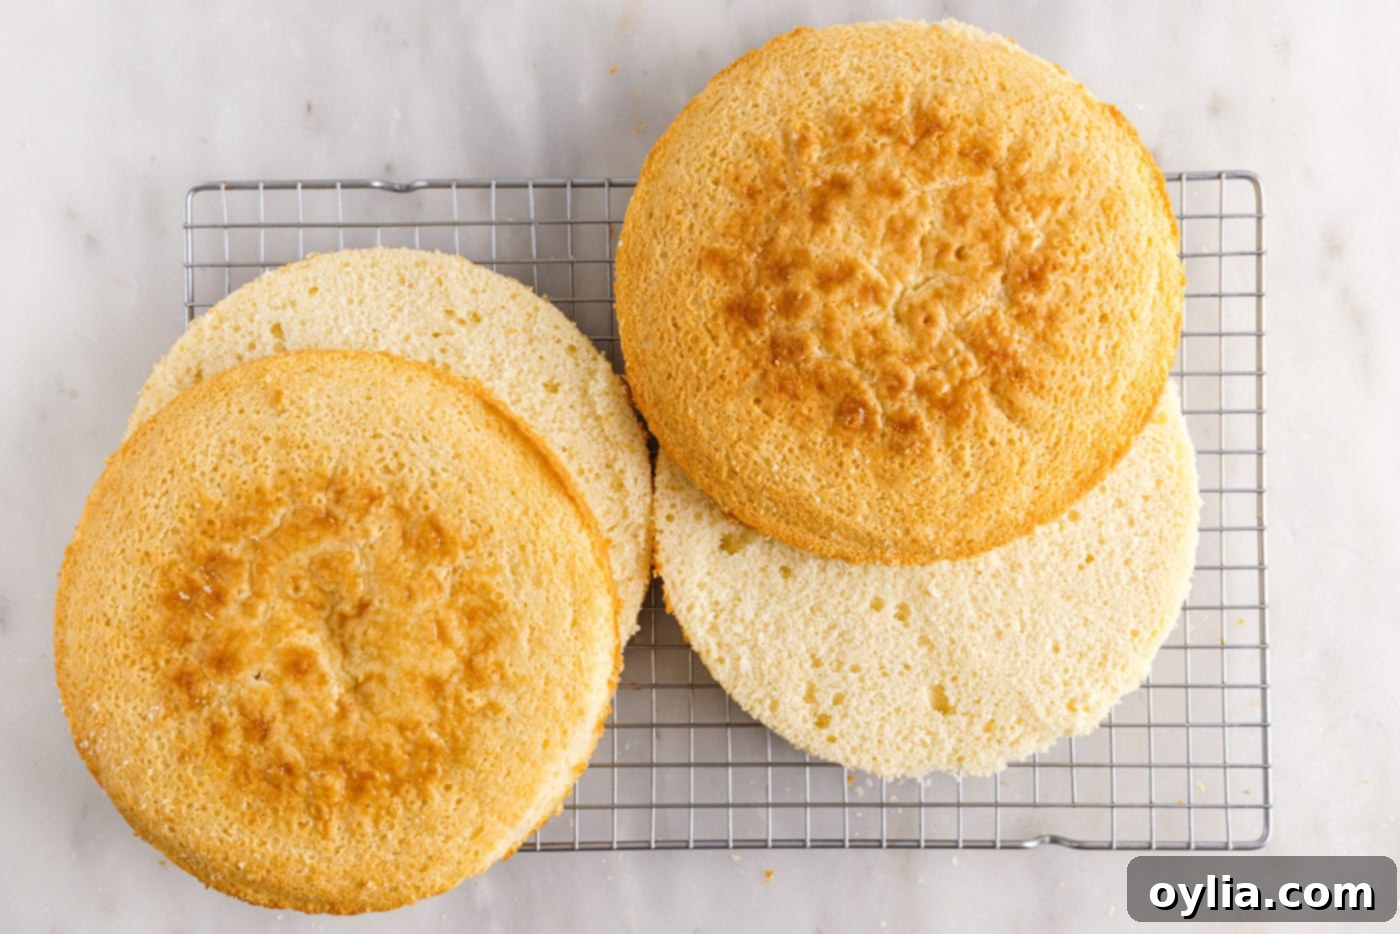
- Once baked, remove the cakes from the oven and allow them to cool in their pans on a wire rack for about 10-15 minutes. Then, carefully invert them onto the wire rack, remove the parchment paper, and let them cool completely to room temperature. This step is critical before freezing. Once completely cool, wrap each cake layer tightly in plastic wrap and freeze them for a minimum of 2 hours (or up to 1 week in advance). Freezing them makes slicing much easier and prevents crumbling, especially when creating multiple thin layers.
- While your cakes are chilling, prepare the exquisite Chantilly frosting. In a large mixing bowl, beat together the softened unsalted butter, cream cheese, and mascarpone cheese using an electric mixer. Beat on medium-high speed until the mixture is light, fluffy, and completely smooth, with no lumps of cream cheese remaining. Scrape down the bowl as needed.

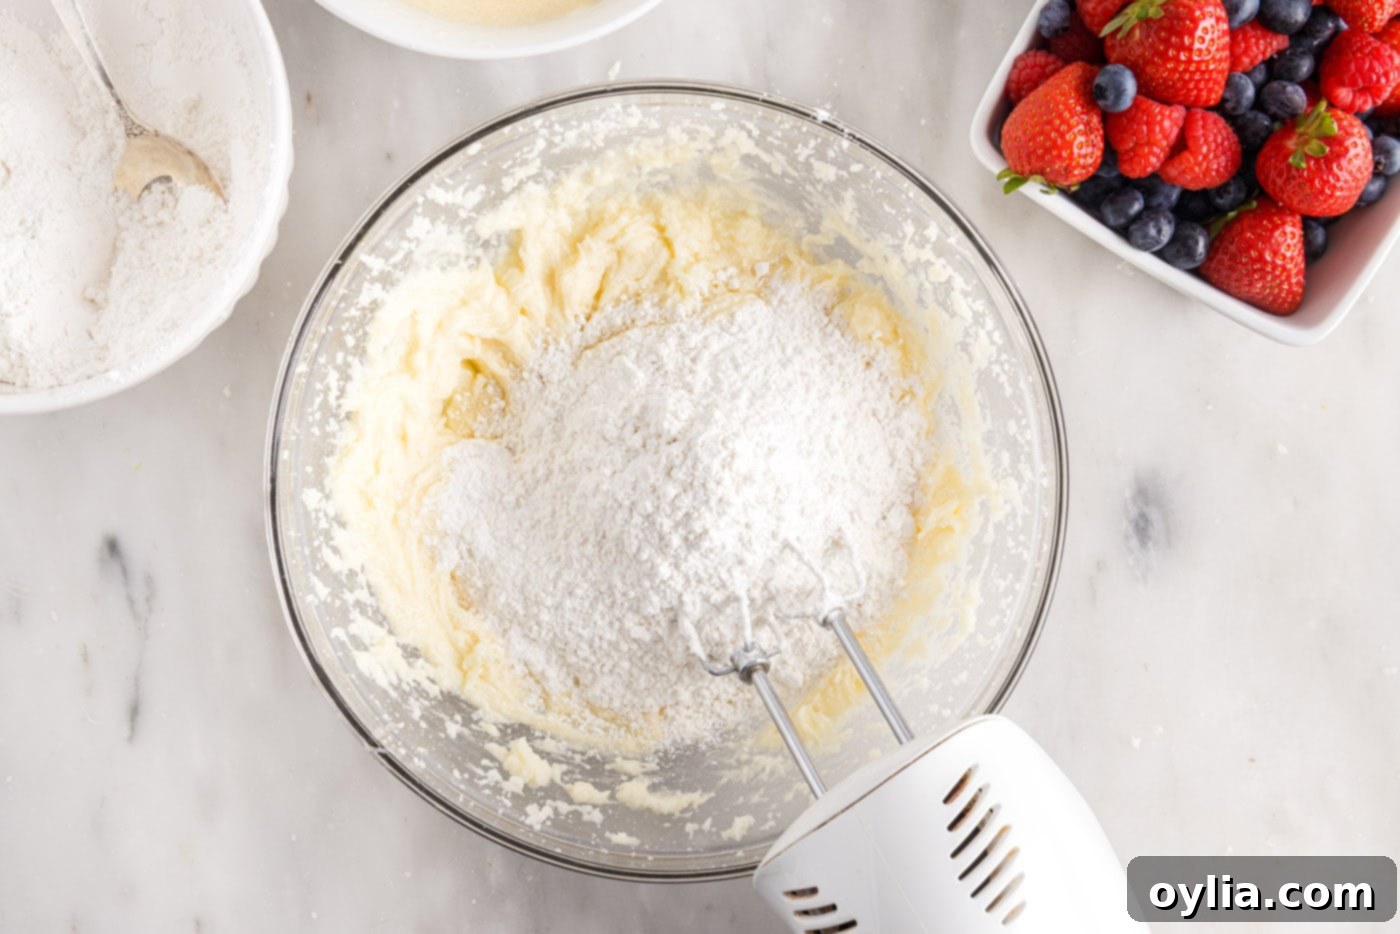
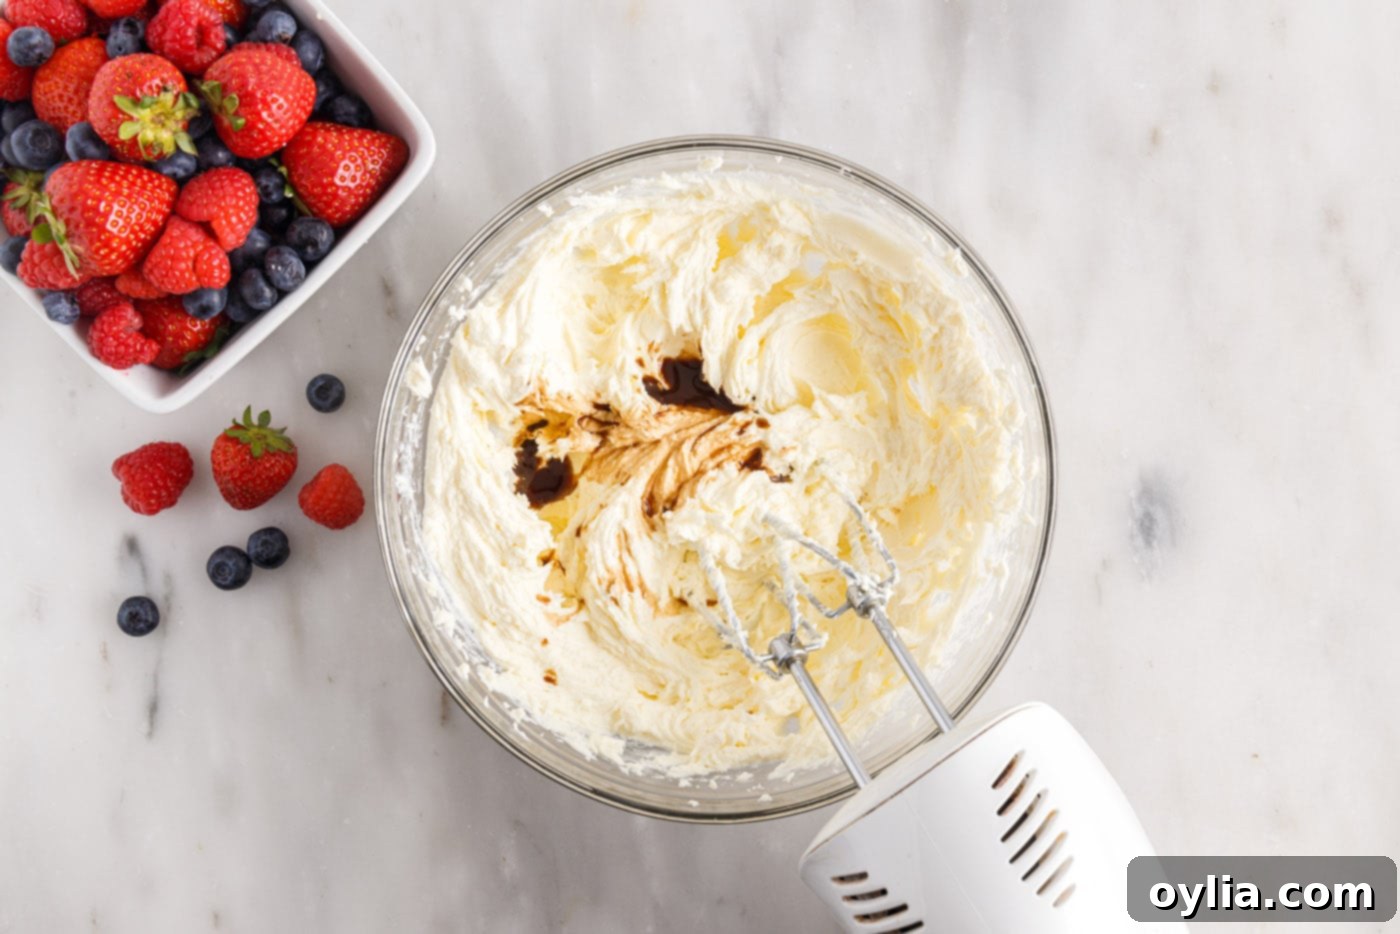
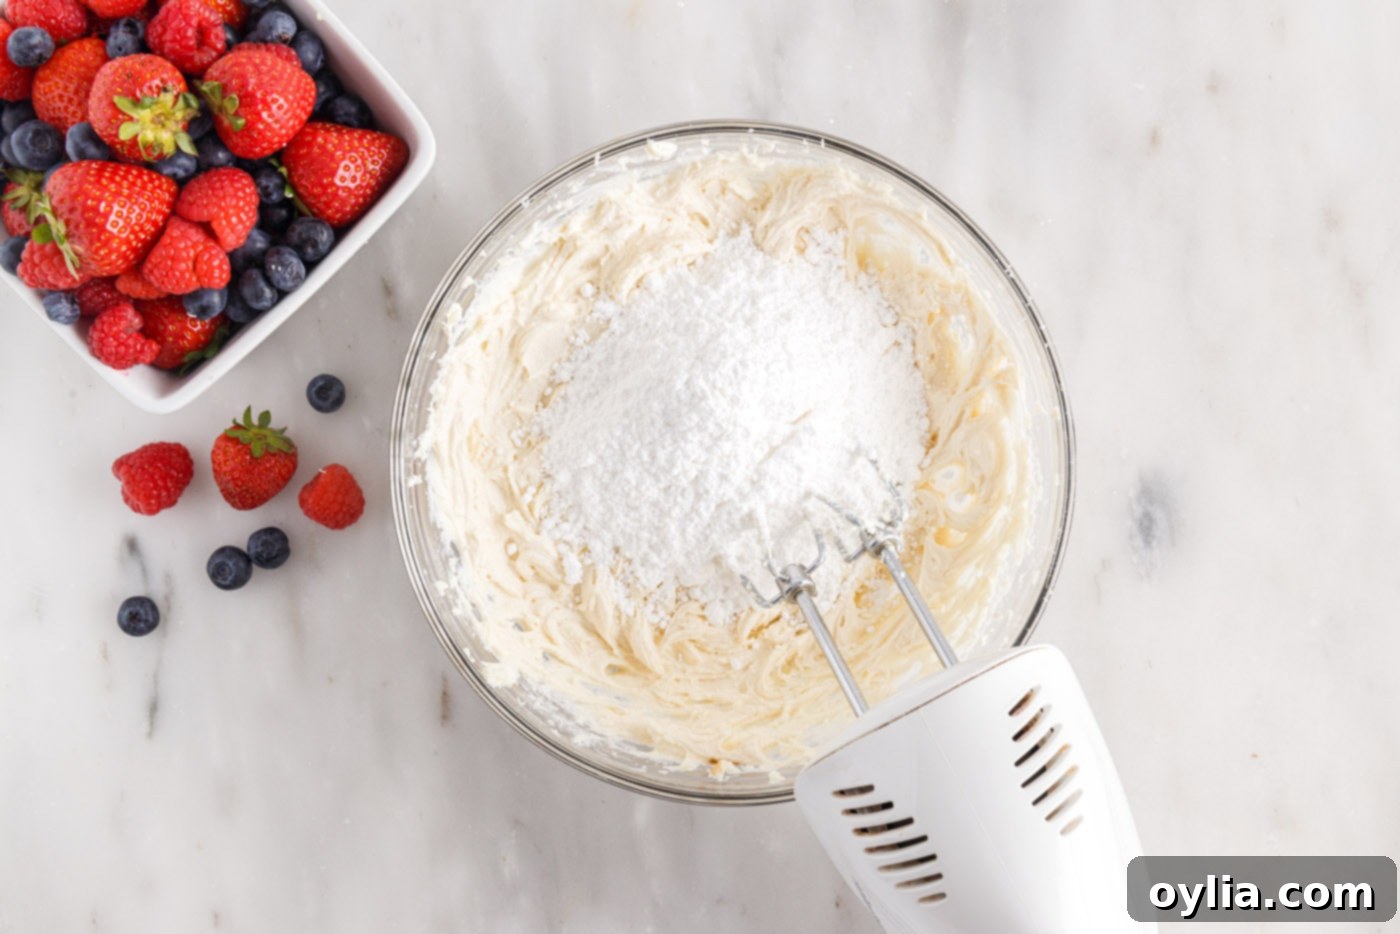
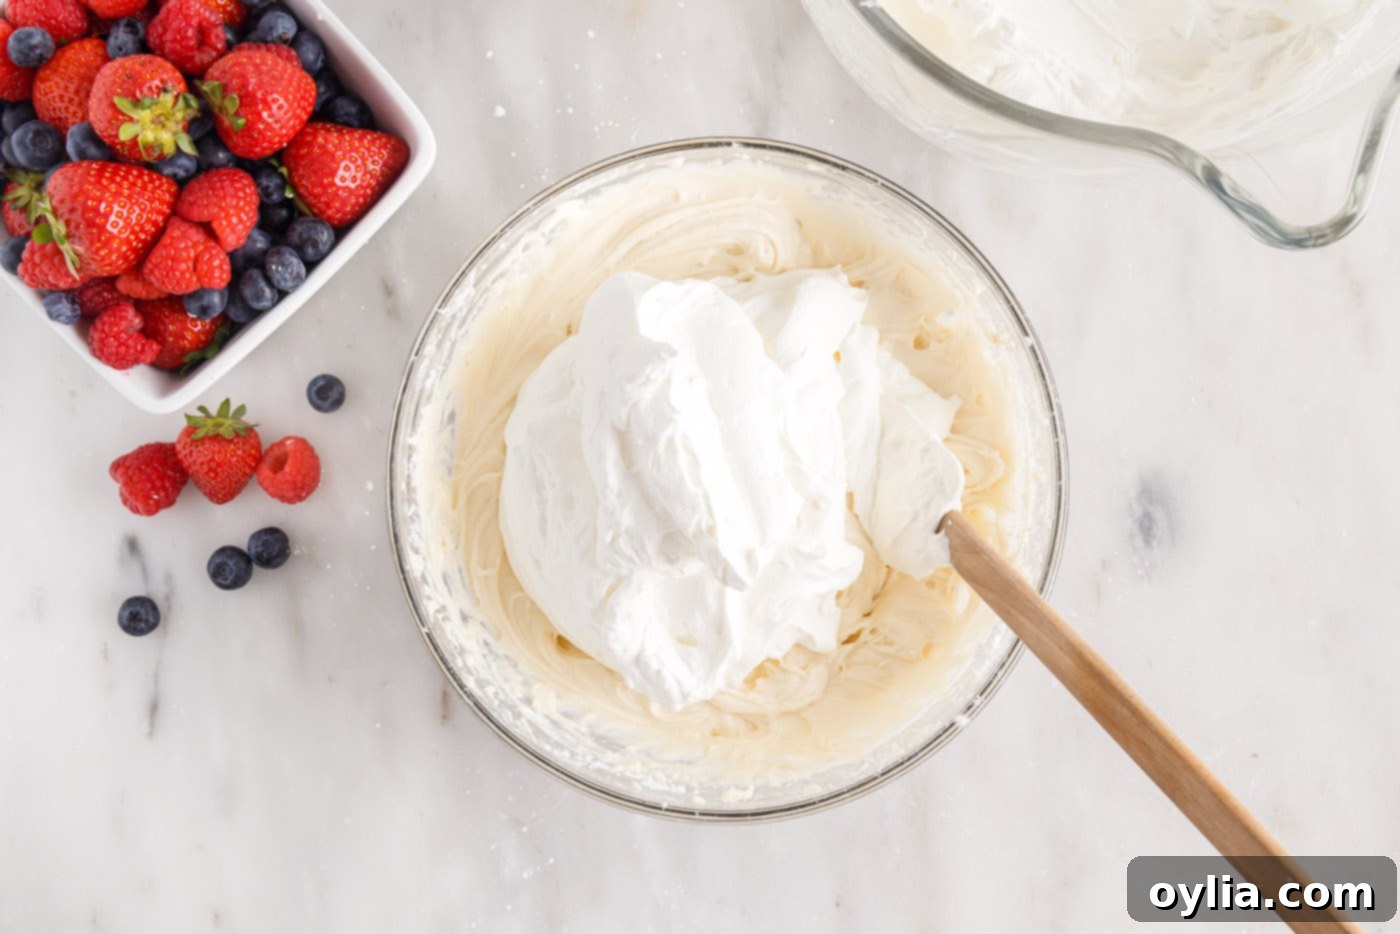
- To the cream cheese mixture, add the vanilla extract, almond extract (if using), and gradually incorporate the powdered sugar, beating until smooth and well combined. In a separate, clean, and chilled bowl, whip the heavy cream with an electric mixer until stiff peaks form. This means when you lift the beaters, the cream stands up firmly. Gently fold the whipped cream into the cream cheese/mascarpone mixture using a rubber spatula until just combined. Be careful not to deflate the whipped cream; this is what gives the Chantilly frosting its signature airy texture.


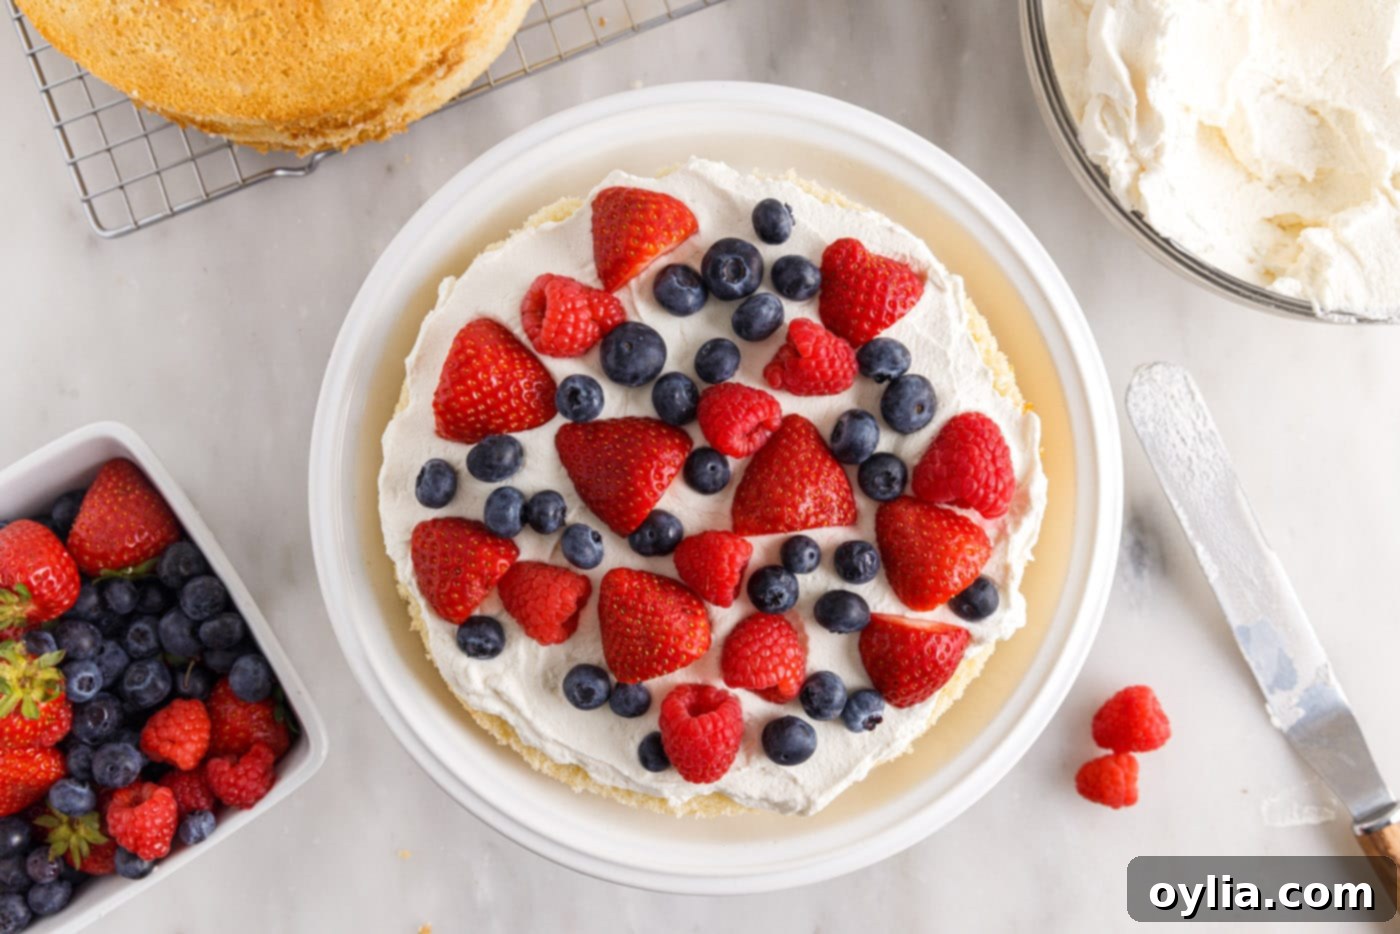
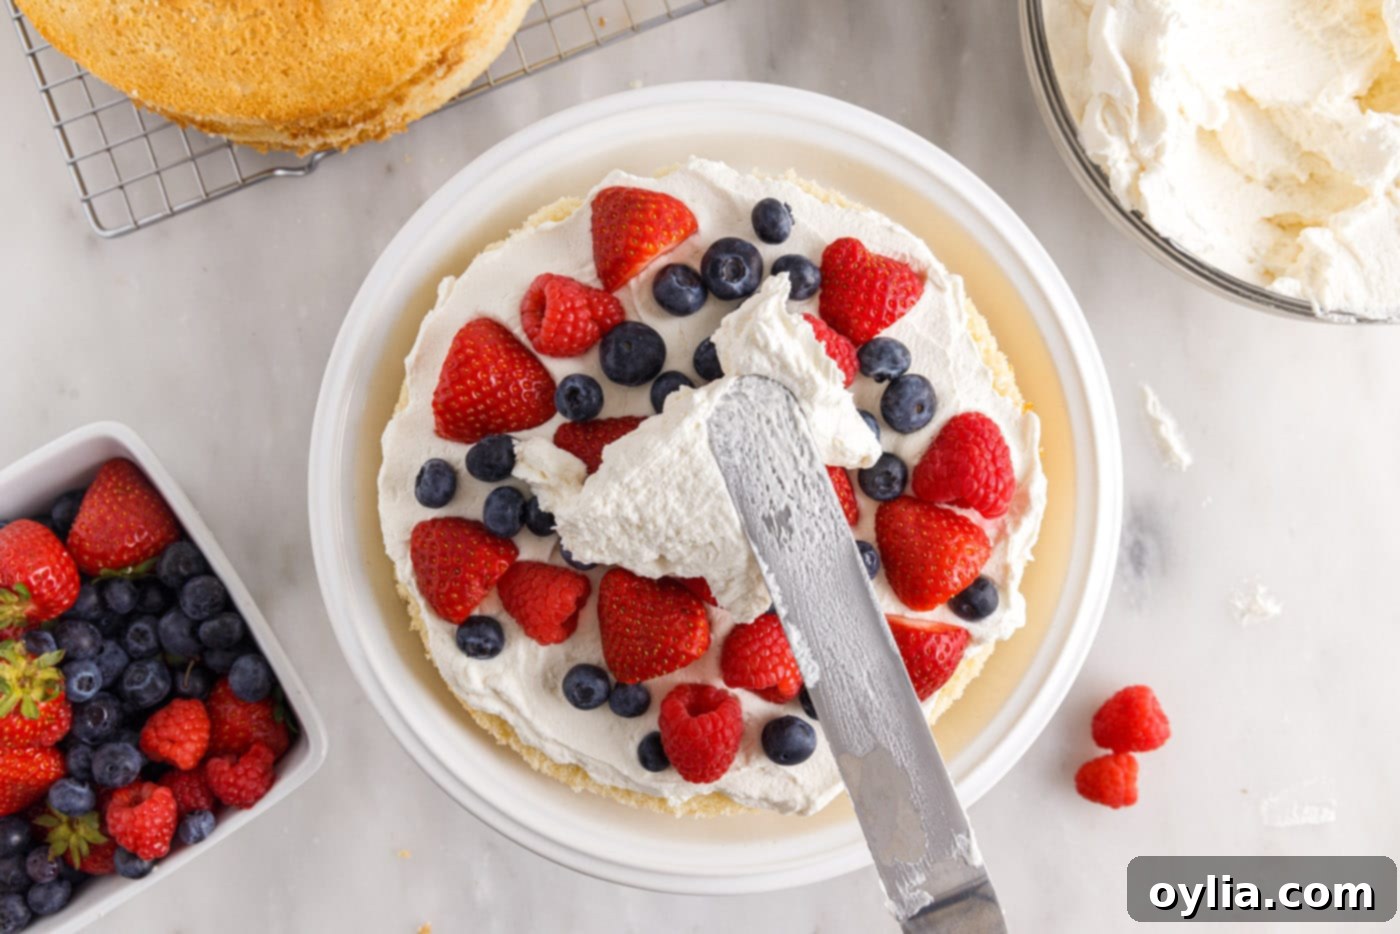
- Now for assembly! Carefully slice each cooled (and preferably frozen) cake in half horizontally using a long serrated knife or a cake leveler, yielding four even layers. Place the first cake layer on your chosen serving platter or cake stand. Spread about ½ cup of the prepared Chantilly frosting evenly across the top of this layer. Arrange a generous single layer of mixed fresh berries (approximately ½ cup of each type) over the frosting. Add a little more Chantilly frosting over the berries to help “sandwich” them in place and create a stable base for the next layer. Carefully place the second cake layer on top, pressing gently. Repeat this process, adding frosting and berries, until all four cake layers are stacked high and magnificent.


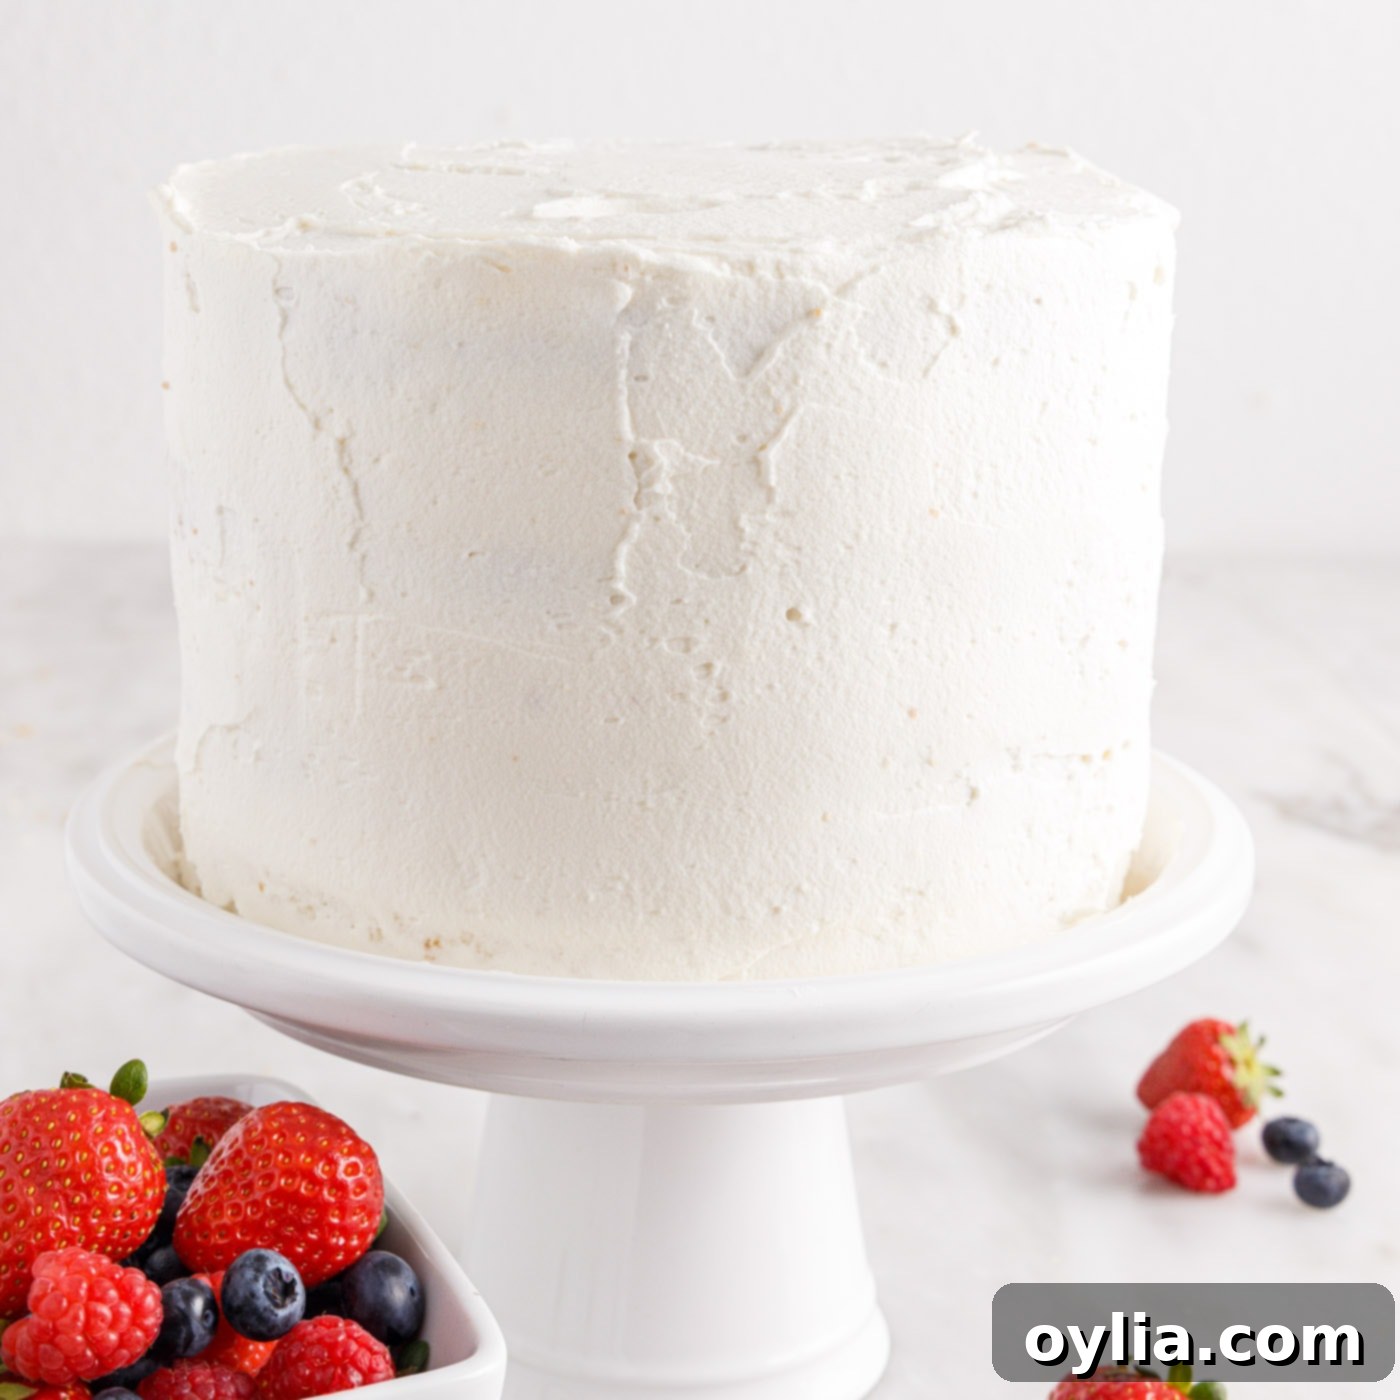
- Once your four-layer cake is assembled, mound the remaining Chantilly frosting on top. Using a large offset spatula, gracefully spread the frosting over the top of the cake, then work your way down the sides, creating a beautiful, smooth, or artfully textured finish. Don’t worry about perfection; rustic swirls can be just as charming and inviting!

- Finally, for a stunning presentation, generously top your frosted Chantilly cake with an abundance of fresh berries. Arrange them artfully or pile them high for a rustic look. Keep the completed cake refrigerated until you are ready to serve to maintain the frosting’s perfect consistency and the berries’ freshness.
Frequently Asked Questions & Expert Tips for Chantilly Cake
Your beautifully assembled Chantilly cake is best enjoyed fresh, but it can be stored in the refrigerator for 2-3 days. To maintain its freshness and prevent it from drying out or absorbing refrigerator odors, ensure it is covered with an air-tight lid. A specialized cake container is ideal for both storage and safe transportation.
Yes, a fully assembled Chantilly cake can be frozen for up to 1 month. However, it’s important to note a slight change in texture: the fresh berries will become softer and potentially release more water upon thawing. For the best results when freezing, we recommend freezing the cake layers *before* frosting and assembly. Wrap individual layers tightly in plastic wrap and then foil, and they’ll keep well for up to 3 months. Thaw frozen layers overnight in the refrigerator before proceeding with frosting and assembly.
Absolutely! This cake is perfect for advance preparation, making it a fantastic choice for entertaining. You can bake the cake layers a day or two in advance. Once completely cooled, wrap them tightly in plastic wrap and store them in the refrigerator or freeze them (as suggested above) until you’re ready to assemble. For optimal freshness and texture, we highly recommend preparing the Chantilly frosting on the day of assembly.
While traditional Chantilly cream is simply sweetened whipped cream, our Chantilly frosting takes it to another level. By incorporating cream cheese and mascarpone cheese alongside whipped cream, we achieve a richer, more stable, and incredibly luxurious frosting that still retains a delightful airiness. The cheeses add depth, tang, and body, allowing it to hold up beautifully in a layered cake, unlike plain whipped cream which can soften quickly.
While a classic vanilla cake perfectly complements the berry and cream flavors, you can certainly experiment! A lemon-flavored cake would add a zesty brightness, or a subtle almond cake could enhance the almond extract in the frosting. Just ensure the cake flavor isn’t too overpowering so the delicate Chantilly and fresh berries can truly shine through.
Beyond simply spreading the frosting, you can pipe decorative borders or rosettes on top of the cake using a piping bag and a large star tip. Arrange berries in a beautiful pattern, or create an abundant mound of mixed berries in the center for a rustic, overflowing look. Dusting with a little powdered sugar just before serving can add a final elegant touch.
Serving Suggestions for Your Elegant Chantilly Cake
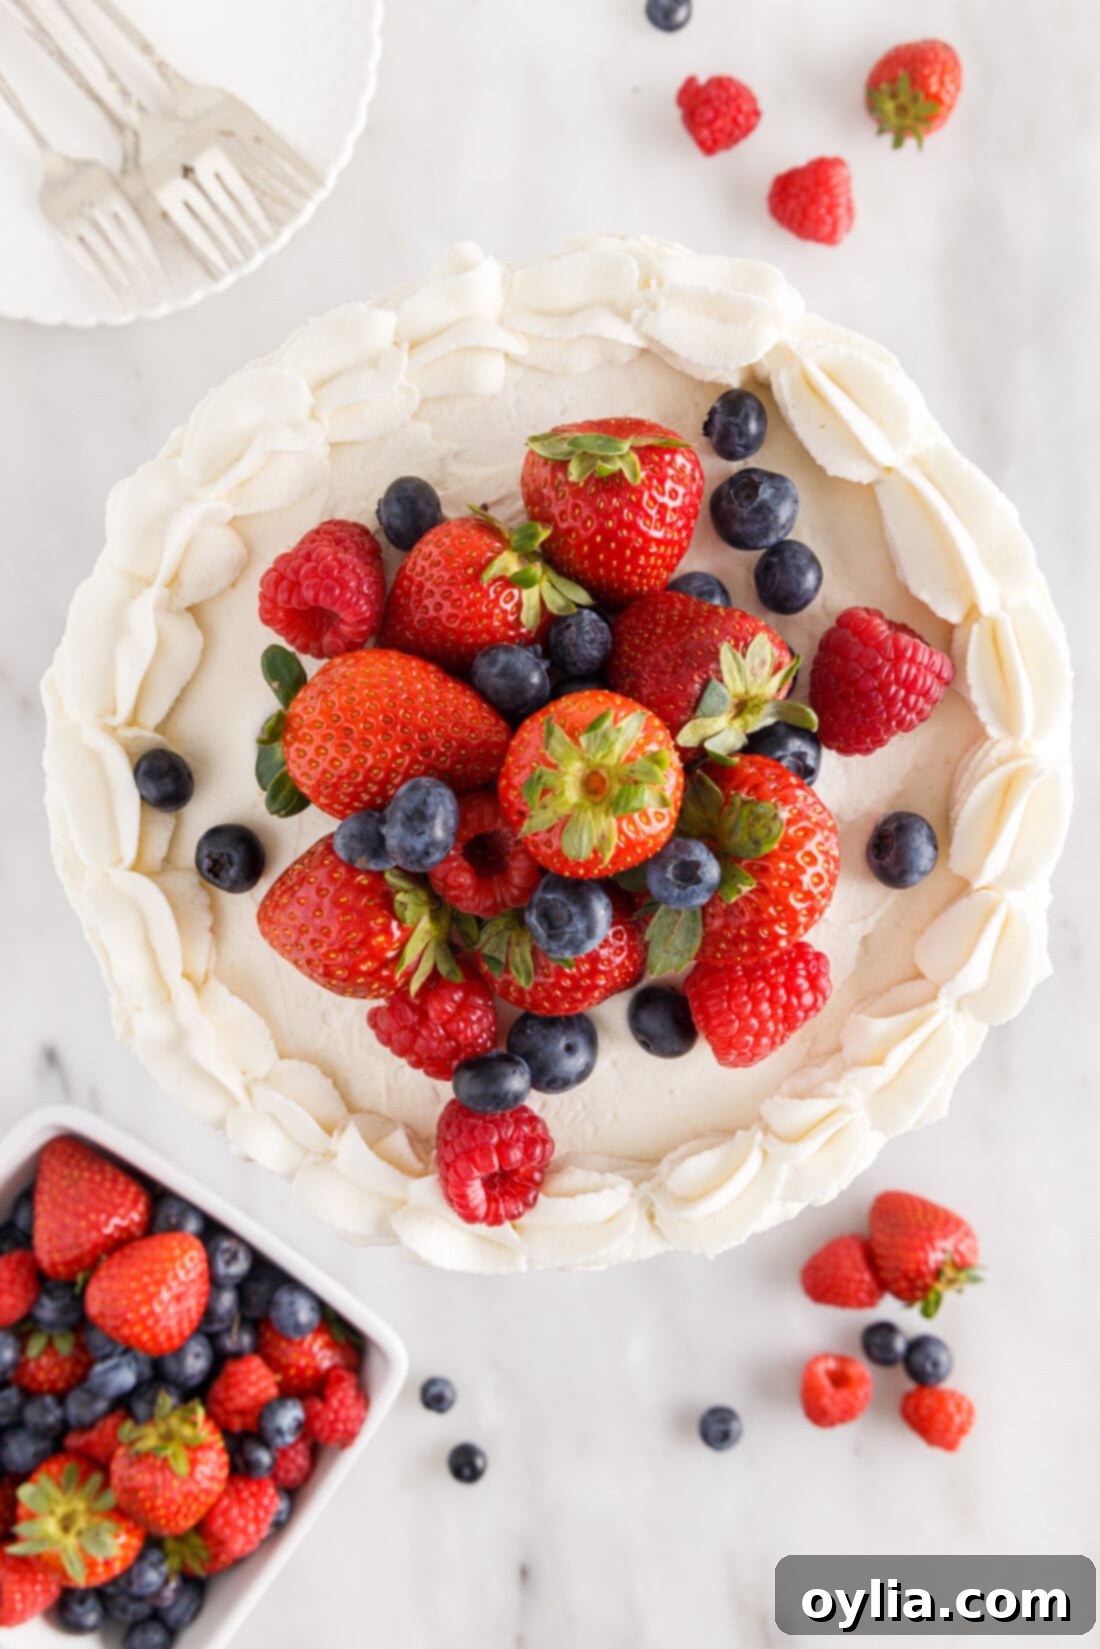
This magnificent Chantilly cake is versatile in its serving temperature; you can enjoy it either chilled straight from the refrigerator or at room temperature, allowing the flavors to soften and meld even more. Regardless of serving preference, always ensure the cake is kept refrigerated during storage to maintain the integrity of the delicate frosting and the freshness of the berries. For a truly show-stopping presentation, consider piping a beautiful ring of additional Chantilly frosting around the top edge of the cake using a decorative pastry tip. Then, generously mound extra fresh berries in the center of the ring, creating a vibrant and enticing display. Alternatively, you can decorate the cake as you see fit, adding a personal touch that makes this dessert uniquely yours. A light dusting of powdered sugar just before serving can also add a touch of elegance and whimsy.
More Delightful Cake Recipes to Explore
- Lemon Cake
- Marble Cake
- Tiramisu Cake
- Classic White Cake
- Strawberry Bundt Cake
- Mayonnaise Cake
As an avid baker and cook, I delight in sharing my culinary experiences and delicious recipes with you. To make sure you never miss out on a new creation, I offer a convenient newsletter delivered straight to your inbox every time a new recipe is published. Simply subscribe here and start receiving your free daily dose of inspiration and delightful recipes!
Chantilly Cake
IMPORTANT – There are often Frequently Asked Questions within the blog post that you may find helpful. Simply scroll back up to read them!
Print It
Pin It
Rate It
Save ItSaved!
Ingredients
Cake
- 3 ¼ cups cake flour
- 1 teaspoon sea salt
- 1 Tablespoon baking powder
- ¼ teaspoon baking soda
- 4 large eggs at room temperature
- 1 cup whole milk
- ⅓ cup vegetable oil
- ½ cup sour cream
- 2 teaspoons pure vanilla extract
- 1 cup unsalted butter softened at room temperature
- 2 cups granulated sugar
Chantilly Frosting
- ½ cup unsalted butter softened at room temperature
- 8 ounces cream cheese softened at room temperature
- 8 ounces mascarpone cheese softened at room temperature
- 2 cups heavy whipping cream
- 1 teaspoon vanilla extract
- ½ teaspoon almond extract
- 2 cups powdered sugar
Berries
- 1 ½ cups fresh strawberries sliced or chopped, plus more for garnish
- 1 ½ cups fresh blueberries rinsed and pat dry, plus more for garnish
- 1 ½ cups fresh raspberries rinsed and pat dry, plus more for garnish
Things You’ll Need
-
2 8-inch round cake pans
-
Electric mixer
-
Mixing bowls
-
Offset icing spatula
Before You Begin
- The assembled cake will keep in the refrigerator for 2-3 days. It can also be frozen for up to 1 month, though the berries will become watery after thawing from frozen.
- You can also use 9” round cake pans. Though they will cook quicker and the cake layers will be thinner.
- Freezing the cakes makes cutting them in half, stacking, and frosting MUCH easier. The cakes will be defrosted by the time you’ve finished assembling the cake, so it can be served just fine right away, if you wish.
- Cake flour is readily available in most supermarkets. It is a light, fine grain flour and really makes a noticeable difference in the crumb of the cake. You can use all purpose flour in the recipe, though the crumb of the cake will be more dense.
Instructions
-
Preheat oven to 350°F. Spray 2 – 8” round cake pans with nonstick cooking spray and line each bottom with a round of parchment paper.
-
Carefully measure the flour by first aerating or fluffing it with a spoon. Gently spoon it into the measuring cup. Level it with a swipe of a knife across the top of the cup, but do not pack it down. Add to a mixing bowl.
-
To the flour, add in salt, baking powder, and baking soda and whisk together.
-
In a separate bowl combine eggs, milk, vegetable oil, sour cream, and vanilla extract.
-
In a third mixing bowl, cream together the butter and sugar with an electric mixer until light and fluffy (2-3 minutes on high, scraping down the sides of the bowl often).
-
Rotate to add the wet and dry ingredients to the butter mixture beginning and ending with the wet ingredients: add 1⁄3 of the milk mixture, then 1⁄2 of the flour mixture, another 1⁄3 of the milk mixture, the remaining flour mixture, and then the remaining milk mixture.
-
Divide the cake batter between the two prepared pans.
-
Bake for 40-45 minutes or until a toothpick inserted in the center comes out clean.
-
Cool cakes completely. Wrap in plastic wrap and freeze for at least 2 hours (or up to 1 week in advance).
-
For the frosting, beat together butter, cream cheese, and mascarpone with an electric mixer until light and fluffy.
-
Add in vanilla and almond extract and then powdered sugar. In a separate bowl, whip heavy cream until stiff peaks form. Fold the whipped cream into the cream cheese/mascarpone mixture until combined.
-
Slice cakes in half horizontally to make 4 layers. Place the first layer on a serving platter or cake stand. Spread 1⁄2 cup of Chantilly frosting across the face of the cake. Top with a single layer of berries, about 1/2 cup of each berry. Add a bit more Chantilly frosting to sandwich in the berries. Stack the next cake layer and continue adding frosting and berries until your 4-layer cake is stacked.
-
Mound the remaining frosting on the top of the cake and use a large offset spatula to spread it over the top and down the sides of the cake.
-
Top with berries. Keep refrigerated until serving.
Nutrition
The recipes on this blog are tested with a conventional gas oven and gas stovetop. It’s important to note that some ovens, especially as they age, can cook and bake inconsistently. Using an inexpensive oven thermometer can assure you that your oven is truly heating to the proper temperature. If you use a toaster oven or countertop oven, please keep in mind that they may not distribute heat the same as a conventional full sized oven and you may need to adjust your cooking/baking times. In the case of recipes made with a pressure cooker, air fryer, slow cooker, or other appliance, a link to the appliances we use is listed within each respective recipe. For baking recipes where measurements are given by weight, please note that results may not be the same if cups are used instead, and we can’t guarantee success with that method.
