Bake the Perfect Copycat Starbucks Lemon Loaf at Home: A Detailed Recipe Guide
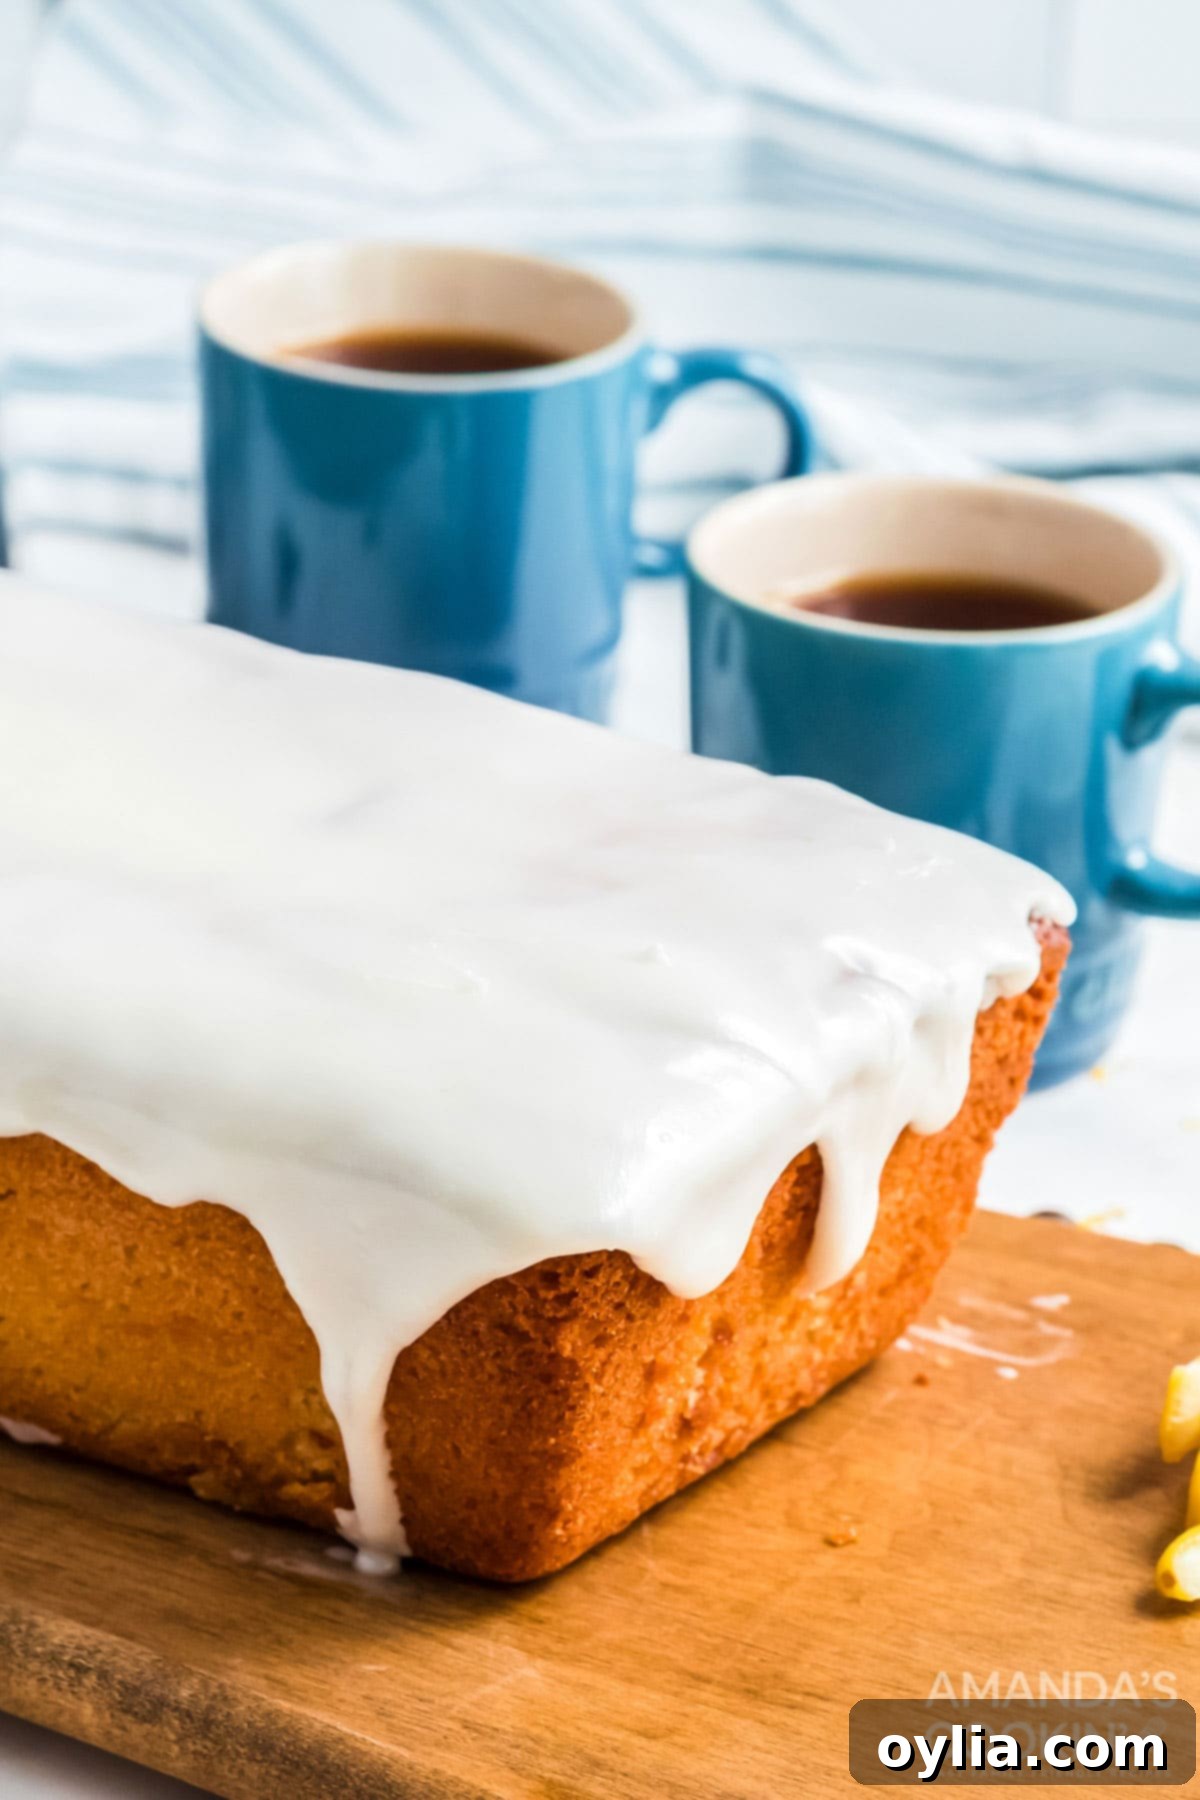
Do you find yourself dreaming about that exquisite slice of glazed lemon loaf from Starbucks? The one with the incredibly moist crumb, vibrant lemon flavor, and that perfectly sweet-tart icing? You’re not alone! For years, that delightful treat was a special indulgence reserved for coffee shop visits. But what if I told you that you could recreate that exact magic in your very own kitchen? Yes, that’s right! You can now bake an authentic copycat Starbucks lemon loaf from scratch, and it’s surprisingly simple. Get ready to enjoy the comforting aroma of fresh lemon baking and savor a slice of pure joy, anytime you wish.

Why This Copycat Lemon Loaf Recipe Is a Must-Try
This isn’t just another lemon loaf recipe; it’s meticulously crafted to capture the essence of your favorite Starbucks treat. What makes this particular recipe stand out? First and foremost, its **simplicity**. Despite delivering an unbelievably rich and complex flavor, the steps are straightforward, making it accessible for bakers of all skill levels. You won’t need any fancy techniques or hard-to-find ingredients to achieve bakery-quality results.
The **lemon flavor is absolutely spot on**. We achieve this vibrant, fresh lemony goodness through a combination of fresh lemon juice, lemon extract, and fragrant lemon zest, ensuring every bite bursts with bright citrus notes. The loaf itself is a classic quick bread, celebrated for its incredibly **soft, tender crumb** that practically melts in your mouth. This delightful texture is perfectly complemented by the signature **sweet-tart glaze**, which adds a layer of irresistible tang and sweetness, creating that perfect balance you adore in the Starbucks version. It’s truly a symphony of flavors and textures.
Moreover, you’ll likely find that you already have most, if not all, of the ingredients in your pantry and refrigerator. This means less planning and more spontaneous baking whenever a lemon loaf craving strikes! This recipe offers a homemade solution that not only rivals the original but often surpasses it in freshness and satisfaction. Prepare to impress yourself and everyone lucky enough to try a slice of this homemade masterpiece.
Essential Ingredients for Your Starbucks-Style Lemon Loaf
Crafting the perfect lemon loaf begins with the right ingredients. For the loaf itself, you’ll need standard baking staples along with a few key lemon enhancers. **All-purpose flour, baking powder, baking soda, and salt** form the dry base, providing structure and the perfect rise. For moisture and richness, we use a blend of **sugar, softened butter, vanilla extract, lemon extract, fresh lemon juice, and canola oil.** The combination of butter and oil ensures a loaf that’s both flavorful and incredibly moist. **Large eggs, at room temperature**, bind everything together and add to the loaf’s tender texture. Finally, the **zest of one fresh lemon** is crucial for imparting a bright, aromatic burst of pure lemon flavor that distinguishes this loaf.
The iconic sweet-tart glaze is wonderfully simple, requiring just three ingredients: **powdered sugar, whole milk, and a touch of lemon extract.** The powdered sugar creates a smooth, thick consistency, while the milk helps achieve the perfect drizzling texture. The lemon extract in the glaze reinforces the overall lemon theme, ensuring that tangy sweetness in every bite. Using fresh, ripe lemons for both the juice and zest is highly recommended for the most authentic and vibrant flavor profile. Remember, quality ingredients truly make a difference in the final taste and texture of your homemade lemon loaf.
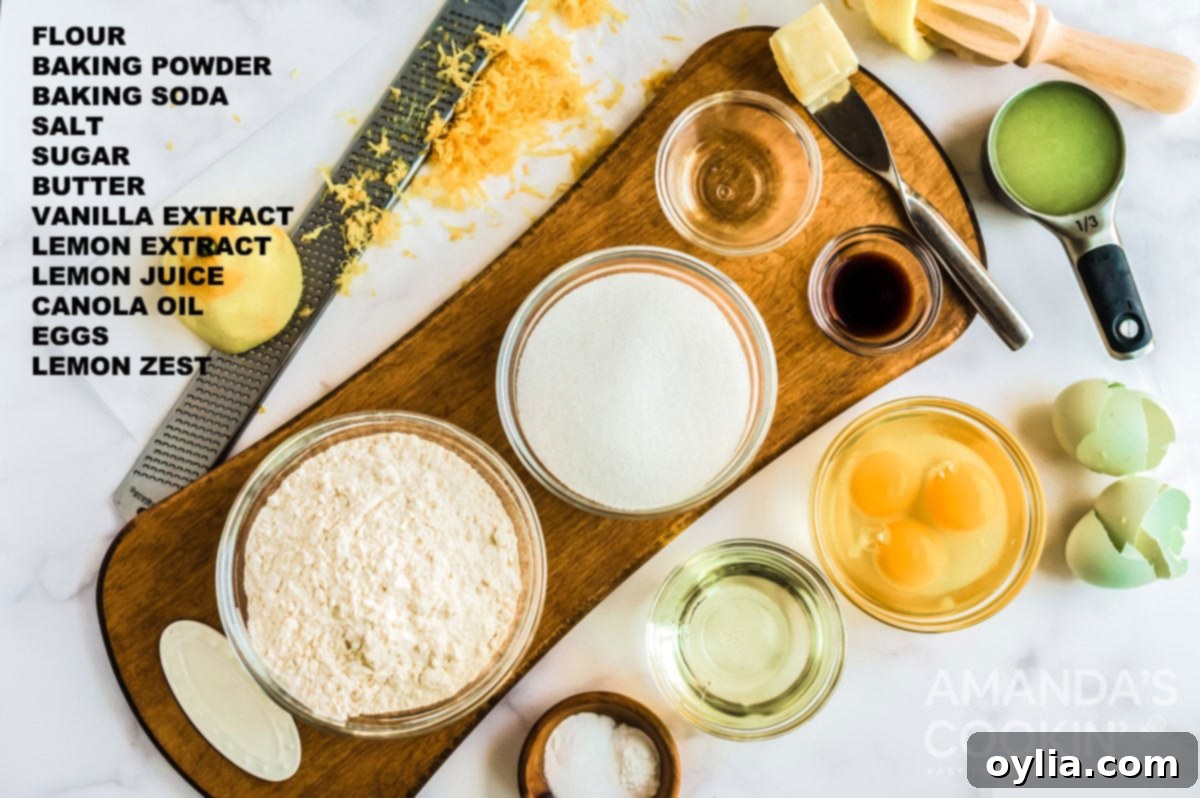
Get all measurements, ingredients, and instructions in the printable version at the end of this post.
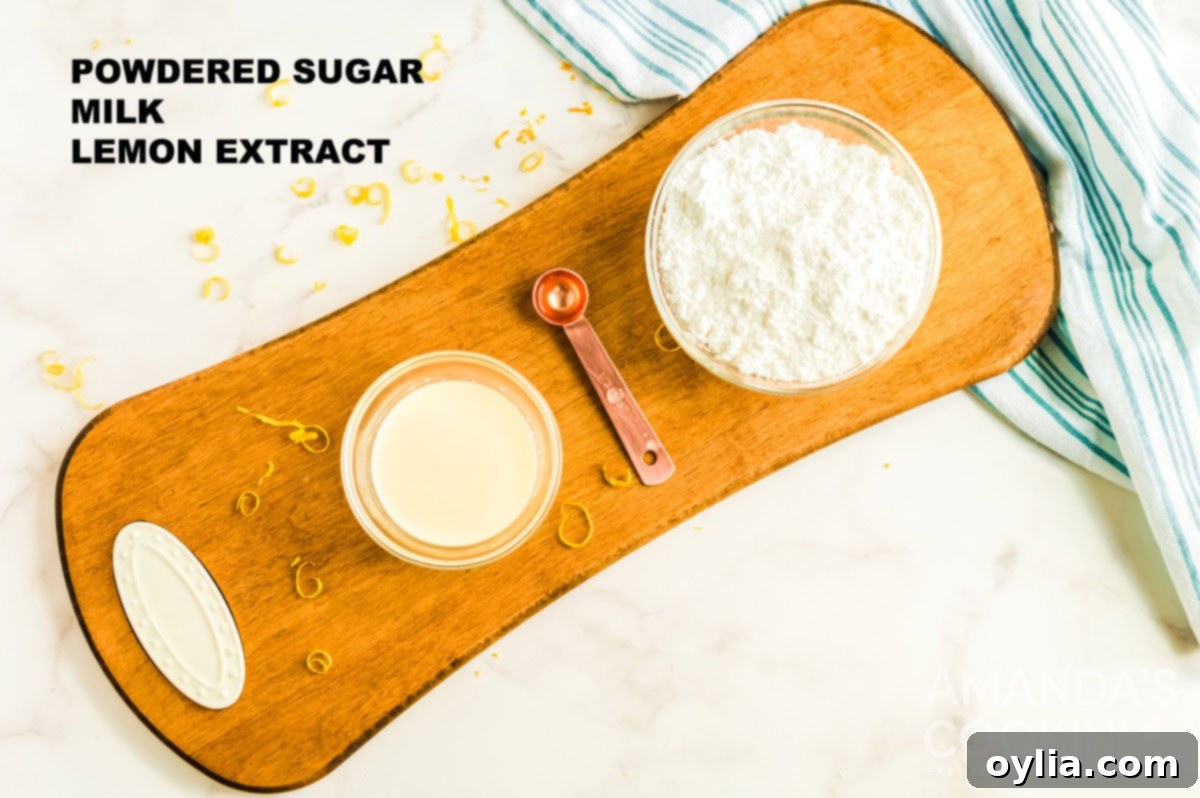
Get all measurements, ingredients, and instructions in the printable version at the end of this post.
How to Bake Your Own Starbucks Lemon Loaf: A Step-by-Step Guide
These step-by-step photos and instructions are here to help you visualize how to make this delicious recipe. For a concise, printable version, please scroll down to the recipe card at the end of this post!
- **Prepare Your Pan and Oven:** Begin by preheating your oven to 350°F (175°C). This ensures your oven is at the correct temperature when the batter is ready, promoting an even bake and good rise. Thoroughly grease and flour a standard 9×5 loaf pan. Greasing and flouring creates a non-stick surface, preventing the loaf from sticking and allowing for easy removal once baked.
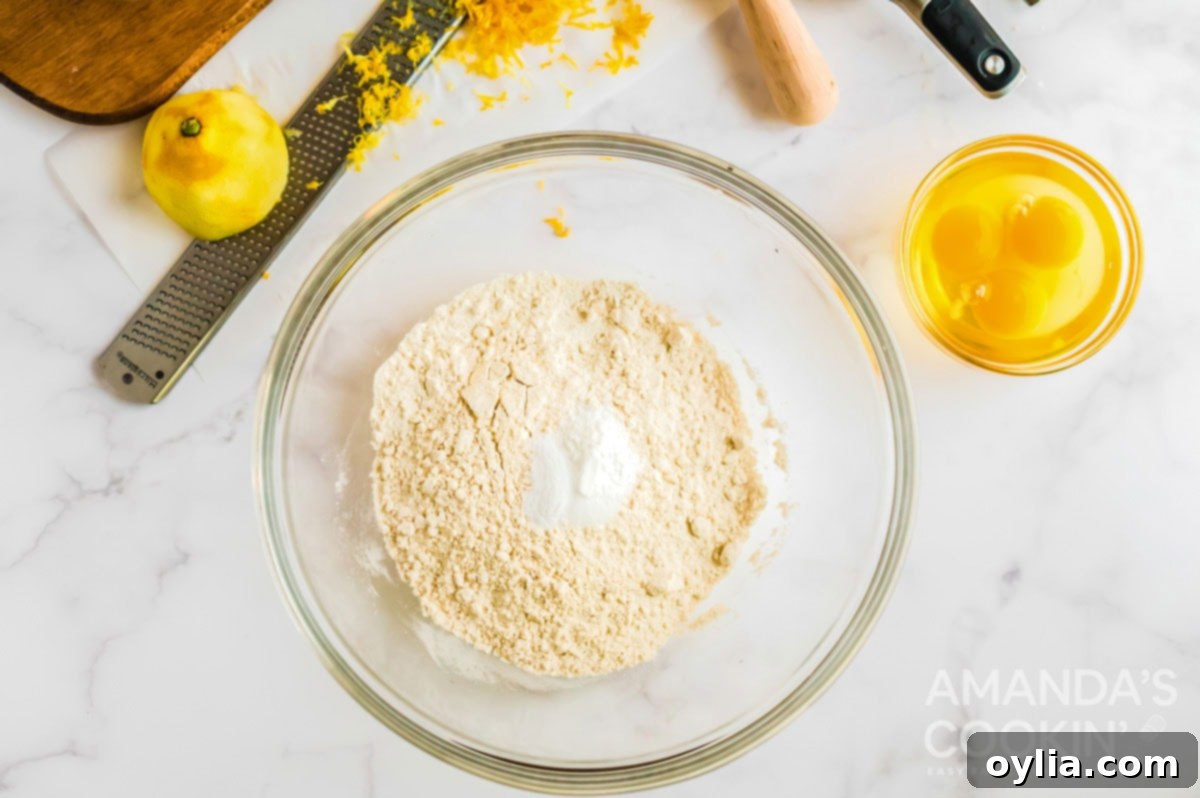
- **Combine Dry Ingredients:** In a large mixing bowl, whisk together the flour, baking soda, baking powder, and salt. Whisking ensures these leavening agents and salt are evenly distributed throughout the flour, which is crucial for a consistent rise and flavor in your loaf.
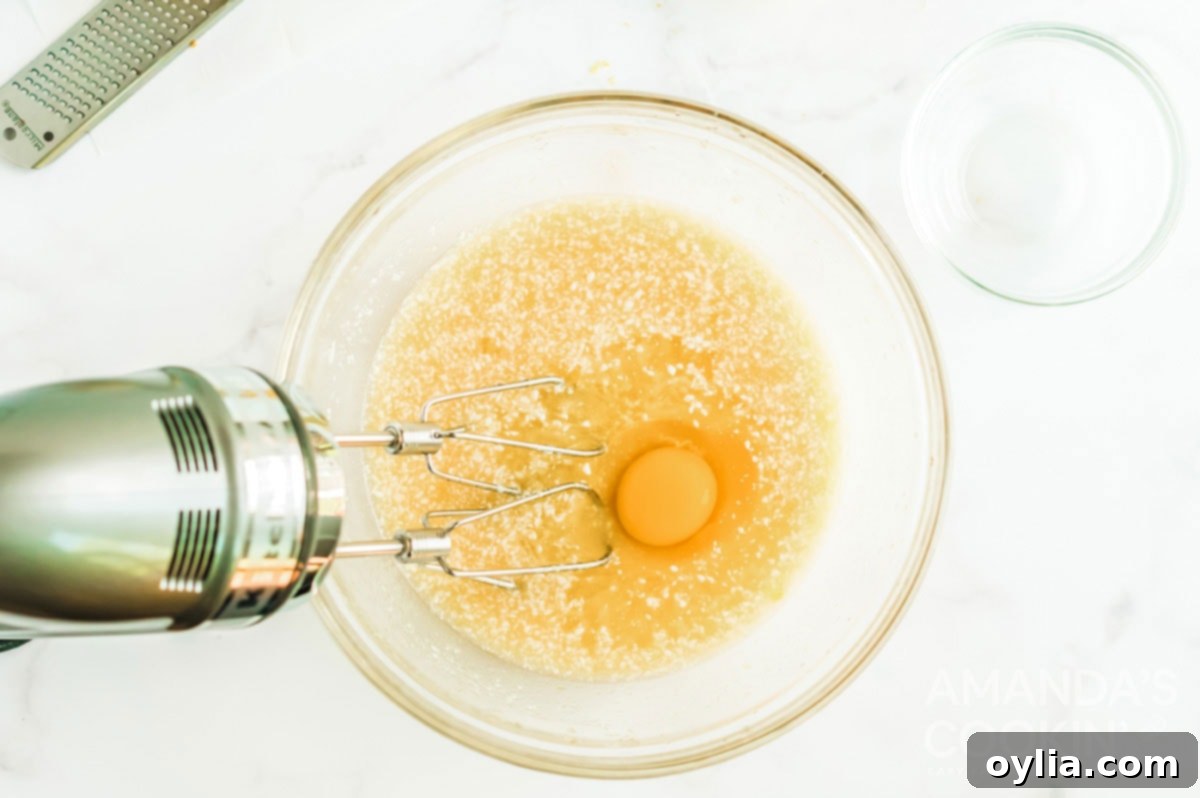
- **Cream Wet Ingredients and Add Eggs:** Using a stand mixer on medium speed (or a hand mixer), beat together the sugar, softened butter, vanilla extract, lemon extract, fresh lemon juice, and canola oil until the mixture is light, fluffy, and well blended. This creaming process incorporates air, contributing to the loaf’s tender texture. Then, add the eggs one at a time, beating well after each addition to fully incorporate them. This helps to create a stable emulsion, resulting in a cohesive and moist batter.
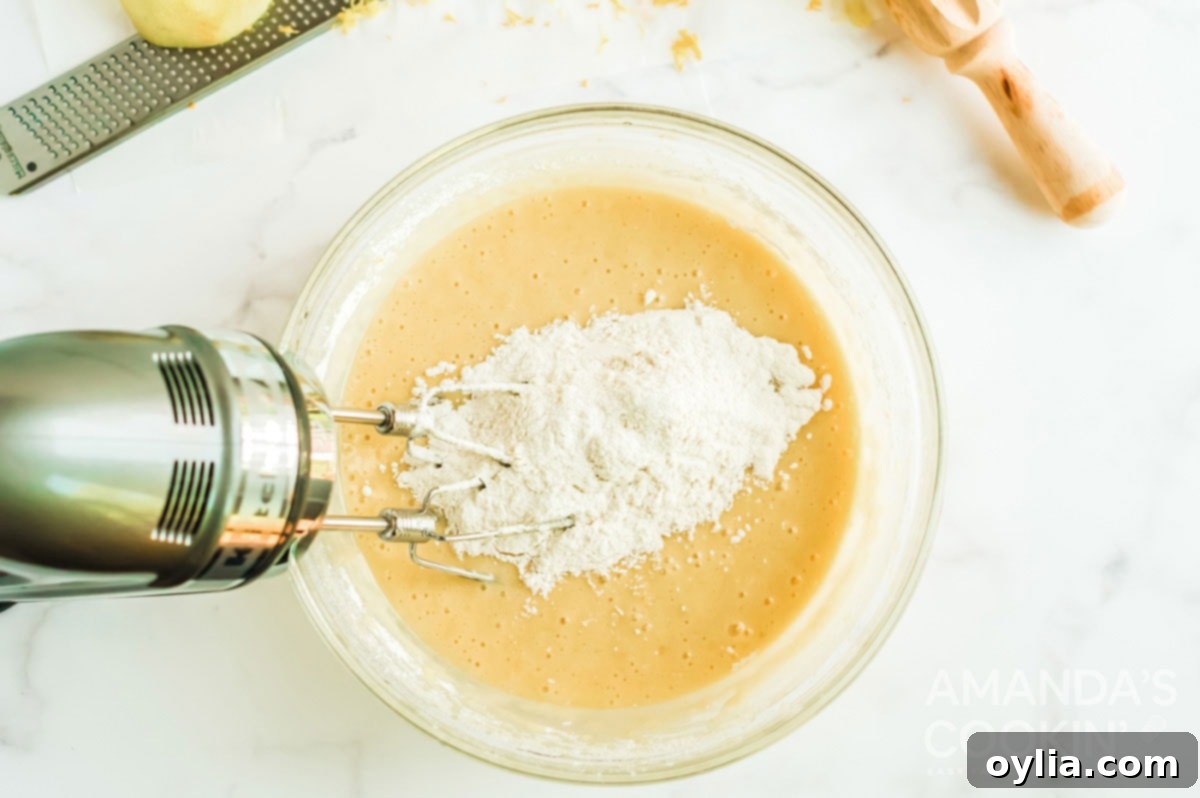
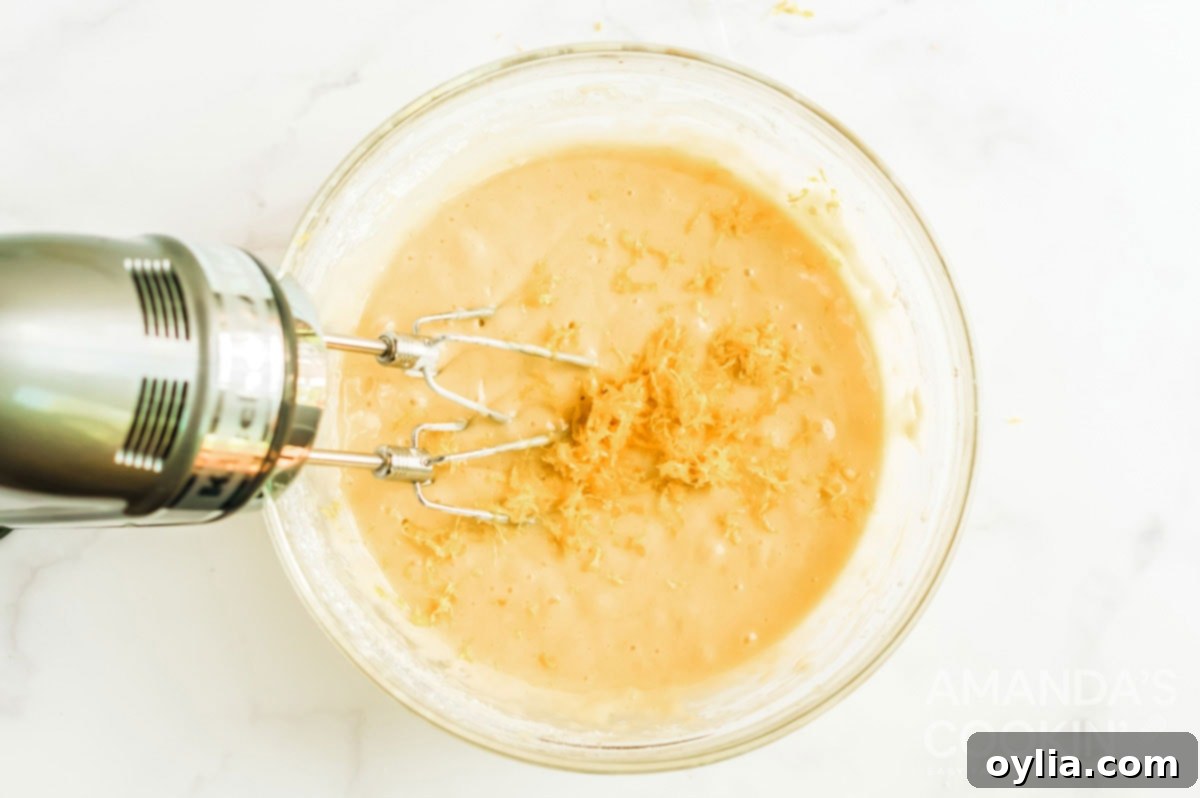
- **Combine Wet and Dry & Add Zest:** Reduce the mixer speed to low. Gradually add the dry ingredients to the wet mixture, beating only until just combined. Be careful not to overmix, as this can lead to a tough loaf. Once the dry ingredients are mostly incorporated, gently fold in the fresh lemon zest with a spatula. Adding the zest at this stage ensures its aromatic oils are preserved, providing maximum flavor and fragrance to your loaf.
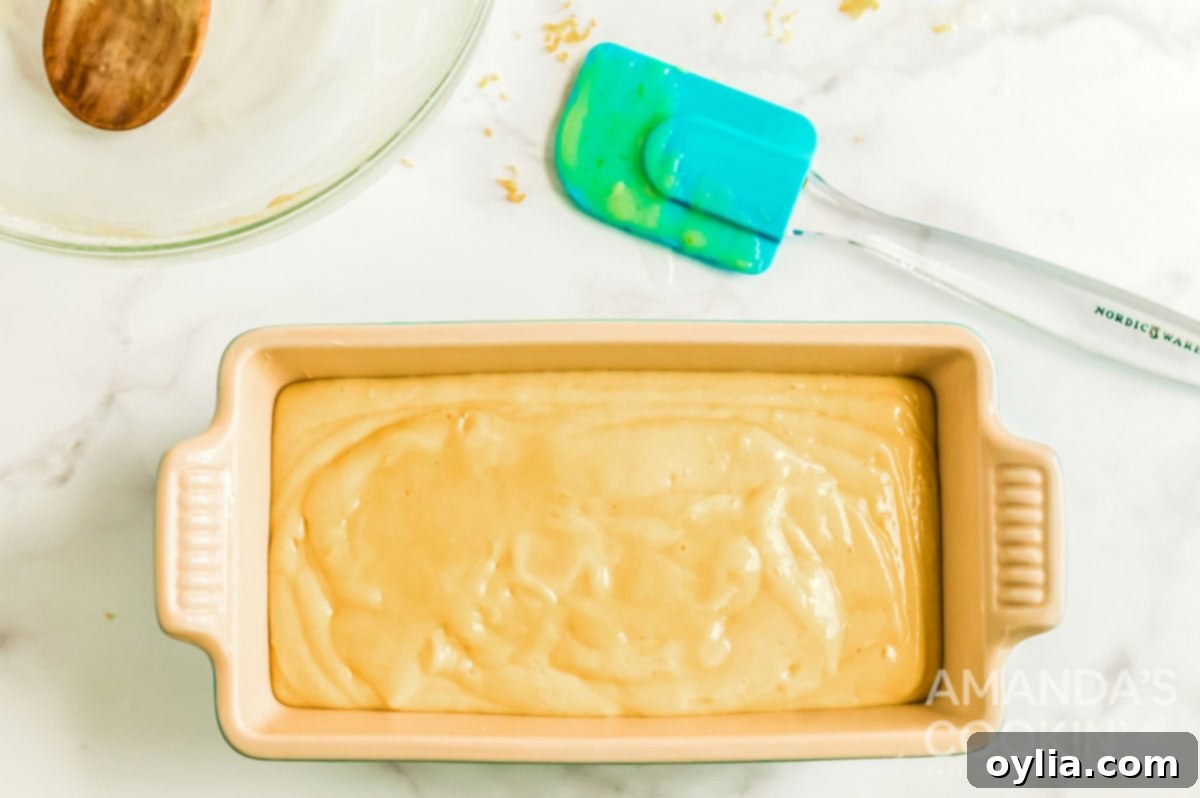
- **Bake the Loaf:** Pour the prepared batter evenly into your greased and floured loaf pan. Bake for 45-55 minutes, or until a wooden toothpick inserted into the center of the loaf comes out clean. Baking times can vary by oven, so keep an eye on it. Once baked, remove the loaf from the oven and let it cool in the pan on a wire rack for about 15 minutes. This allows the loaf to set and makes it easier to remove. After 15 minutes, carefully remove the loaf from the pan and transfer it directly to the wire rack to cool completely. Cooling completely is crucial before glazing to prevent the glaze from melting off.

- **Prepare and Apply the Glaze:** While the loaf is cooling, prepare your bright and tangy lemon glaze. In a small bowl, whisk together the powdered sugar, whole milk, and ½ teaspoon of lemon extract until completely smooth and free of lumps. The consistency should be thick enough to cling to the loaf but still pourable. Drizzle this delightful glaze generously over the completely cooled lemon loaf. Allow the glaze to set for a few minutes before slicing and serving.


Expert Baking Tips & Frequently Asked Questions (FAQs)
Pro Tips for the Best Lemon Loaf:
- **Room Temperature Ingredients are Key:** Always take your eggs and butter out of the refrigerator 20-30 minutes before you plan to start baking this recipe. Room temperature ingredients emulsify better, creating a smoother batter and a more uniform, tender crumb in your finished loaf. Cold ingredients can cause the batter to curdle and result in a dense texture.
- **Timing Your Glaze:** Make the glaze right before you plan to drizzle it over the completely cooled cake. If the glaze sits for too long, the powdered sugar can begin to crystalize, making it less smooth and shiny.
- **Don’t Overmix:** Overmixing the batter, especially after adding the dry ingredients, can develop the gluten in the flour too much, leading to a tough and chewy loaf instead of a tender one. Mix just until the ingredients are combined.
- **Fresh is Best:** For the most vibrant lemon flavor, always use fresh lemons for both the juice and the zest. Bottled lemon juice often lacks the bright, authentic taste of fresh.
Common FAQs:
- **How do I store the lemon loaf?** Store your glazed lemon loaf in an airtight container at room temperature for up to 3-4 days. For longer storage, you can refrigerate it for up to a week.
- **Can I freeze lemon loaf?** Absolutely! You can freeze the unglazed loaf wrapped tightly in plastic wrap and then foil for up to 3 months. Thaw it at room temperature and then apply the fresh glaze before serving. You can also freeze a glazed loaf, but the glaze might become slightly sticky or crack upon thawing.
- **Can I add other ingredients?** Yes! For a delightful twist, consider folding in ½ cup of poppy seeds with the lemon zest, or add ½ cup of fresh blueberries to the batter for a lemon blueberry loaf.
- **My loaf is dry, what went wrong?** A dry loaf is usually a sign of overbaking. Ensure you’re testing for doneness with a toothpick and remove it from the oven as soon as it comes out clean. An inaccurate oven temperature can also contribute; using an oven thermometer can help.
- **Why did my loaf sink in the middle?** This can happen if the loaf is underbaked (removed too early), or if the leavening agents (baking powder/soda) were old and ineffective. It can also occur if the oven door was opened too early during baking, causing a sudden temperature drop.
I often don’t make it to Starbucks as much as I’d like, so the ability to whip up a batch of this fantastic lemon loaf right at home has been a game-changer for me. It’s the perfect companion for my morning coffee, a delightful snack in the afternoon, or even a light, refreshing dessert after dinner. Each slice offers that wonderful balance of tangy lemon and sweet glaze, making every bite a truly comforting and satisfying experience. It’s more than just a recipe; it’s an invitation to bring a little bit of café luxury into your everyday life.

More Zesty Lemon Recipes to Explore
If you love the bright, fresh taste of lemon, then you’re in for a treat! Beyond this delightful lemon loaf, there’s a world of lemon-infused desserts and dishes waiting to be discovered. Here are some of our other favorite lemon recipes that capture that irresistible tangy flavor:
- Lemon Blueberry Zucchini Bread
- Lemon Sweet Rolls
- Lemon Rosemary Olive Oil Cake
- Lemon Streusel Squares
- Instant Pot Lemon Curd
I absolutely love to bake and cook, and sharing my favorite recipes with you brings me so much joy! I know it can be tough to remember to come back and search for specific recipes, which is why I’ve made it super easy for you to stay updated with my weekly newsletter! You can subscribe for free, and I’ll send a collection of delicious, tried-and-true recipes directly to your email inbox every week. Don’t miss out on your next favorite dish!

Starbucks Lemon Loaf
IMPORTANT – There are often Frequently Asked Questions within the blog post that you may find helpful. Simply scroll back up to read them!
Print It
Rate It
Save ItSaved!
Ingredients
- 1 ½ cups flour
- ½ teaspoon baking powder
- ½ teaspoon baking soda
- ½ teaspoon salt
- 1 cup sugar
- 2 tablespoons butter softened
- 1 teaspoon vanilla extract
- 2 teaspoons lemon extract
- ⅓ cup lemon juice
- ½ cup canola oil
- 3 large eggs room temp
- zest of one lemon
Glaze
- 1 cup powdered sugar
- 2 tablespoons whole milk
- ½ teaspoon lemon extract
Things You’ll Need
-
Stand mixer
-
9×5 loaf pan
-
Measuring cups and spoons
-
Mixing bowls
Before You Begin
- Take eggs and butter out of the refrigerator 20-30 minutes before making this recipe.
- Make the glaze right before adding to the cake, otherwise the sugar will begin to crystalize on top.
Instructions
-
Preheat oven to 350 F. Grease and flour a 9×5 loaf pan.
-
In a large bowl, combine flour, baking soda, baking powder and salt.
-
With mixer on medium speed, beat together sugar, butter, vanilla extract, lemon extract, lemon juice and oil with a mixer until well blended. Add eggs, one at a time, beating well after each addition.
-
Reduce mixer speed to low and gradually add in dry ingredients and beat until well combined. Fold in the lemon zest.
-
Pour into loaf pan and bake for 45-55 minutes until toothpick comes out clean. Remove from oven and cool in pan on a rack for 15 minutes. Remove from pan and cool completely.
-
To make the glaze, whisk together ingredients and drizzle over cooled loaf.
Nutrition
The recipes on this blog are tested with a conventional gas oven and gas stovetop. It’s important to note that some ovens, especially as they age, can cook and bake inconsistently. Using an inexpensive oven thermometer can assure you that your oven is truly heating to the proper temperature. If you use a toaster oven or countertop oven, please keep in mind that they may not distribute heat the same as a conventional full sized oven and you may need to adjust your cooking/baking times. In the case of recipes made with a pressure cooker, air fryer, slow cooker, or other appliance, a link to the appliances we use is listed within each respective recipe. For baking recipes where measurements are given by weight, please note that results may not be the same if cups are used instead, and we can’t guarantee success with that method.
This post originally appeared on this blog on September 1, 2012.
