Effortless Quick Pickled Asparagus: A No-Canning Recipe for Flavorful Spears
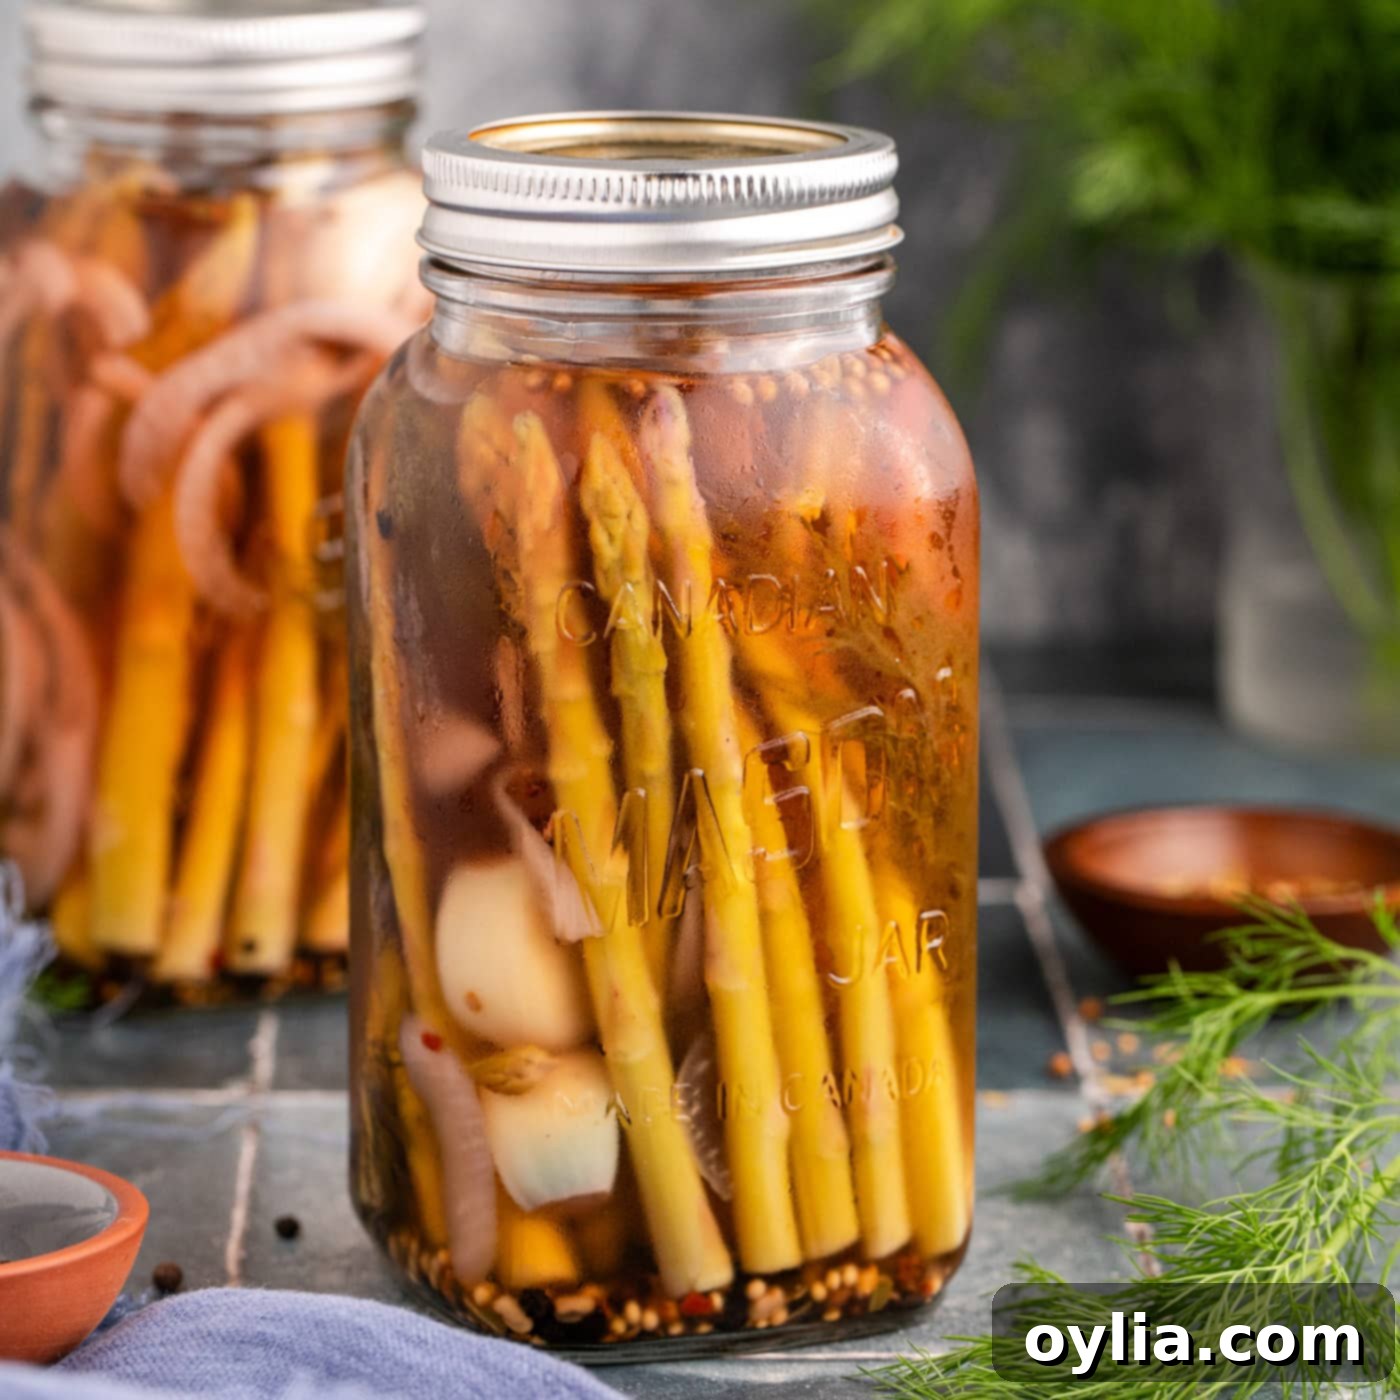
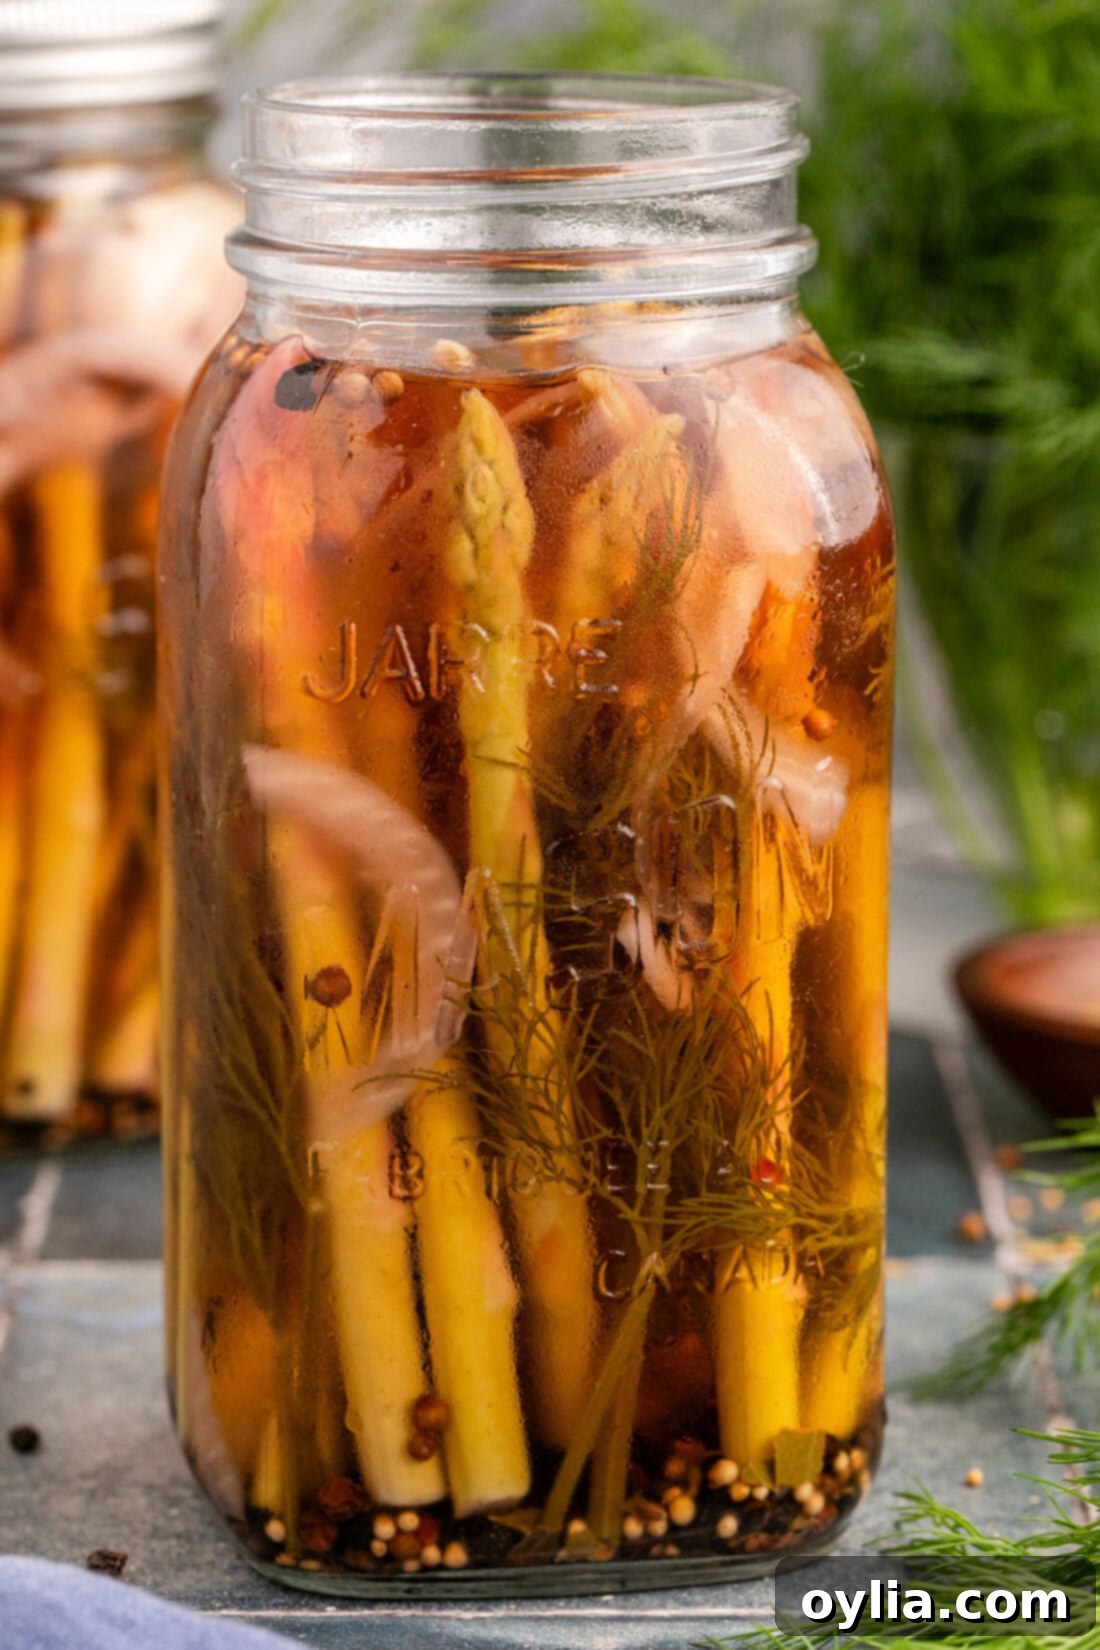
Craving a vibrant, tangy snack that’s bursting with flavor but doesn’t require hours in the kitchen? This quick pickled asparagus recipe is your answer! Incredibly simple to prepare in just about 10 minutes, there’s absolutely no canning necessary. These tender-crisp spears are packed with fresh dill, zesty red onion, aromatic garlic, classic pickling spices, and a hint of peppercorns, guaranteeing an explosion of deliciousness in every bite. Perfect for adding a gourmet touch to any meal or simply enjoying straight from the jar, these refrigerator pickles are a game-changer for anyone who loves easy, flavorful preserves.
Why This Quick Pickled Asparagus Recipe Works So Well
This recipe is a true marvel for its sheer simplicity and incredible results. The primary reason it stands out is that there’s **no canning required**! Forget about sterilizing jars in a boiling water bath or navigating complex pressure canning methods. This is a straightforward refrigerator pickling process, making it accessible for even novice home cooks. You can whip up a batch of these flavorful pickled asparagus spears in under 10 minutes of active prep time, making it perfect for last-minute entertaining or simply stocking your fridge with delicious snacks.
Our method for making refrigerator pickled asparagus consistently yields crisp, tangy, and wonderfully seasoned vegetables. We’ve successfully applied this quick pickling technique to a variety of produce, from red onions to beets, always with delicious outcomes. The key to its success lies in the hot brine, which gently tenderizes the asparagus while infusing it with all the aromatic spices and tangy vinegar. This ensures the asparagus remains tender-crisp, never mushy, and perfectly receptive to soaking up the vibrant flavors.
While the actual preparation is a breeze, the hardest part of this recipe is arguably the waiting. Once you’ve assembled your jars, they need time in the refrigerator for the asparagus to fully absorb the surrounding flavors. This overnight soak, or ideally 3-5 days, allows the bright dill, pungent garlic, sharp red onion, and complex pickling spices to meld beautifully with the tangy brine, transforming fresh asparagus into an irresistible treat. The anticipation is well worth it for the incredible depth of flavor you’ll achieve.
Essential Ingredients for Your Pickled Asparagus
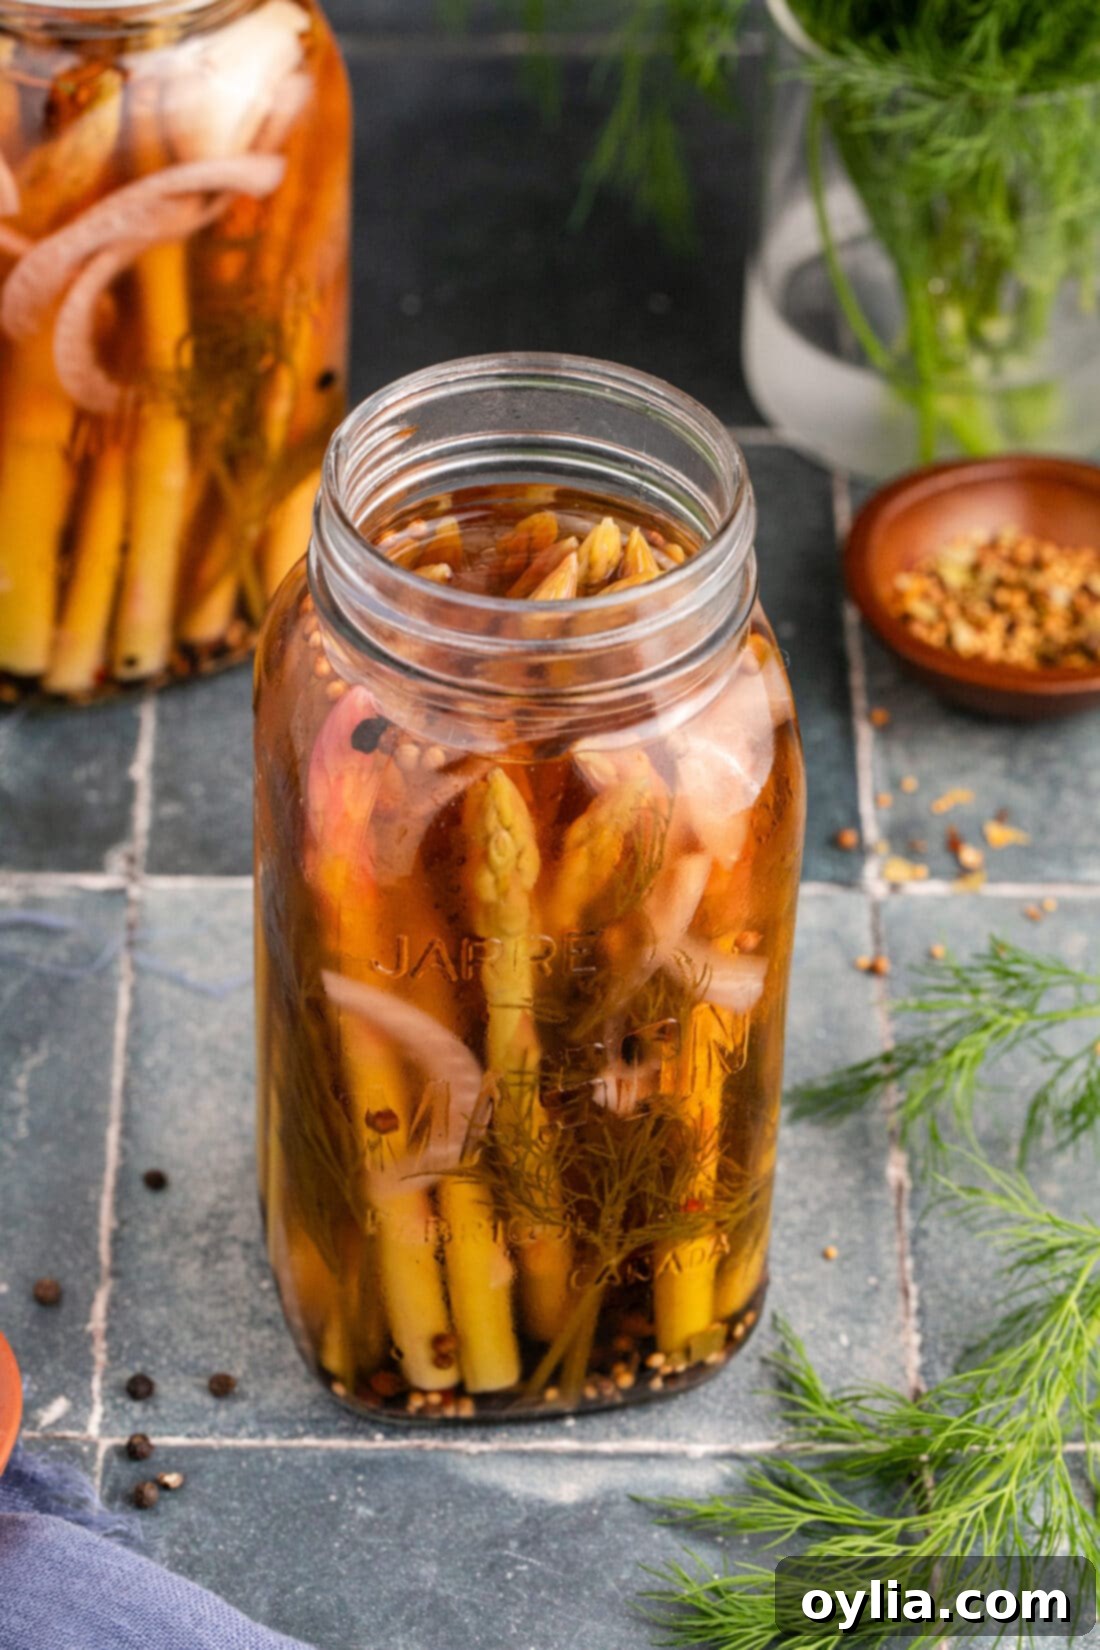
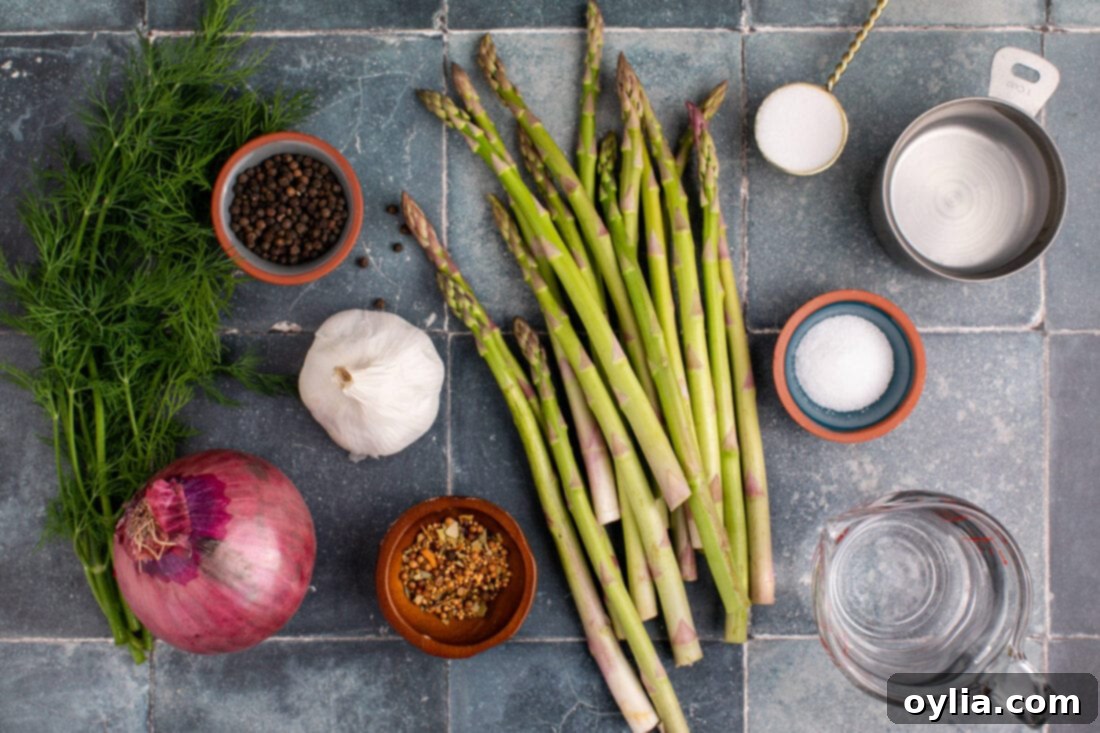
Making delicious pickled asparagus starts with fresh, quality ingredients. While the full list with precise measurements is provided in the printable recipe card at the end of this post, here’s a general overview of what you’ll need to gather to create these irresistible tangy spears:
Ingredient Insights and Smart Substitutions
Understanding each ingredient’s role and knowing possible substitutions can help you customize this pickled asparagus recipe to your liking or adapt it based on what you have on hand.
ASPARAGUS – For this recipe, you will need two generous bunches of fresh asparagus, totaling approximately 650 grams (or about 1.5 pounds). This amount is perfectly suited to yield two standard 16-ounce mason jars of deliciously pickled spears. When selecting asparagus, look for firm, bright green stalks with tightly closed tips, which are indicators of freshness. Before pickling, you’ll want to trim the tough, woody ends. A good trick is to snap a spear – it will naturally break where the tender part begins. Then, use that as a guide to cut the rest of the stalks to ensure they fit snugly and vertically into your mason jars. The size of the spears can vary; thinner spears will pickle faster and have a more delicate crunch, while thicker ones will retain more of their original texture. For this quick pickling method, medium-sized spears work beautifully, offering a perfect balance of tenderness and crunch.
VINEGAR – Our go-to for this recipe is distilled white vinegar, which provides a clean, sharp tang that truly allows the flavors of the asparagus and spices to shine. However, if you’re looking for a slightly different flavor profile, you have options. You can easily substitute with apple cider vinegar, which will introduce a subtle fruitiness and a touch more sweetness to your brine. Other vinegars like white wine vinegar can offer a milder, more nuanced acidity, or even rice vinegar for a slightly less aggressive tang, though you might need to adjust the sugar content slightly. The vinegar is crucial not only for flavor but also for its natural preservative properties, keeping your quick pickles fresh in the refrigerator.
ADDITIONS & SPICES – These are the flavor powerhouses that transform simple asparagus into something extraordinary:
- Red Onion: We have successfully tested this recipe with both red onion and white onion, both of which contribute a lovely aromatic depth. Red onion tends to be slightly sweeter and offers a beautiful color contrast. Keep in mind that finely sliced red onion may impart a light pinkish hue to your brine after a few days in the refrigerator. This is completely normal and will not affect the quality, taste, or safety of your pickled asparagus. If you prefer a milder onion flavor or no color change, white onion is an excellent alternative. For a gourmet touch, consider using thinly sliced shallots.
- Garlic: Fresh garlic cloves are essential here. Their pungent, aromatic qualities are fundamental to classic pickling flavors. We recommend using whole cloves for a milder infusion, or lightly smashing them to release more intense garlic notes.
- Fresh Dill: The bright, herbaceous notes of fresh dill are quintessential in pickled vegetables. We suggest using a generous amount of fresh dill sprigs for the best flavor. While dried dill can be used in a pinch, fresh dill offers a more vibrant and aromatic profile that truly elevates these pickles.
- Peppercorns: Whole black peppercorns provide a gentle, earthy heat and a subtle peppery bite. Feel free to experiment with a mix of black, white, or green peppercorns for varying levels of pungency and visual appeal.
- Pickling Spices: This pre-mixed blend typically includes ingredients like mustard seeds, coriander seeds, dill seed, bay leaves, and sometimes allspice or cloves. It provides a complex, traditional pickling flavor without the need to measure individual spices. If you don’t have a pre-made blend, you can create your own by combining these individual whole spices.
- Sugar: The granulated sugar called for in the recipe plays a vital role in balancing the sharpness of the vinegar. It prevents the pickles from being overly acidic, contributing to a well-rounded and palatable flavor. You can adjust the amount slightly to suit your preference for more or less sweetness. Brown sugar could also be used for a deeper, molasses-like undertone.
- Sea Salt: Using non-iodized salt, such as sea salt or pickling salt, is important. Iodized table salt can sometimes make brines cloudy and can also affect the texture and flavor of your pickles. The salt is crucial for both flavor and its role in the pickling process.
- For a Spicy Kick: If you love a bit of heat, easily transform these into spicy pickled asparagus by adding a pinch or two of red pepper flakes to each jar. For a more intense heat, you can also add a few thin slices of fresh jalapeño or serrano peppers.
How to Make Quick Pickled Asparagus: Step-by-Step Guide
These step-by-step photos and detailed instructions are here to help you visualize how to make this recipe with ease. You can Jump to Recipe to get the printable version of this recipe, complete with precise measurements and instructions at the bottom of this page.
- **Prepare the Asparagus:** Begin by thoroughly washing your asparagus spears under cold running water. Next, carefully trim the tough, woody ends. The easiest way to do this is to snap one spear – it will naturally break at the point where the tender part begins. Use this as a guide to cut the remaining asparagus stalks with a knife, ensuring they are all roughly the same length. It’s crucial that the trimmed spears fit vertically into your two 16-ounce mason jars, leaving a small amount of headspace at the top for the brine. Once trimmed, divide the asparagus equally between the two prepared jars.
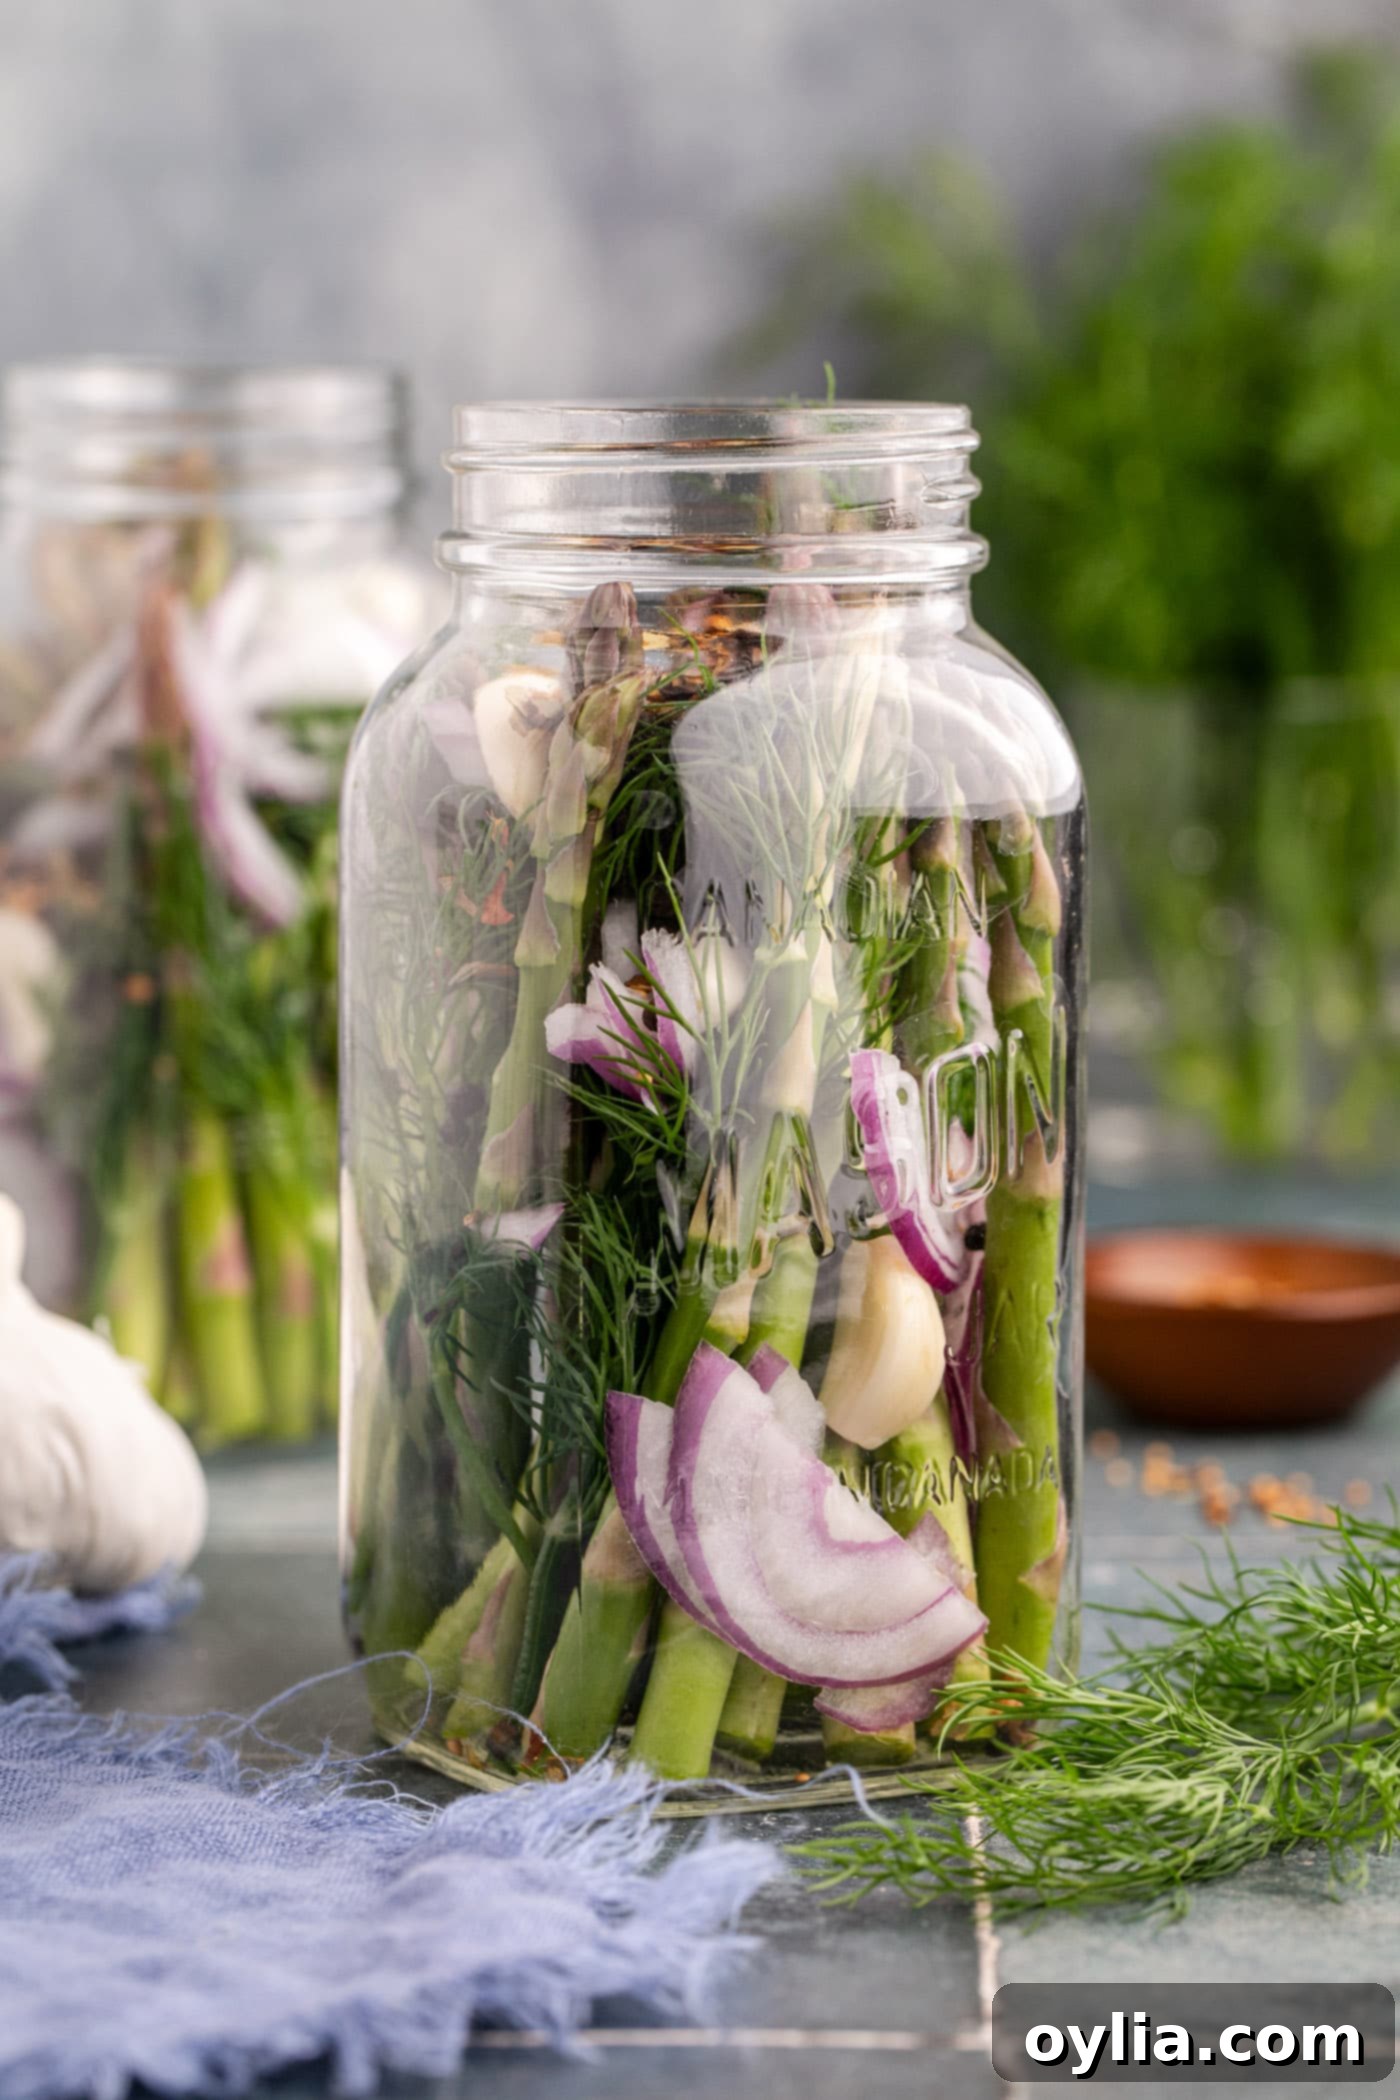
- **Layer the Aromatics:** Over the evenly divided asparagus in each of the two jars, artfully arrange the sprigs of fresh dill, slices of red onion, whole garlic cloves, whole peppercorns, and pickling spices. Distribute these aromatic ingredients as evenly as possible to ensure every spear gets a full infusion of flavor. This layering technique helps the flavors penetrate throughout the asparagus.

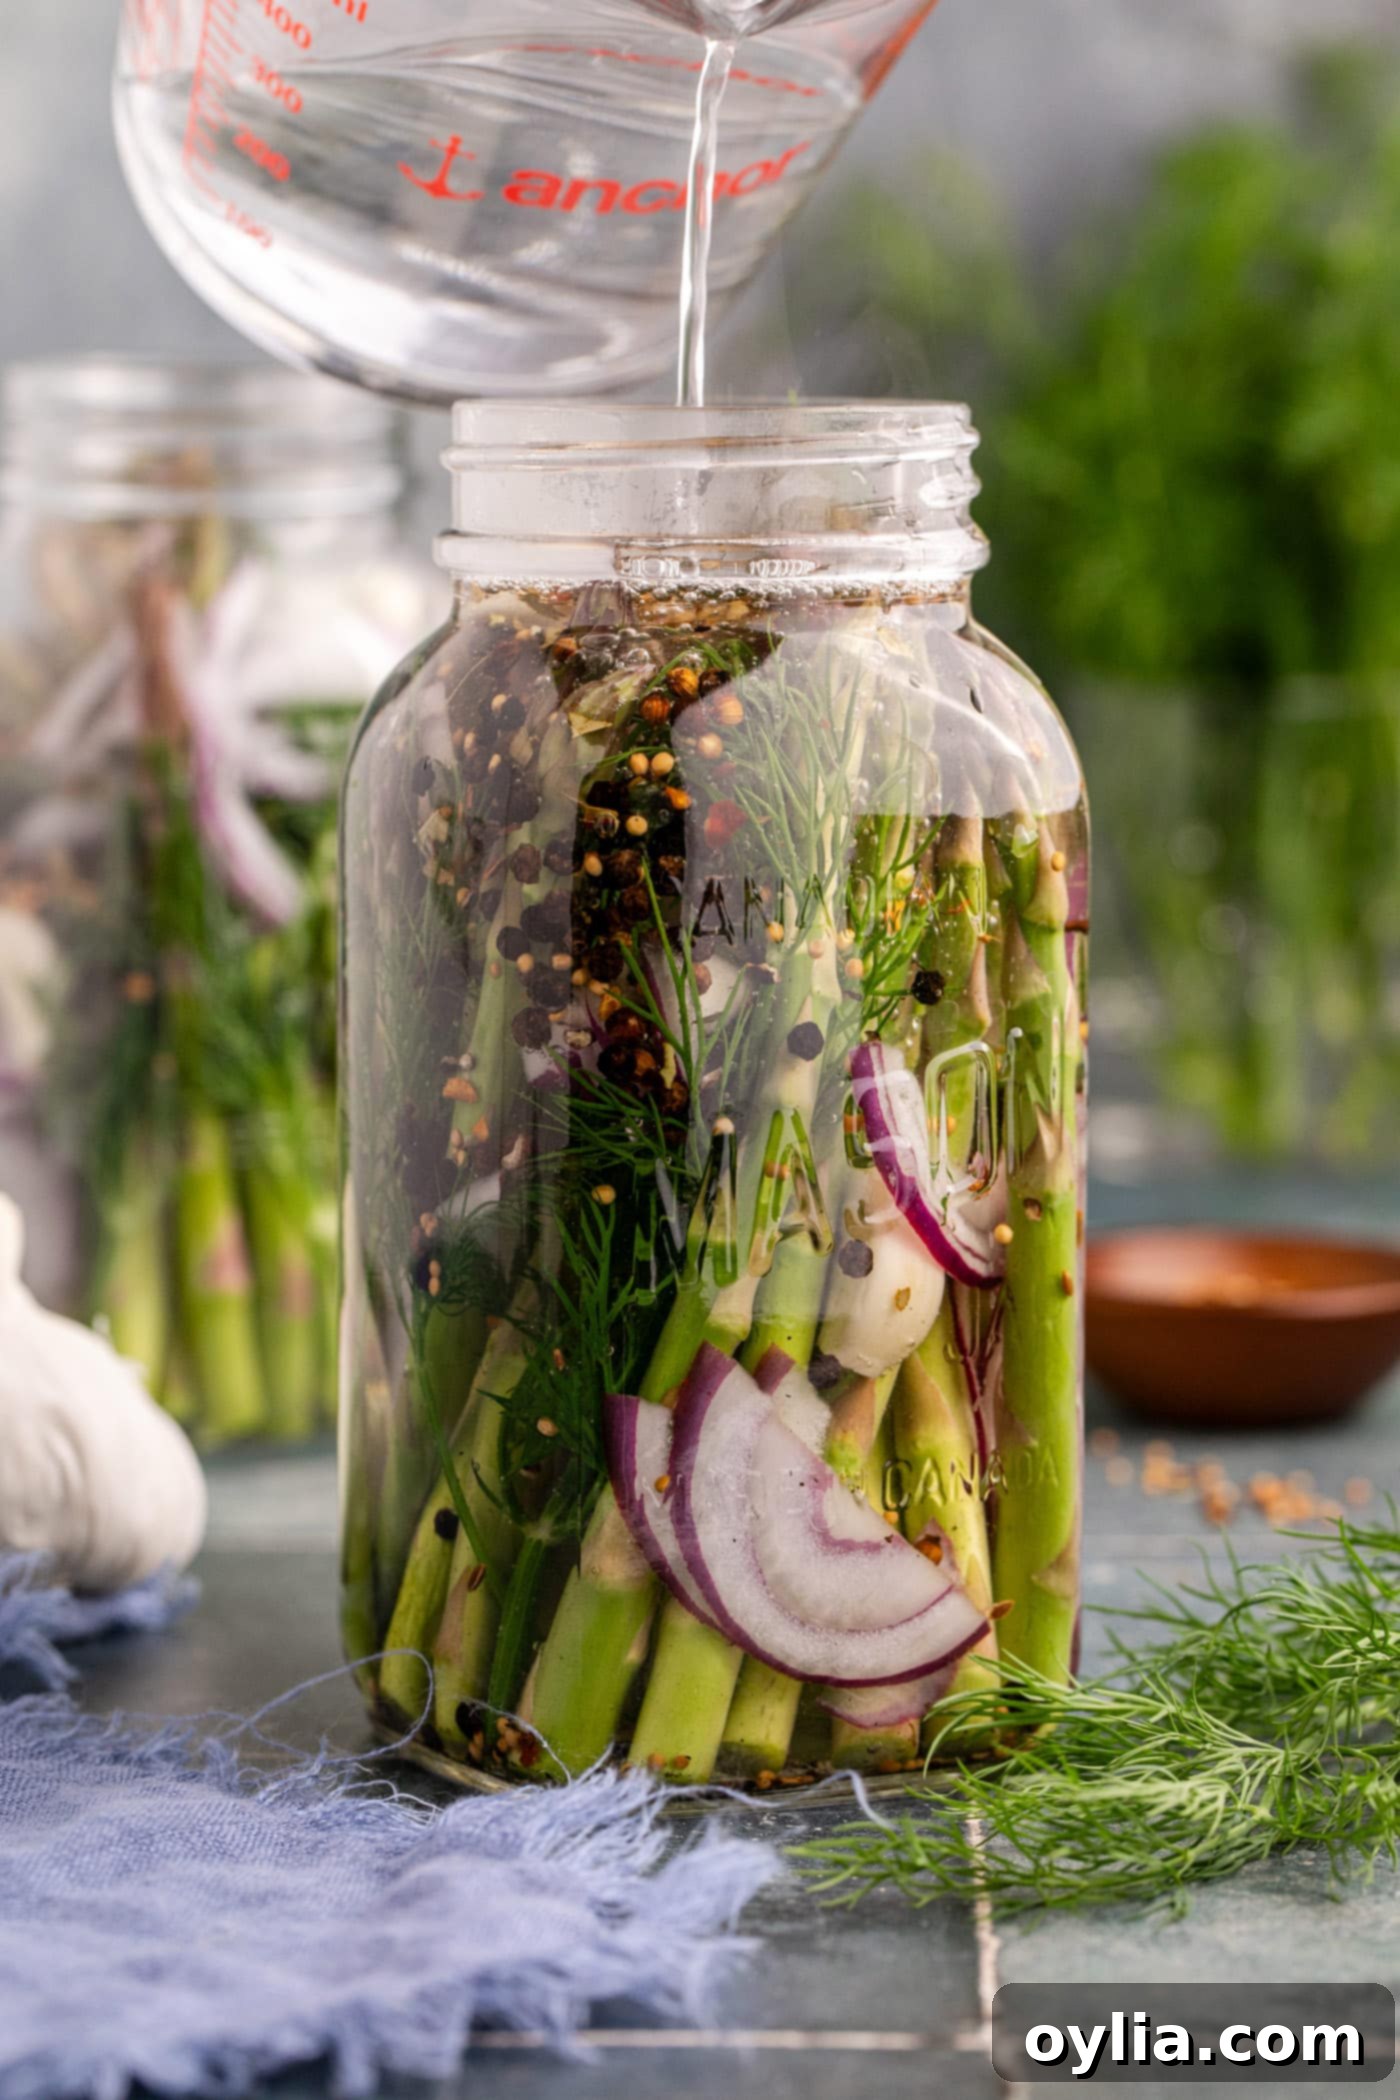
- **Prepare and Pour the Brine:** In a small saucepan, combine the distilled white vinegar, water, granulated sugar, and sea salt. Place the saucepan over high heat and bring the mixture to a rolling boil. Stir continuously until both the sugar and salt are completely dissolved, ensuring your brine is perfectly balanced. Once dissolved, carefully pour the hot brine evenly into each jar, ensuring that the asparagus spears are fully submerged. The hot brine will immediately begin to tenderize the asparagus and awaken the flavors of the spices.

TIP – It’s crucial that the asparagus is fully covered by the brine. If, for any reason, you notice that your brine has boiled down too much or you don’t have enough to cover the spears completely, simply boil a little extra water and top off the jars. This ensures even pickling and maximum flavor.
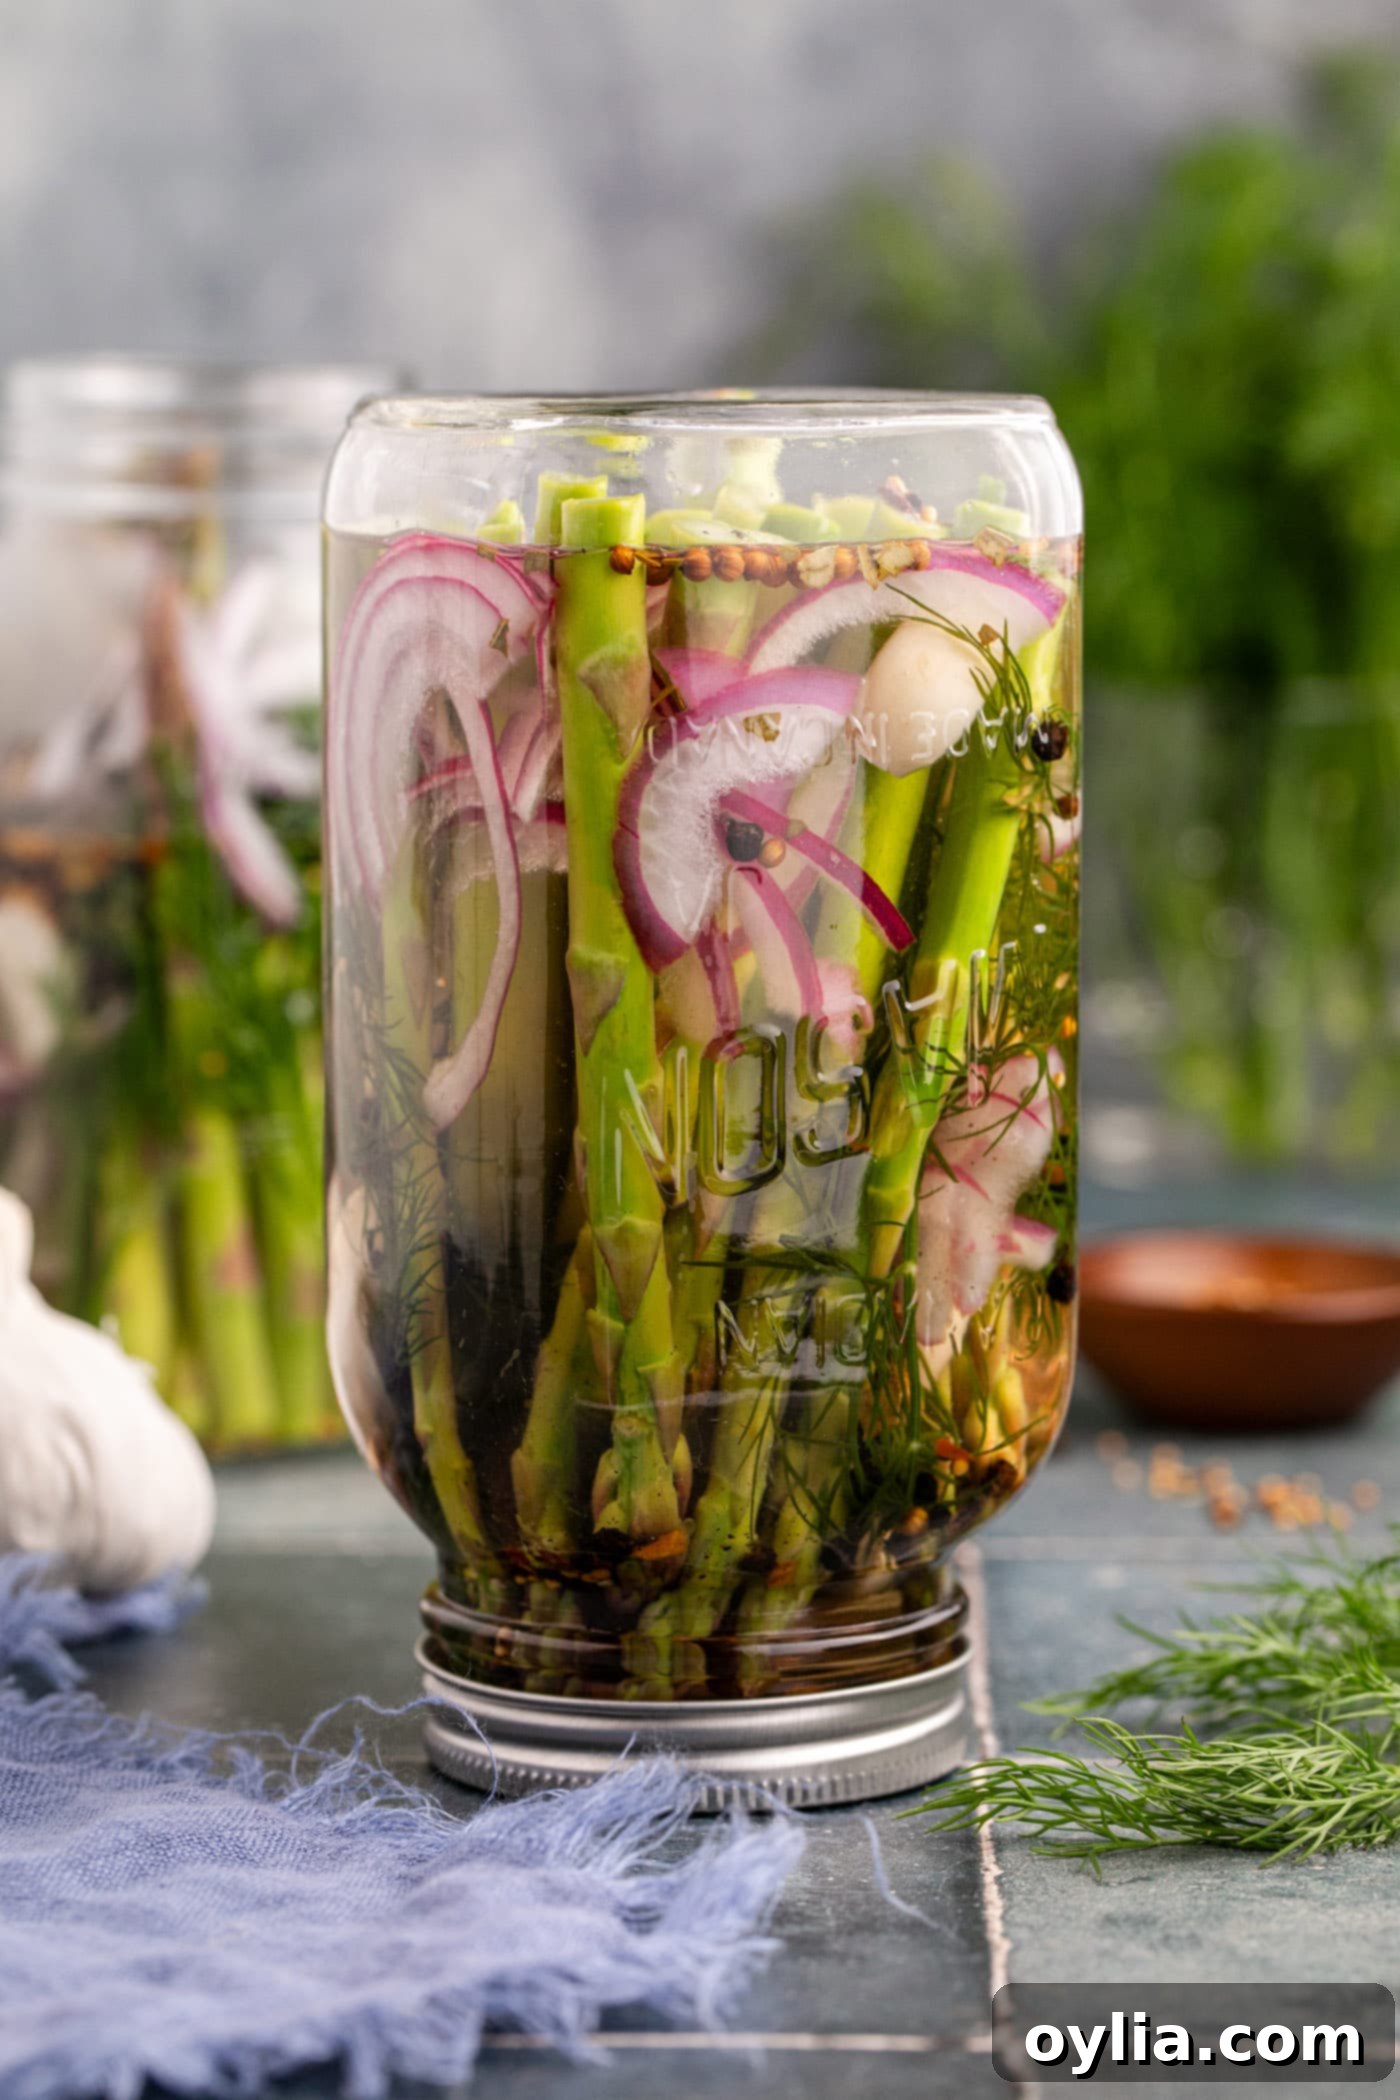
- **Cool and Chill:** Carefully place the lids onto the jars, sealing them tightly. While still warm, flip the jars upside-down to allow them to cool completely on your countertop. This helps create a better seal and distributes the brine and flavors more evenly. Once the jars have reached room temperature, typically after a few hours, place them upright into the refrigerator. For the best, most developed flavor, allow them to sit and mingle in the fridge for at least 3-5 days. While they are technically ready to eat after an overnight chill, the flavors will deepen and become more harmonious with a little more patience.

- **Storage and Enjoyment:** Once opened, these quick pickled asparagus spears are best consumed within 2 weeks for optimal flavor and texture. Always store them in an airtight jar in the refrigerator.
Frequently Asked Questions & Expert Tips for Perfect Pickled Asparagus
Unlike traditionally canned goods, this is a **refrigerator pickled asparagus recipe**, meaning it relies on cold temperatures and an acidic brine for preservation, not a sterile canning process. Therefore, these delicious spears must always be stored in an airtight jar in the refrigerator. Proper storage will keep them fresh and flavorful for up to 2 weeks. Ensure the asparagus remains submerged in the brine for the best quality and longest shelf life.
No, for this particular quick pickled asparagus recipe, you do not need to blanch the asparagus beforehand. Blanching (briefly boiling and then shocking in ice water) is a common step in some pickling recipes as it helps to tenderize the vegetable, open its pores for better brine absorption, and preserve its vibrant color. However, in our method, we pour a very hot, freshly boiled vinegar brine directly over the raw asparagus spears in the jars. This hot brine effectively tenderizes the asparagus and helps open its pores on its own, accomplishing the same goals as blanching but in a much more streamlined way. Consider it a clever shortcut that saves you an extra step without compromising on texture or flavor.
While it might seem convenient, we highly recommend against using frozen asparagus for this recipe. Freezing and thawing can significantly alter the texture of asparagus, often making it mushy or stringy. Pickling requires a firm, crisp vegetable to maintain that satisfying crunch, and frozen asparagus simply won’t deliver the desired tender-crisp texture. Always opt for fresh asparagus for the best results in quick pickles.
Several factors can contribute to soft pickled asparagus. The most common reasons include using old or overripe asparagus to begin with (fresh is always best), overcooking the asparagus (though unlikely in this no-blanch method, if the brine is poured over already blanched or cooked asparagus), or improper storage allowing them to warm up. To ensure crispness, always start with very fresh, firm asparagus and make sure they are fully submerged in the cold brine in the refrigerator at all times.
For quick refrigerator pickles, it’s generally not recommended to reuse the brine. Once the brine has been used to pickle vegetables, its acidity levels can be diluted, and it may have absorbed flavors and released some vegetable juices, making it less effective for safe preservation and optimal flavor in a second batch. For the best results and food safety, always prepare a fresh batch of brine for each new jar of quick pickled asparagus.
Creative Serving Suggestions for Pickled Asparagus
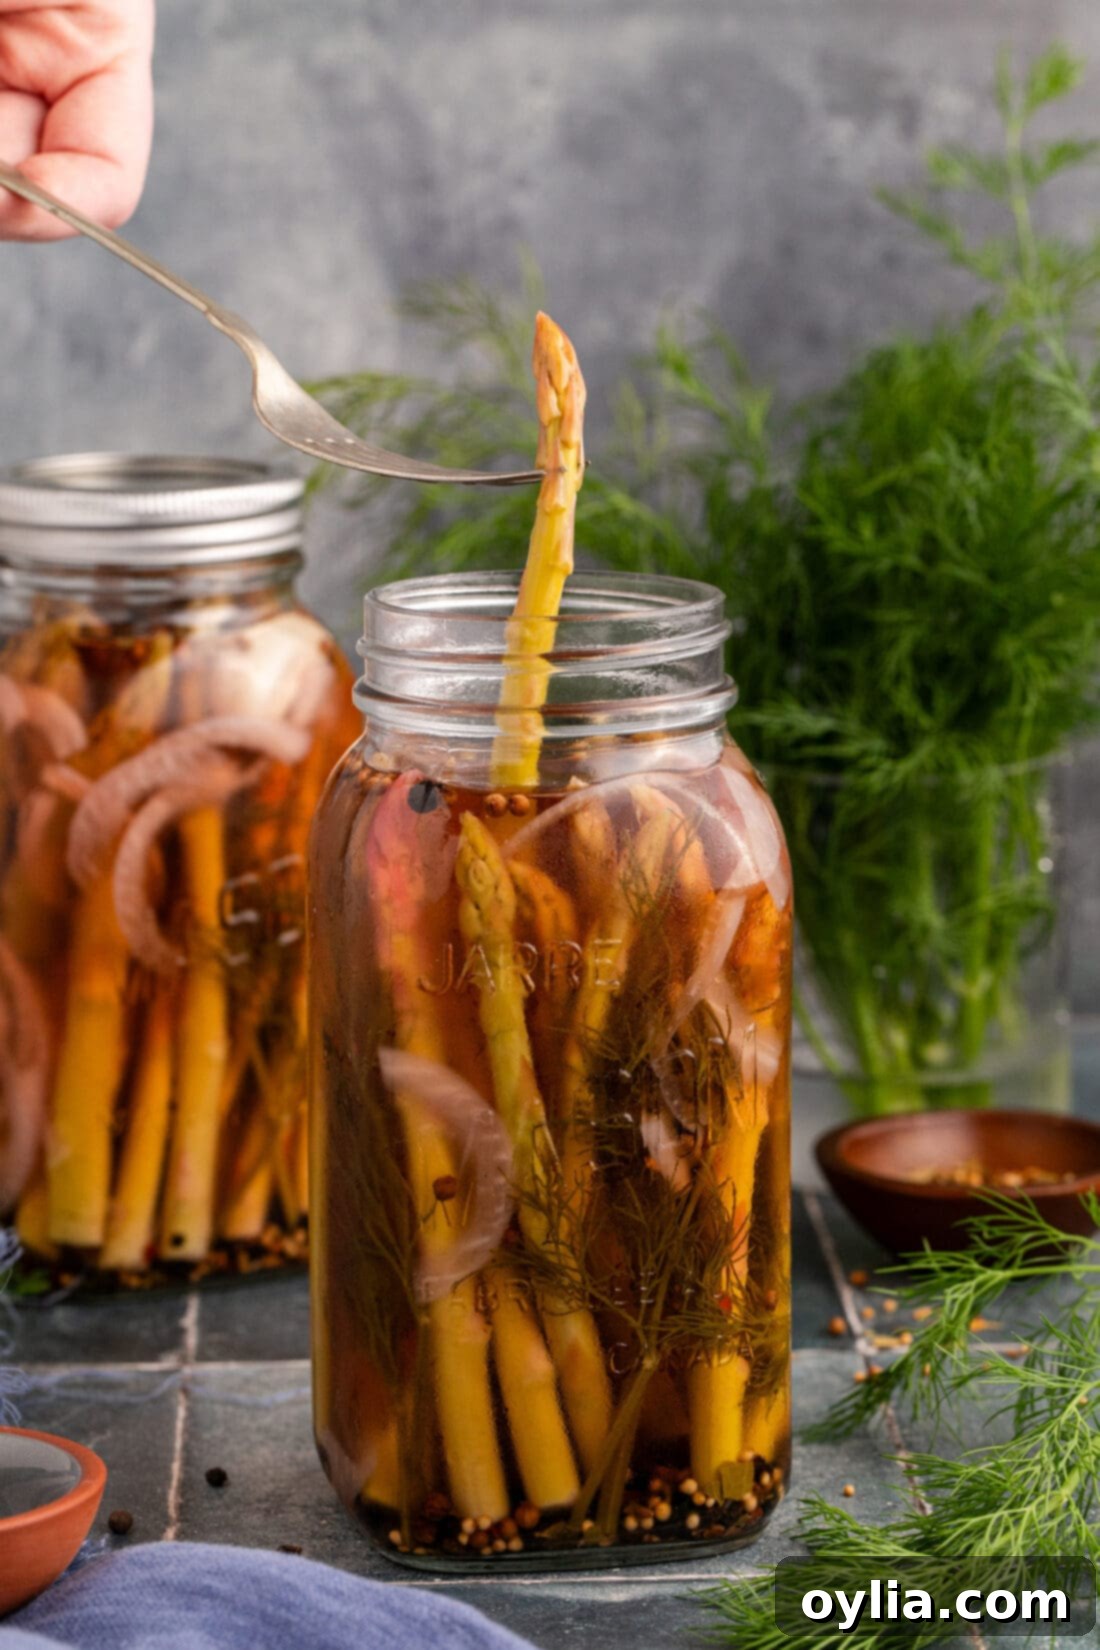
The beauty of quick pickled asparagus lies in its incredible versatility. Their satisfying crunchy texture and tangy bite make them a fantastic addition to almost any meal or snack. There is truly no right or wrong way to enjoy these flavorful spears!
- **Charcuterie Boards & Appetizers:** Pickled asparagus is a star on any charcuterie or cheese board. Their bright acidity cuts through rich cheeses and cured meats, offering a refreshing contrast. They also make a sophisticated and flavorful garnish for cocktails, especially Bloody Marys.
- **Snacks & Sides:** Enjoy them straight from the jar as a healthy, low-calorie snack. They’re also a wonderful side dish for grilled chicken, fish, or steak, adding a gourmet touch without extra effort.
- **Salads:** Chop them up and toss them into green salads, potato salads, or pasta salads for an extra layer of flavor and texture. They’re particularly good in creamy dill-based salads.
- **Sandwiches & Wraps:** Add a few spears to your favorite sandwiches or wraps to give them an unexpected tangy crunch. They pair exceptionally well with turkey, ham, or roast beef.
- **Egg Dishes:** Finely dice pickled asparagus and fold it into omelets, frittatas, or scrambled eggs for a bright, savory kick.
- **Vegetable Platters:** Elevate a simple vegetable platter by including these vibrant pickled spears among your fresh crudités.
Explore More Delicious Pickled Recipes
If you’ve fallen in love with the ease and flavor of these quick pickled asparagus, you’ll be thrilled to discover our other fantastic pickling recipes. Expand your repertoire of homemade preserves with these tangy favorites:
- Pickled Eggs: A protein-packed snack with a delightful tangy punch.
- Pickled Beets: Earthy and sweet, these vibrant beets are perfect as a side or in salads.
- Pickled Onions: A must-have condiment for tacos, burgers, and sandwiches.
- Homemade Claussen Pickles: Recreate the beloved deli-style crunch at home.
I love to bake and cook and share my kitchen experience with all of you! Remembering to come back each day can be tough, that’s why I offer a convenient newsletter every time a new recipe posts. Simply subscribe and start receiving your free daily recipes!
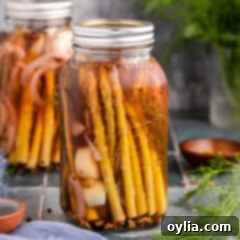
Quick Pickled Asparagus
IMPORTANT – There are often Frequently Asked Questions within the blog post that you may find helpful. Simply scroll back up to read them!
Print It
Pin It
Rate It
Save It
Saved!
Ingredients
- 2 bundles medium asparagus fresh, firm, about 650 grams total or close to 1.5 pounds
- 12 sprigs fresh dill
- 1 small red onion finely sliced (or white onion)
- 8 cloves garlic peeled, whole or lightly smashed
- 2 Tablespoons peppercorns black, whole
- 2 teaspoons pickling spices whole blend
- 2 ¾ cup distilled white vinegar or apple cider vinegar
- 2 ¾ cup water
- 1 Tablespoon granulated sugar
- 2 teaspoons sea salt non-iodized
Things You’ll Need
-
2 16-ounce mason jars
-
Saucepan
Before You Begin & Tips
- For a clean, sharp tang, we use distilled white vinegar. However, feel free to substitute with apple cider vinegar if you prefer a slightly sweeter and fruitier brine.
- You’ll need two bunches of fresh asparagus, totaling around 650 grams (or approximately 1.5 pounds), to fill two 16-ounce mason jars. Remember to trim the asparagus to fit snugly and vertically into your jars, leaving some headspace.
- This recipe works beautifully with both red and white onions. Red onion might gently tint your brine pink after a few days, but this is perfectly normal and won’t affect the taste or quality of your pickles.
- The granulated sugar is essential for balancing the vinegar’s acidity, ensuring a palatable and delicious flavor. Adjust to your preference.
- If you enjoy a bit of heat, consider adding a pinch of red pepper flakes or a few thin slices of fresh chili (like jalapeño or serrano) to each jar for spicy pickled asparagus!
- Ensure all asparagus spears are completely submerged in the brine once poured. If needed, boil a little extra water to top off the jars.
- For optimal flavor development, allow the pickles to sit in the refrigerator for 3-5 days before enjoying, though they are ready after an overnight chill.
Instructions
-
Wash the asparagus thoroughly and trim the woody ends. Cut the spears to fit vertically into two 16-ounce mason jars, then divide them equally between the jars.
-
In each jar, layer the sprigs of fresh dill, finely sliced red onion, whole garlic cloves, whole peppercorns, and pickling spices, ensuring even distribution.
-
In a small saucepan, combine the vinegar, water, sugar, and sea salt. Bring to a boil over high heat, stirring until the sugar and salt are completely dissolved. Carefully pour the hot brine evenly into each jar, ensuring the asparagus is fully covered.
TIP – If the brine does not fully cover the asparagus, boil a bit more water and add to the jars until the spears are submerged.
-
Carefully place lids on the jars to seal, and flip them upside-down to cool completely at room temperature. Once cool, place the jars upright in the refrigerator overnight. For optimal flavor development, allow them to sit for 3-5 days before serving.
-
Once opened, consume the pickled asparagus within 2 weeks, ensuring they are always stored in an airtight jar in the refrigerator.
Expert Tips & Important Notes
- The nutrition facts provided are approximate and can vary depending on the specific quantities and brands of products you use.
- Quick pickled asparagus must be stored in an airtight jar and kept in the refrigerator. For best quality and safety, consume within 2 weeks after opening.
- For extra crispness, you can add a small grape leaf or a pinch of tannin-rich tea leaves to each jar, which contain tannins that help maintain vegetable firmness.
- Always use non-reactive cookware (stainless steel, glass) when preparing brines, as vinegar can react with certain metals.
- Don’t be afraid to customize! While dill is classic, herbs like tarragon or a sprig of rosemary can add unique flavor dimensions.
Nutrition Information
Tried this Recipe? Pin it for Later!Follow on Pinterest @AmandasCookin or tag #AmandasCookin!
The recipes on this blog are tested with a conventional gas oven and gas stovetop. It’s important to note that some ovens, especially as they age, can cook and bake inconsistently. Using an inexpensive oven thermometer can assure you that your oven is truly heating to the proper temperature. If you use a toaster oven or countertop oven, please keep in mind that they may not distribute heat the same as a conventional full sized oven and you may need to adjust your cooking/baking times. In the case of recipes made with a pressure cooker, air fryer, slow cooker, or other appliance, a link to the appliances we use is listed within each respective recipe. For baking recipes where measurements are given by weight, please note that results may not be the same if cups are used instead, and we can’t guarantee success with that method.
